In this post I will share how to install Git and then configure it to work with GitHub.
Note: this post is a part of the series of posts about my experience using Ubuntu Desktop for software development.
Git is not installed by default
$ git
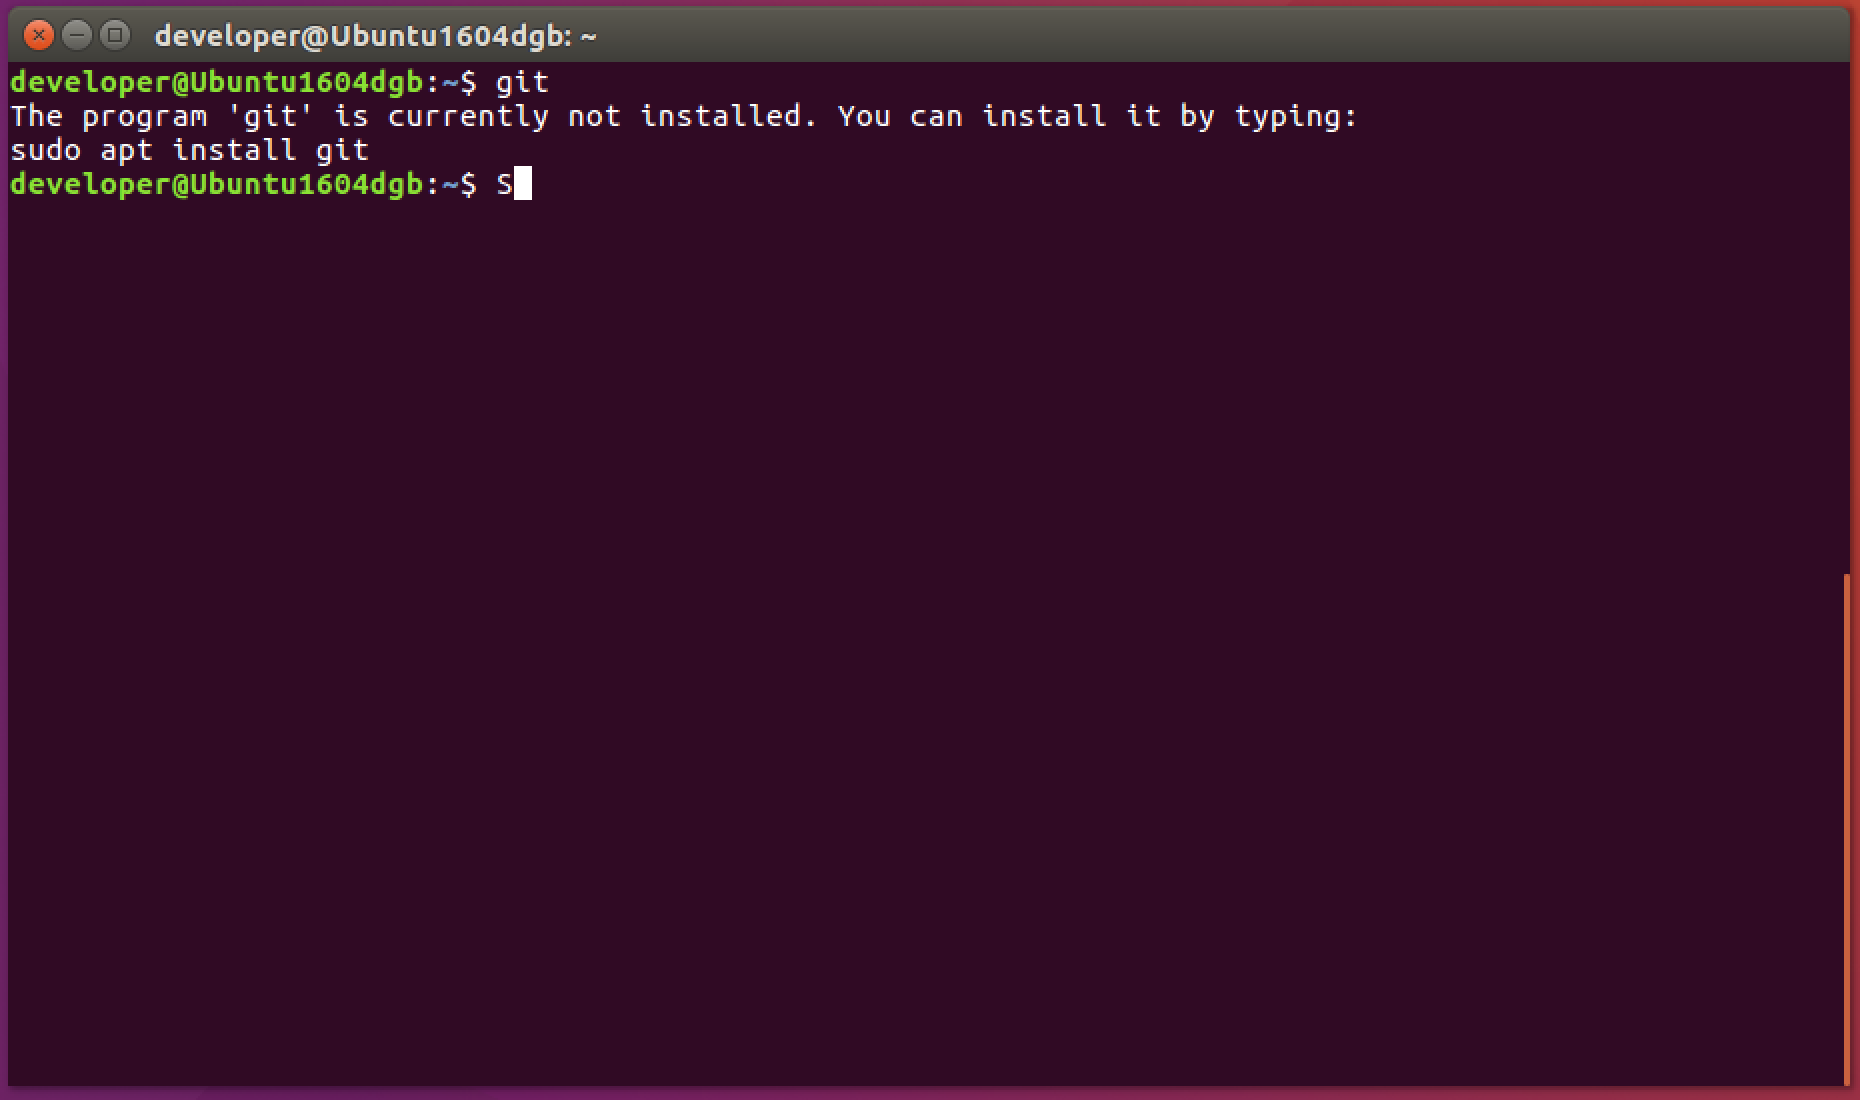
Git is not installed by default and you have at least two choices to install it. The first choice is to install Git using package management tool, and the second – to build it from a source code.
Installing Git using package management tool
This approach is pretty easy, but you won’t get the latest version of git. At the time of writing this post, the latest version of Git that is available is 2.9.3

but if you check what version is available by installing by package manager tool, it’s actually 2.7.4
$ apt-cache show git

If that suits your needs – let’s just install it using package manager.
$ sudo apt update
$ sudo apt install git
$ git --version

At this point you may go to Configuring Git section.
Installing Git by building it from a source code
The second option is building Git from a source code. Let’s remove Git previously installed by package manager
$ sudo apt remove --purge git
$ git

Now we need to install packages required for building from source code:
$ sudo apt update
$ sudo apt install build-essential libssl-dev libcurl4-gnutls-dev libexpat1-dev gettext unzip
Let’s grab a copy of the source from git project mirror on GitHub at https://github.com/git/git. The latest version at the time of writing is 2.9.3
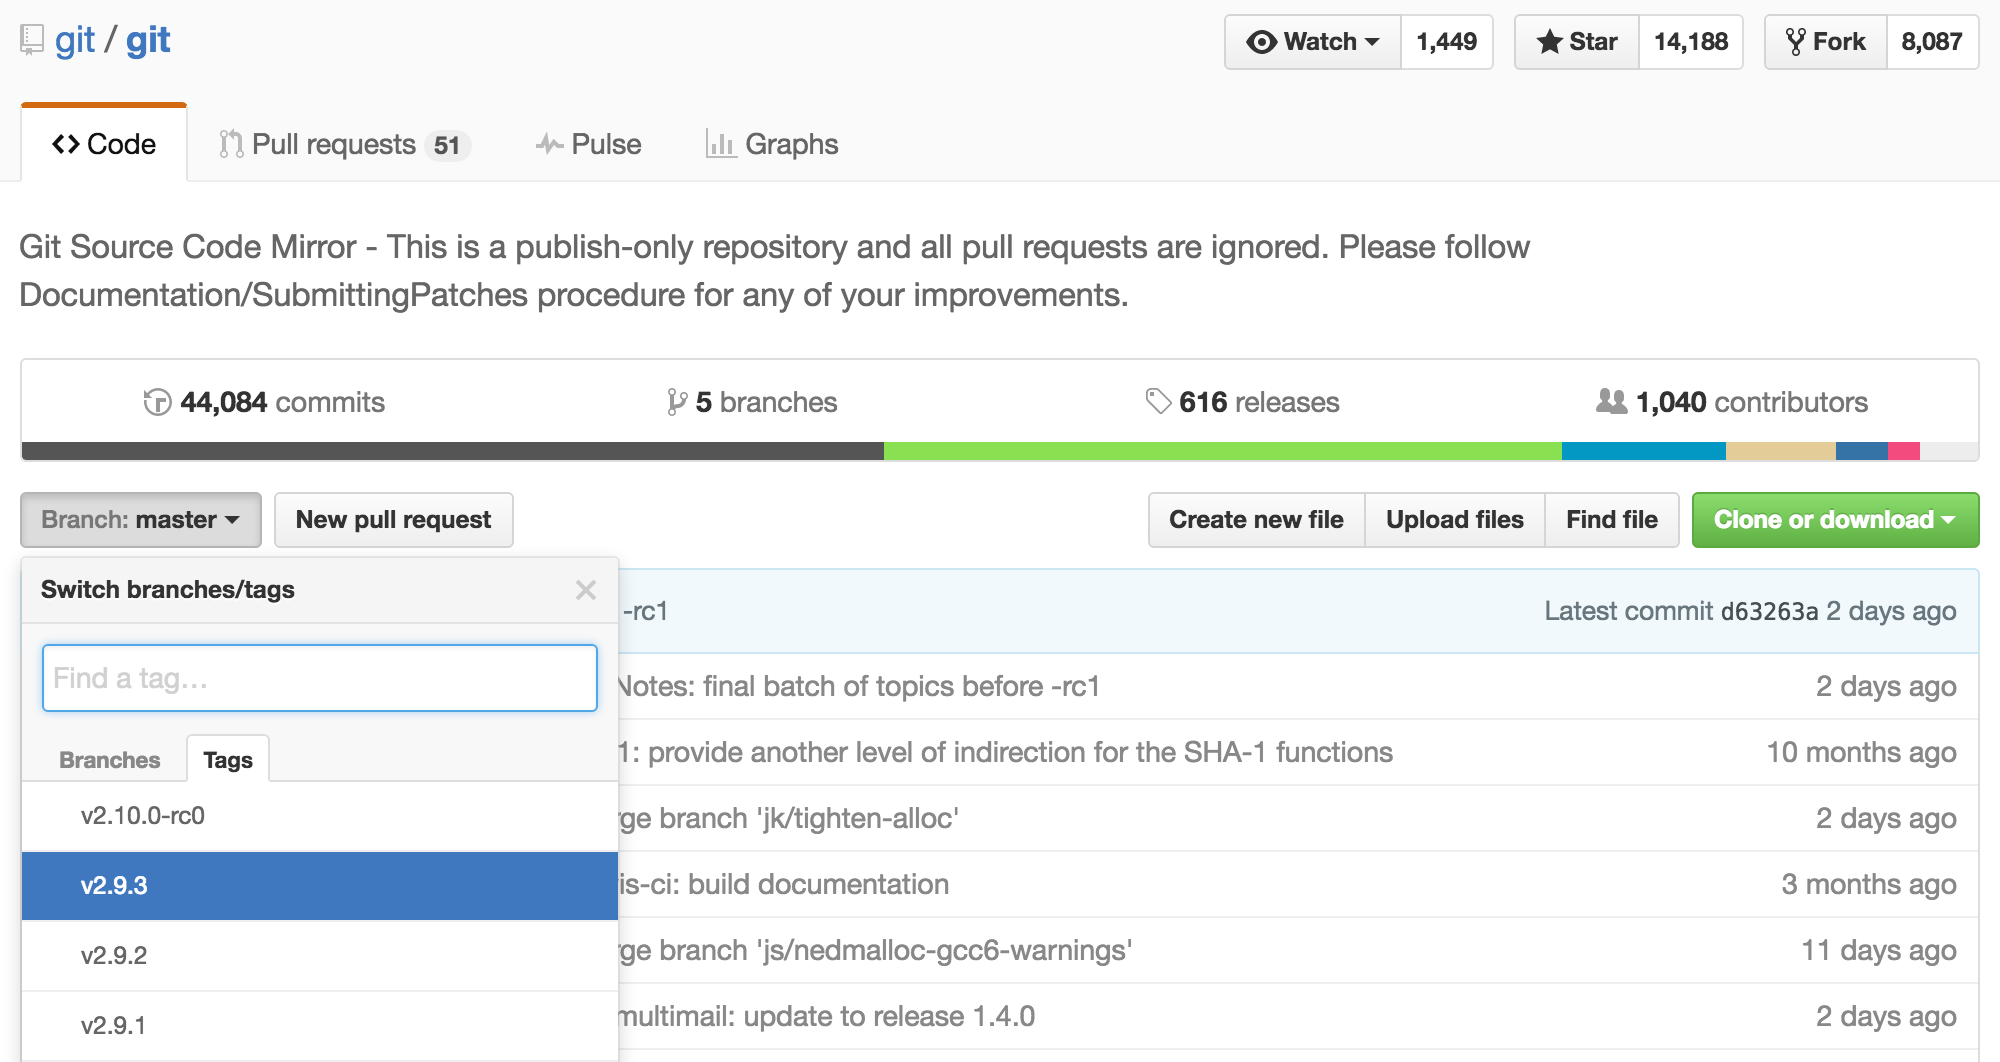
and the URL for ZIP download is https://github.com/git/git/archive/v2.9.3.zip
$ wget https://github.com/git/git/archive/v2.9.3.zip -O git.zip
$ unzip git.zip
$ cd git-2.9.3
$ make prefix=/usr/local all
$ sudo make prefix=/usr/local install
$ git --version
After executing above commands you’ll get Git version 2.9.3 installed.

Configuring Git
To configure Git you need to provide at least your name and your email address.
$ git config --global user.name "Your Name"
$ git config --global user.email "youremail@domain.com"
$ git config --global push.default simple
To verify configuration you can one of the two commands:
$ git config --list
$ cat .gitconfig

Every time you are going to push your changeset to GitHub, it will ask for your credentials. If you would prefer that git keeps your credentials in cache – you need to configure credential helper.
# Set the cache to timeout after 15 minutes by default
$ git config --global credential.helper cache
By default, the credential helper will cache your credentials for 15 minutes only, but you can increase password cache timeout.
# Set the cache to timeout after 1 hour (setting is in seconds)
$ git config --global credential.helper 'cache --timeout=3600'
or
# Set the cache to timeout after 20 hours (setting is in seconds)
$ git config --global credential.helper 'cache --timeout=72000'
Authenticating to GitHub from Git using HTTPS
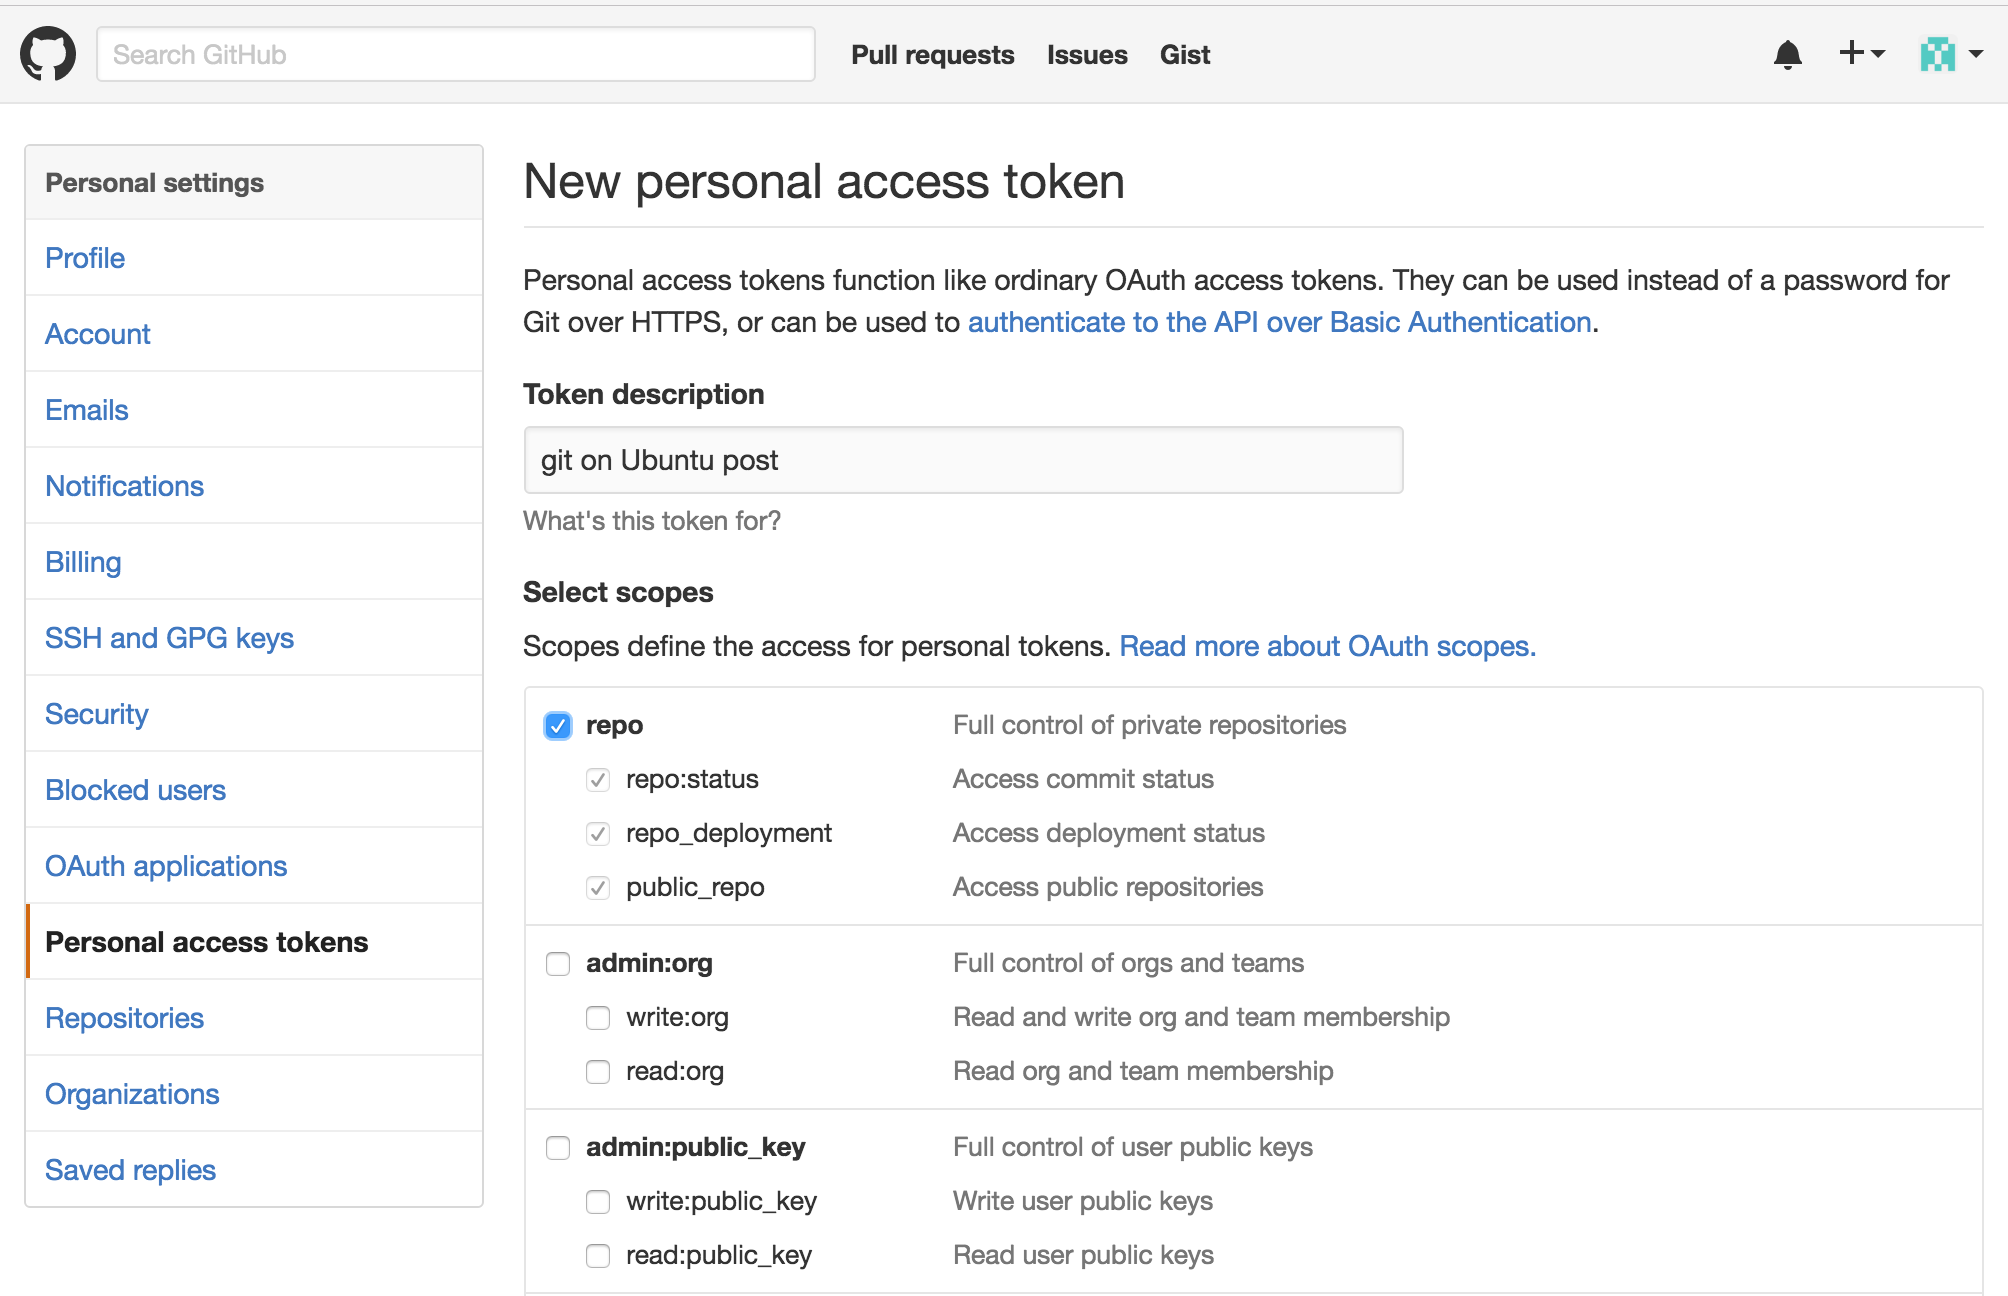
To be able to use Git (command line tool) to push changesets to GitHub, you need to authenticate yourself to GitHub. The recommended way connecting to GitHub is over HTTPS as well as using 2FA (two-factor authentication). So you need to create a personal access token that you will be using instead of password.
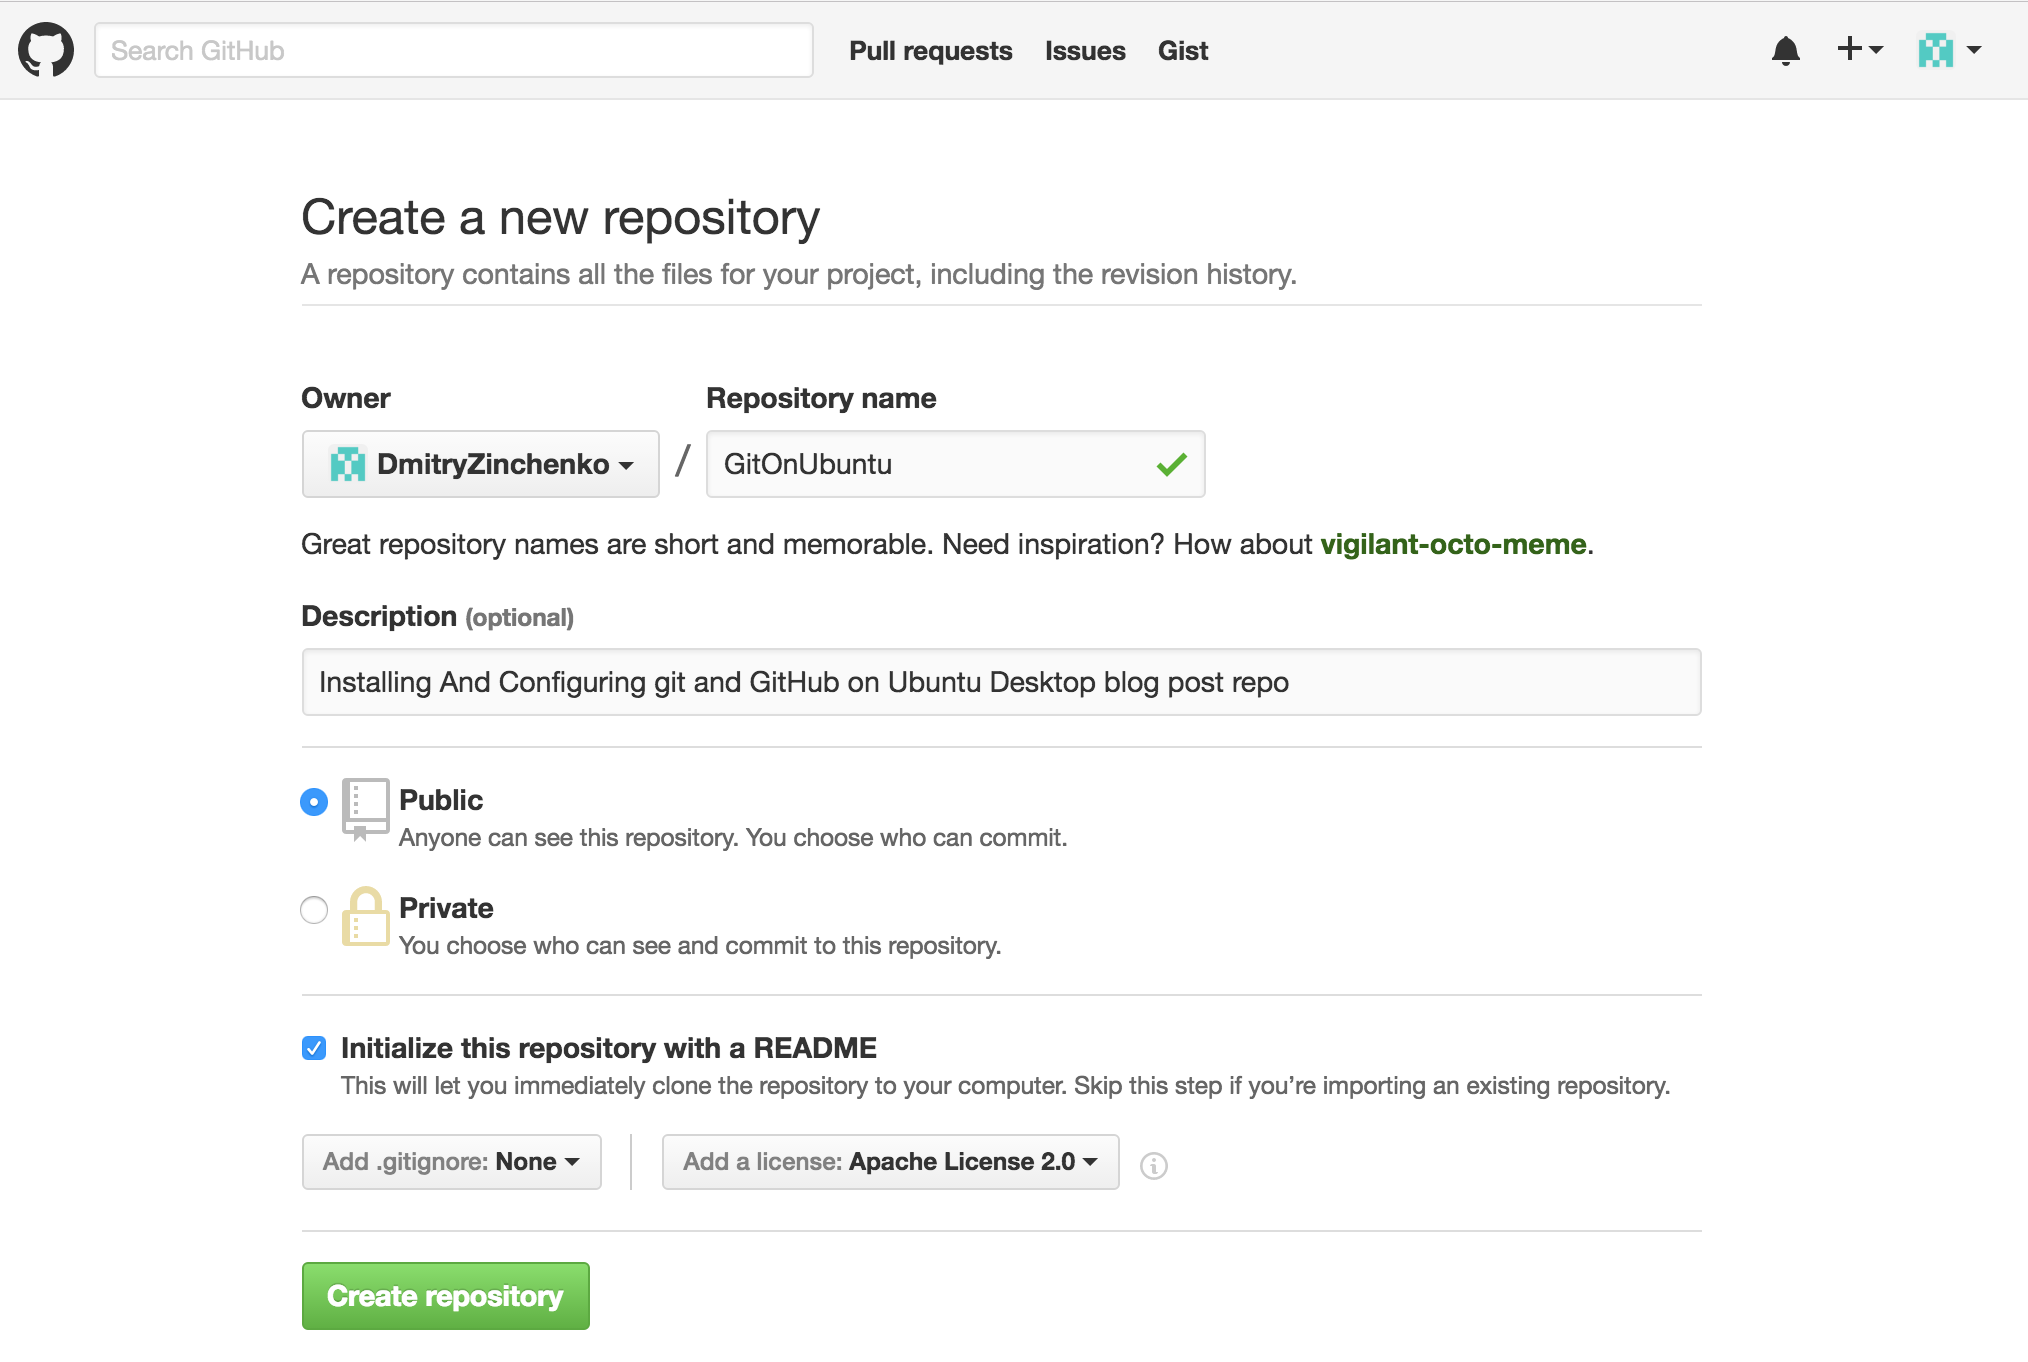
Login to GitHub and go to Personal access tokens page at https://github.com/settings/tokens.

Click Generate new token button, provide token description, check repo and hit Generate token button.
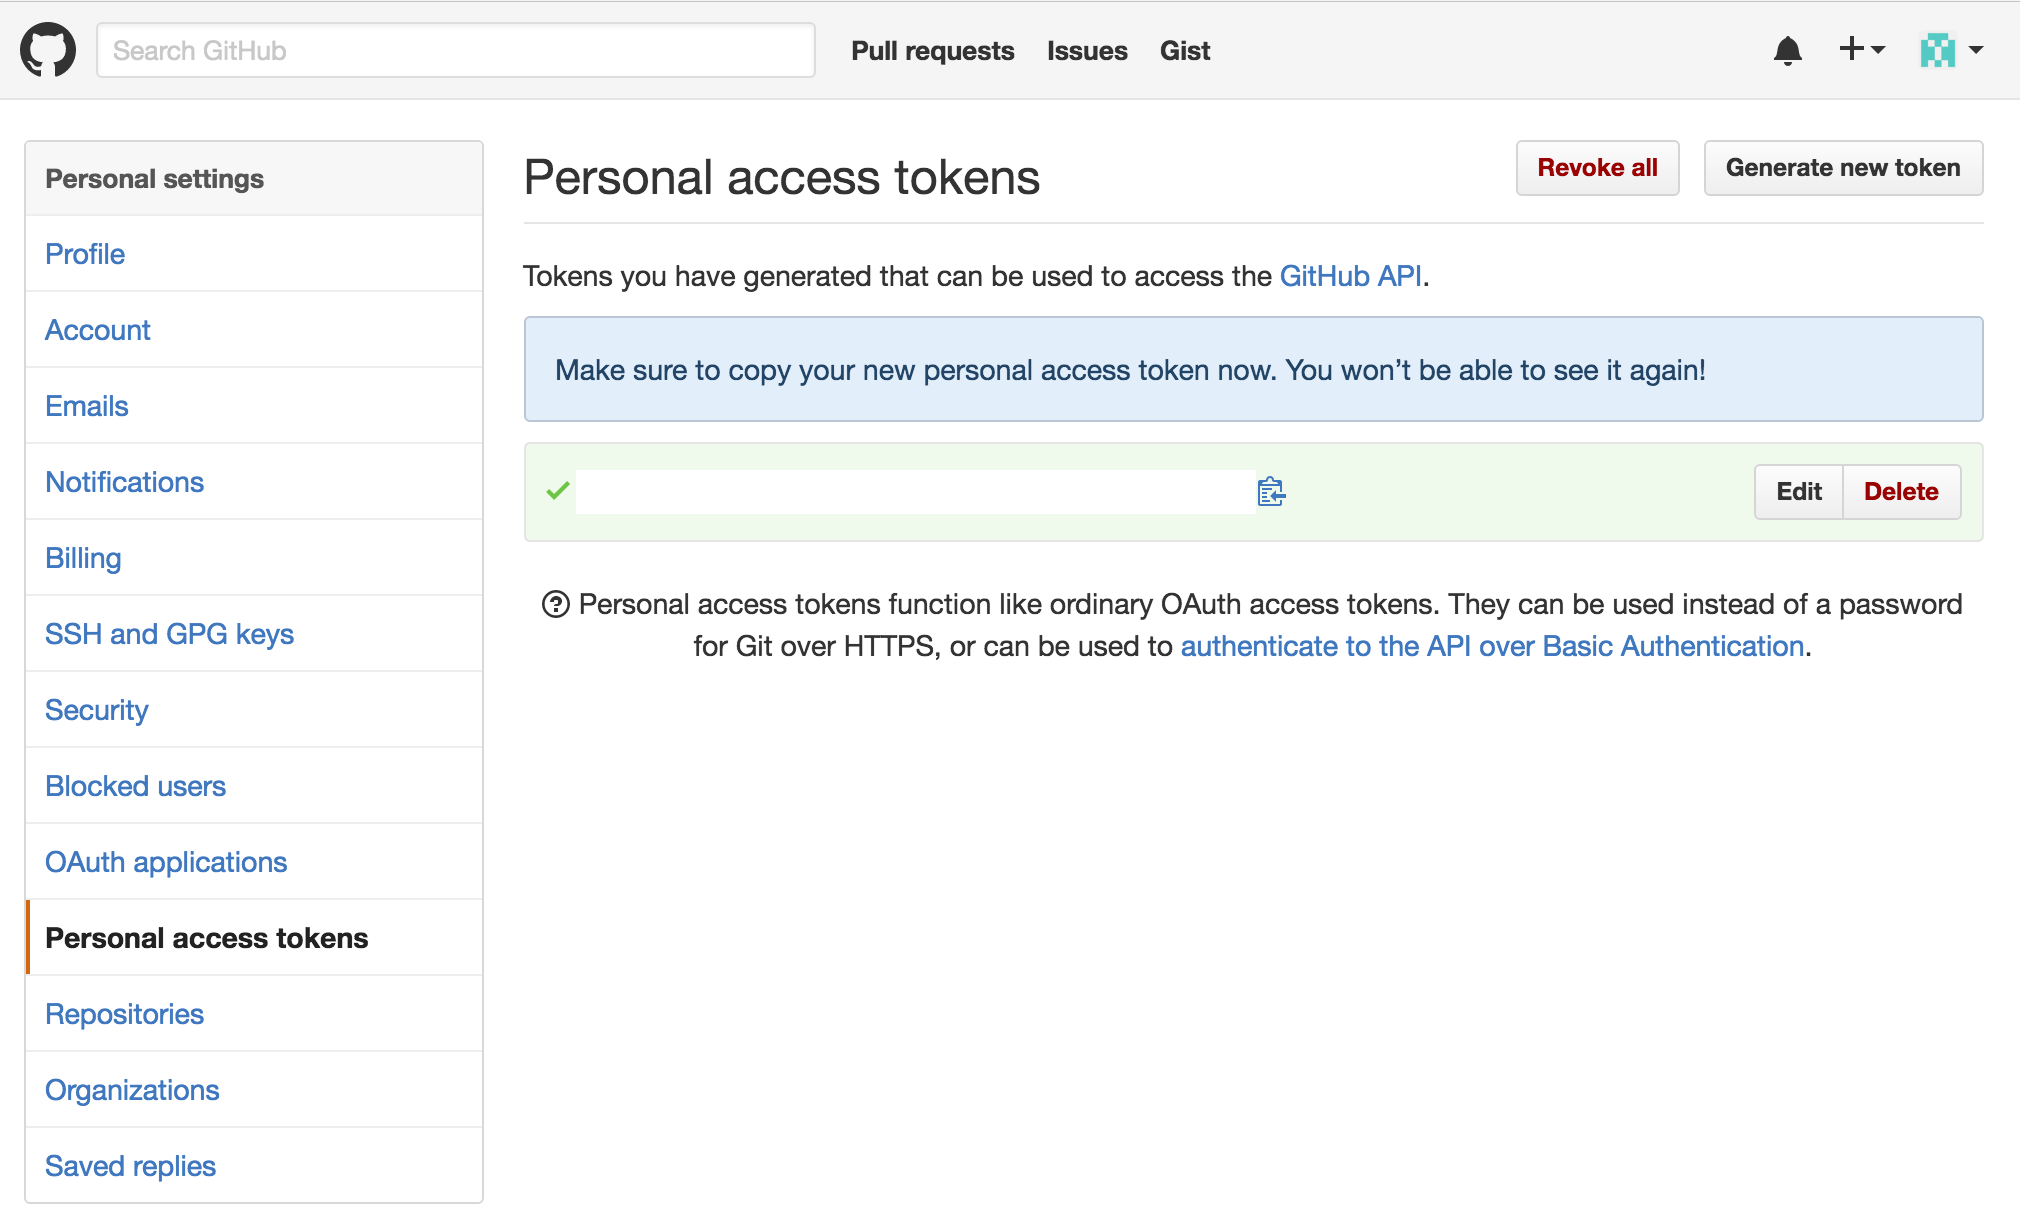
And you will see your newly minted personal access token. Make sure to copy it, since you will not be able to see it on GitHub again.
For convenience, you might want to store it in a file on Ubuntu and change permissions on it so that only you can read it.
$ mkdir credentials && cd credentials
$ echo a4d5this74is7not86a91real708token87haha23df > GitHub
$ chmod 400 GitHub
$ ls -l
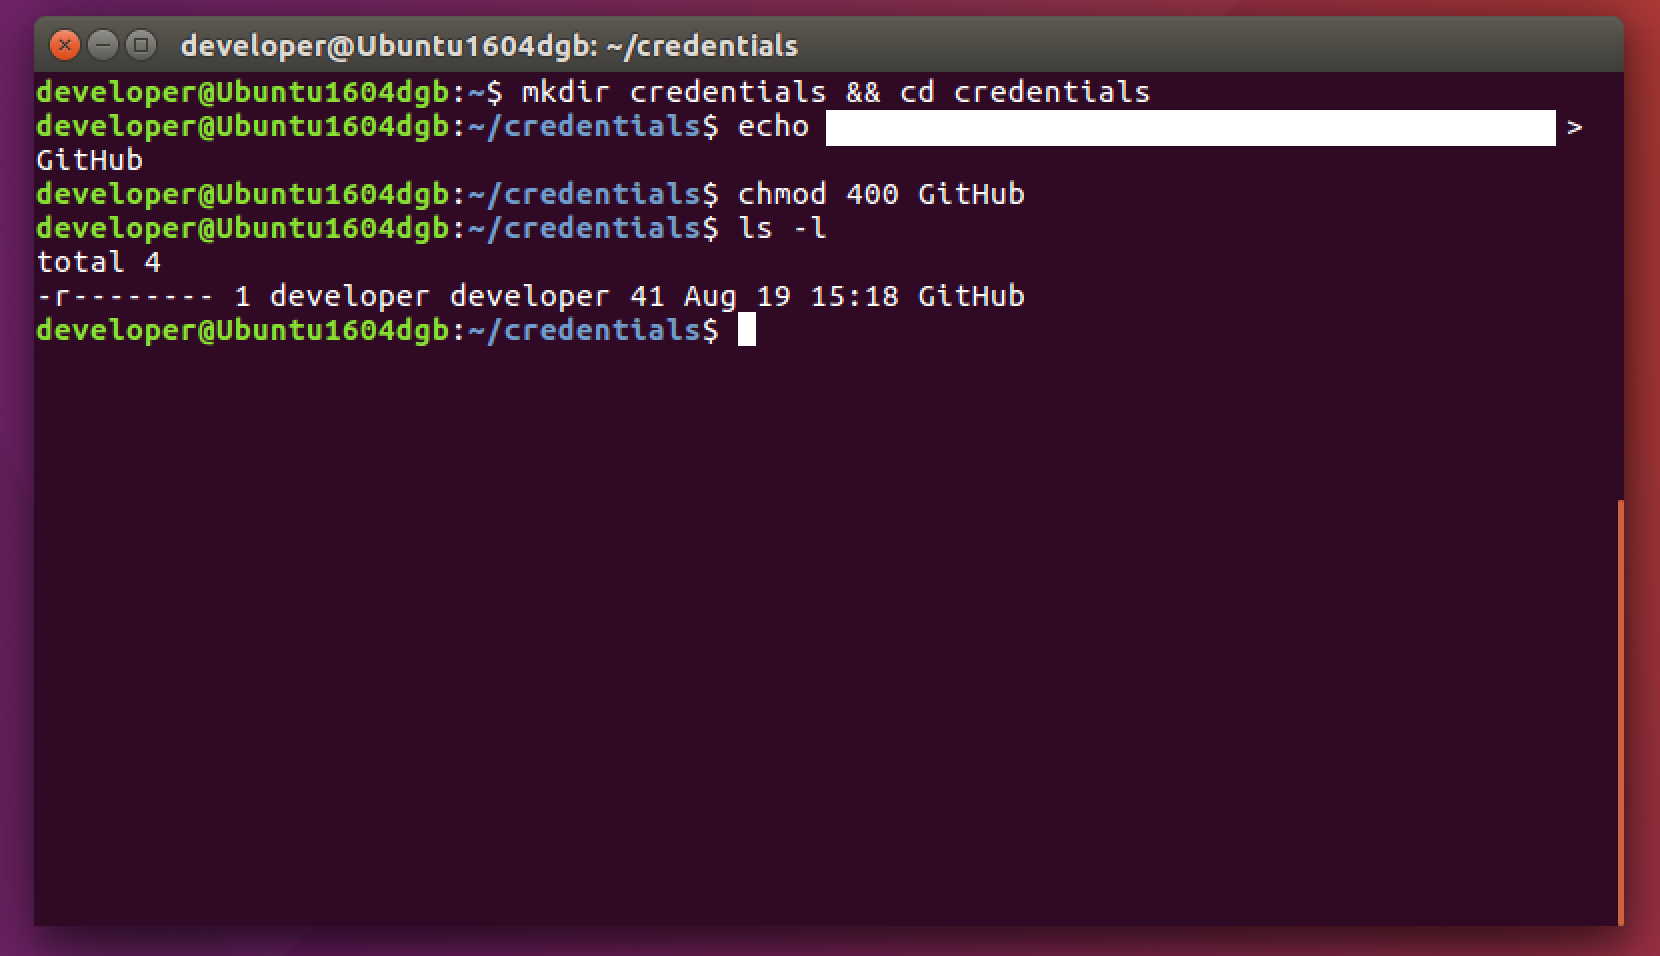
and whenever you need it – you can always do
$ cat ~/credentials/GitHub
Working with GitHub Repository
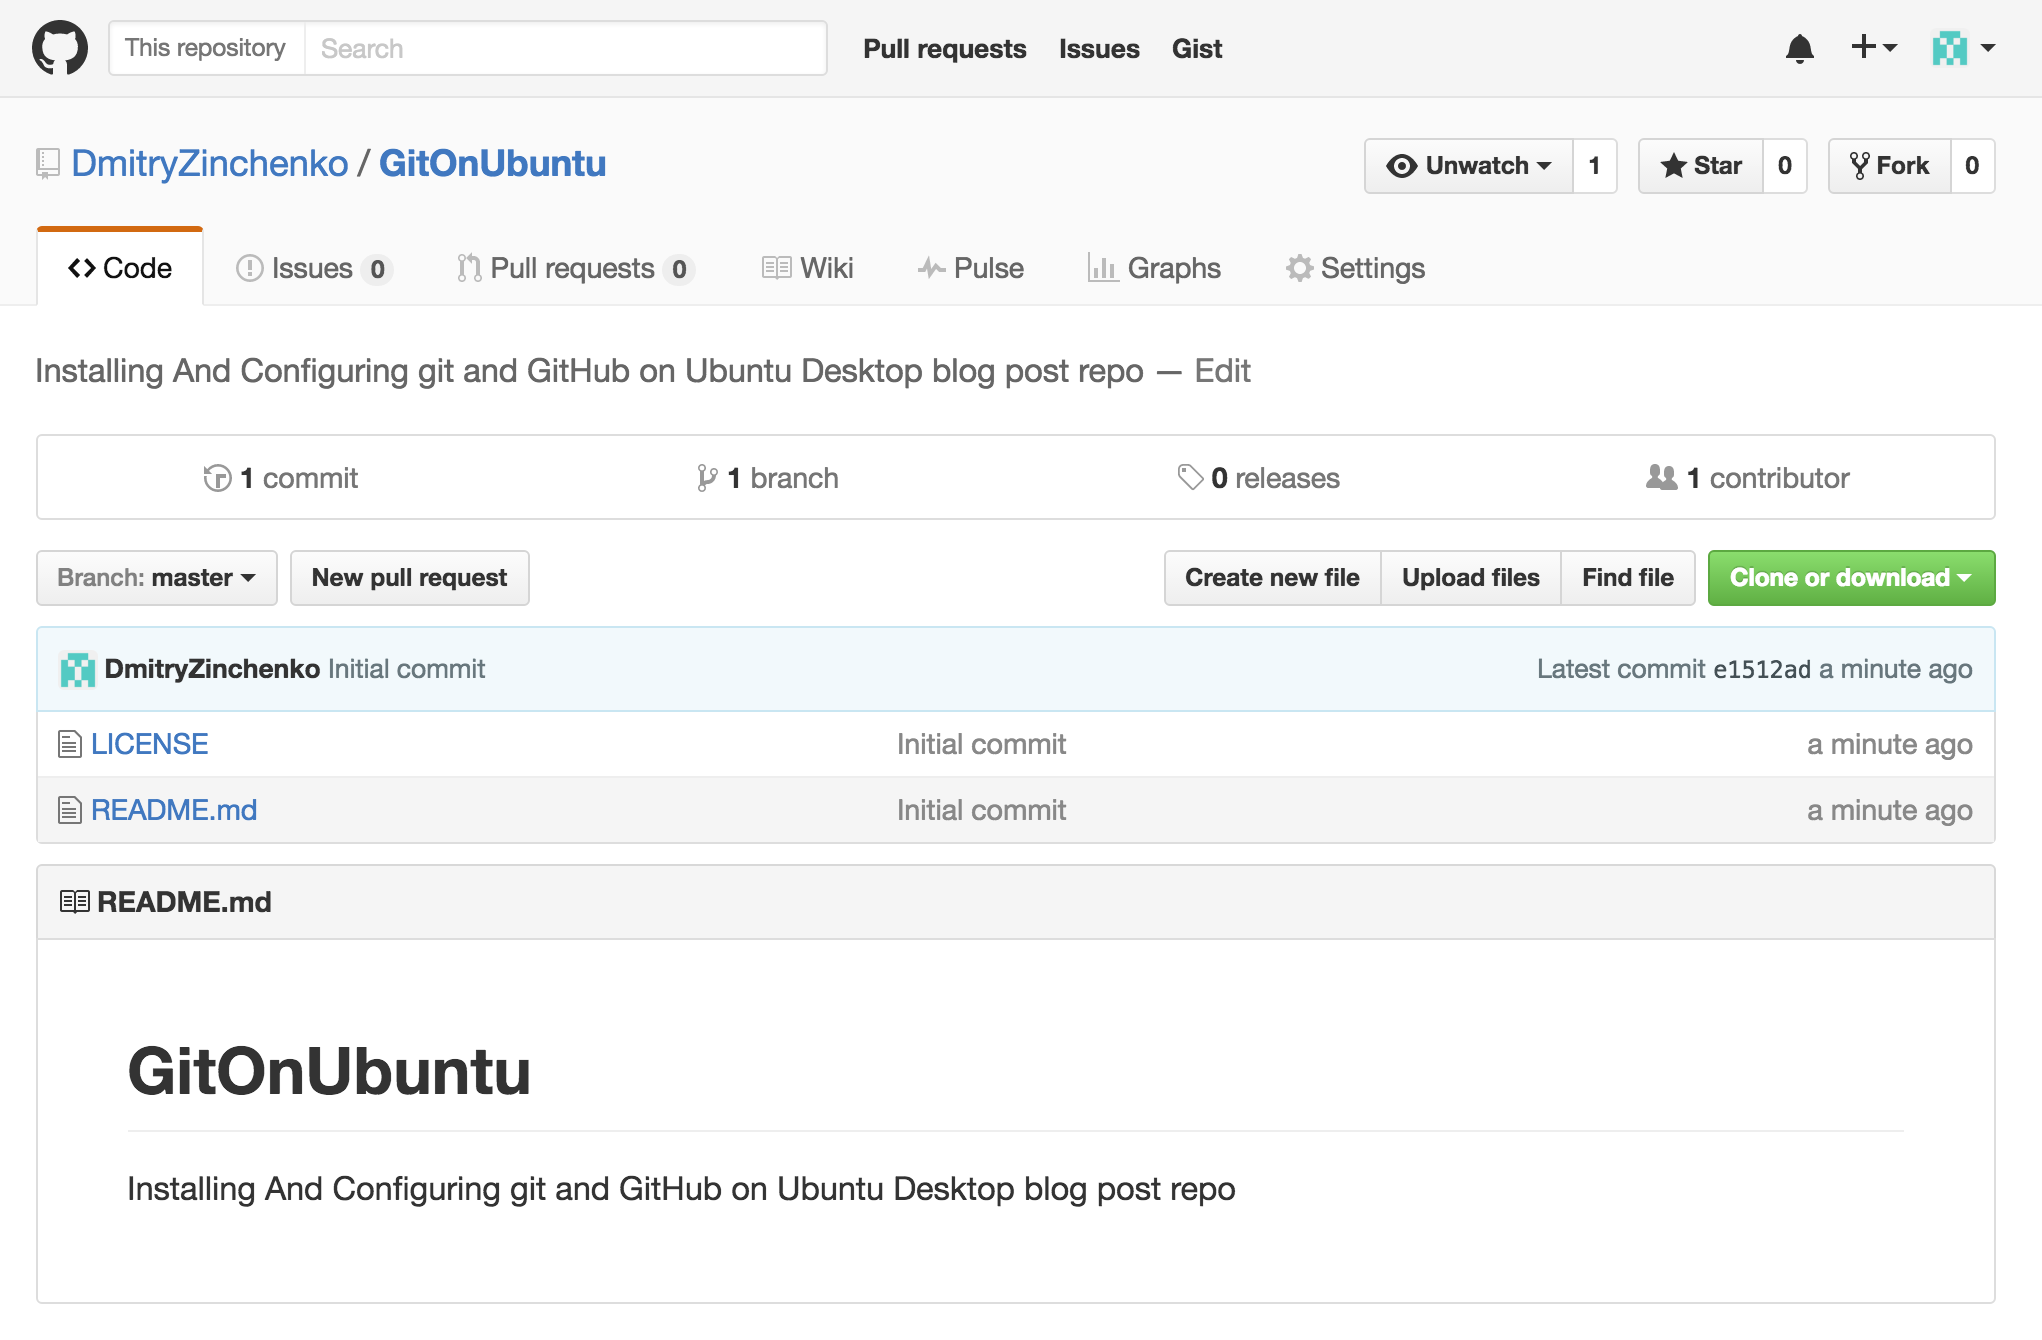
Let’s create a repository and push a few updates to make sure that everything works.
Currently there are only LICENSE and README.md files in it.
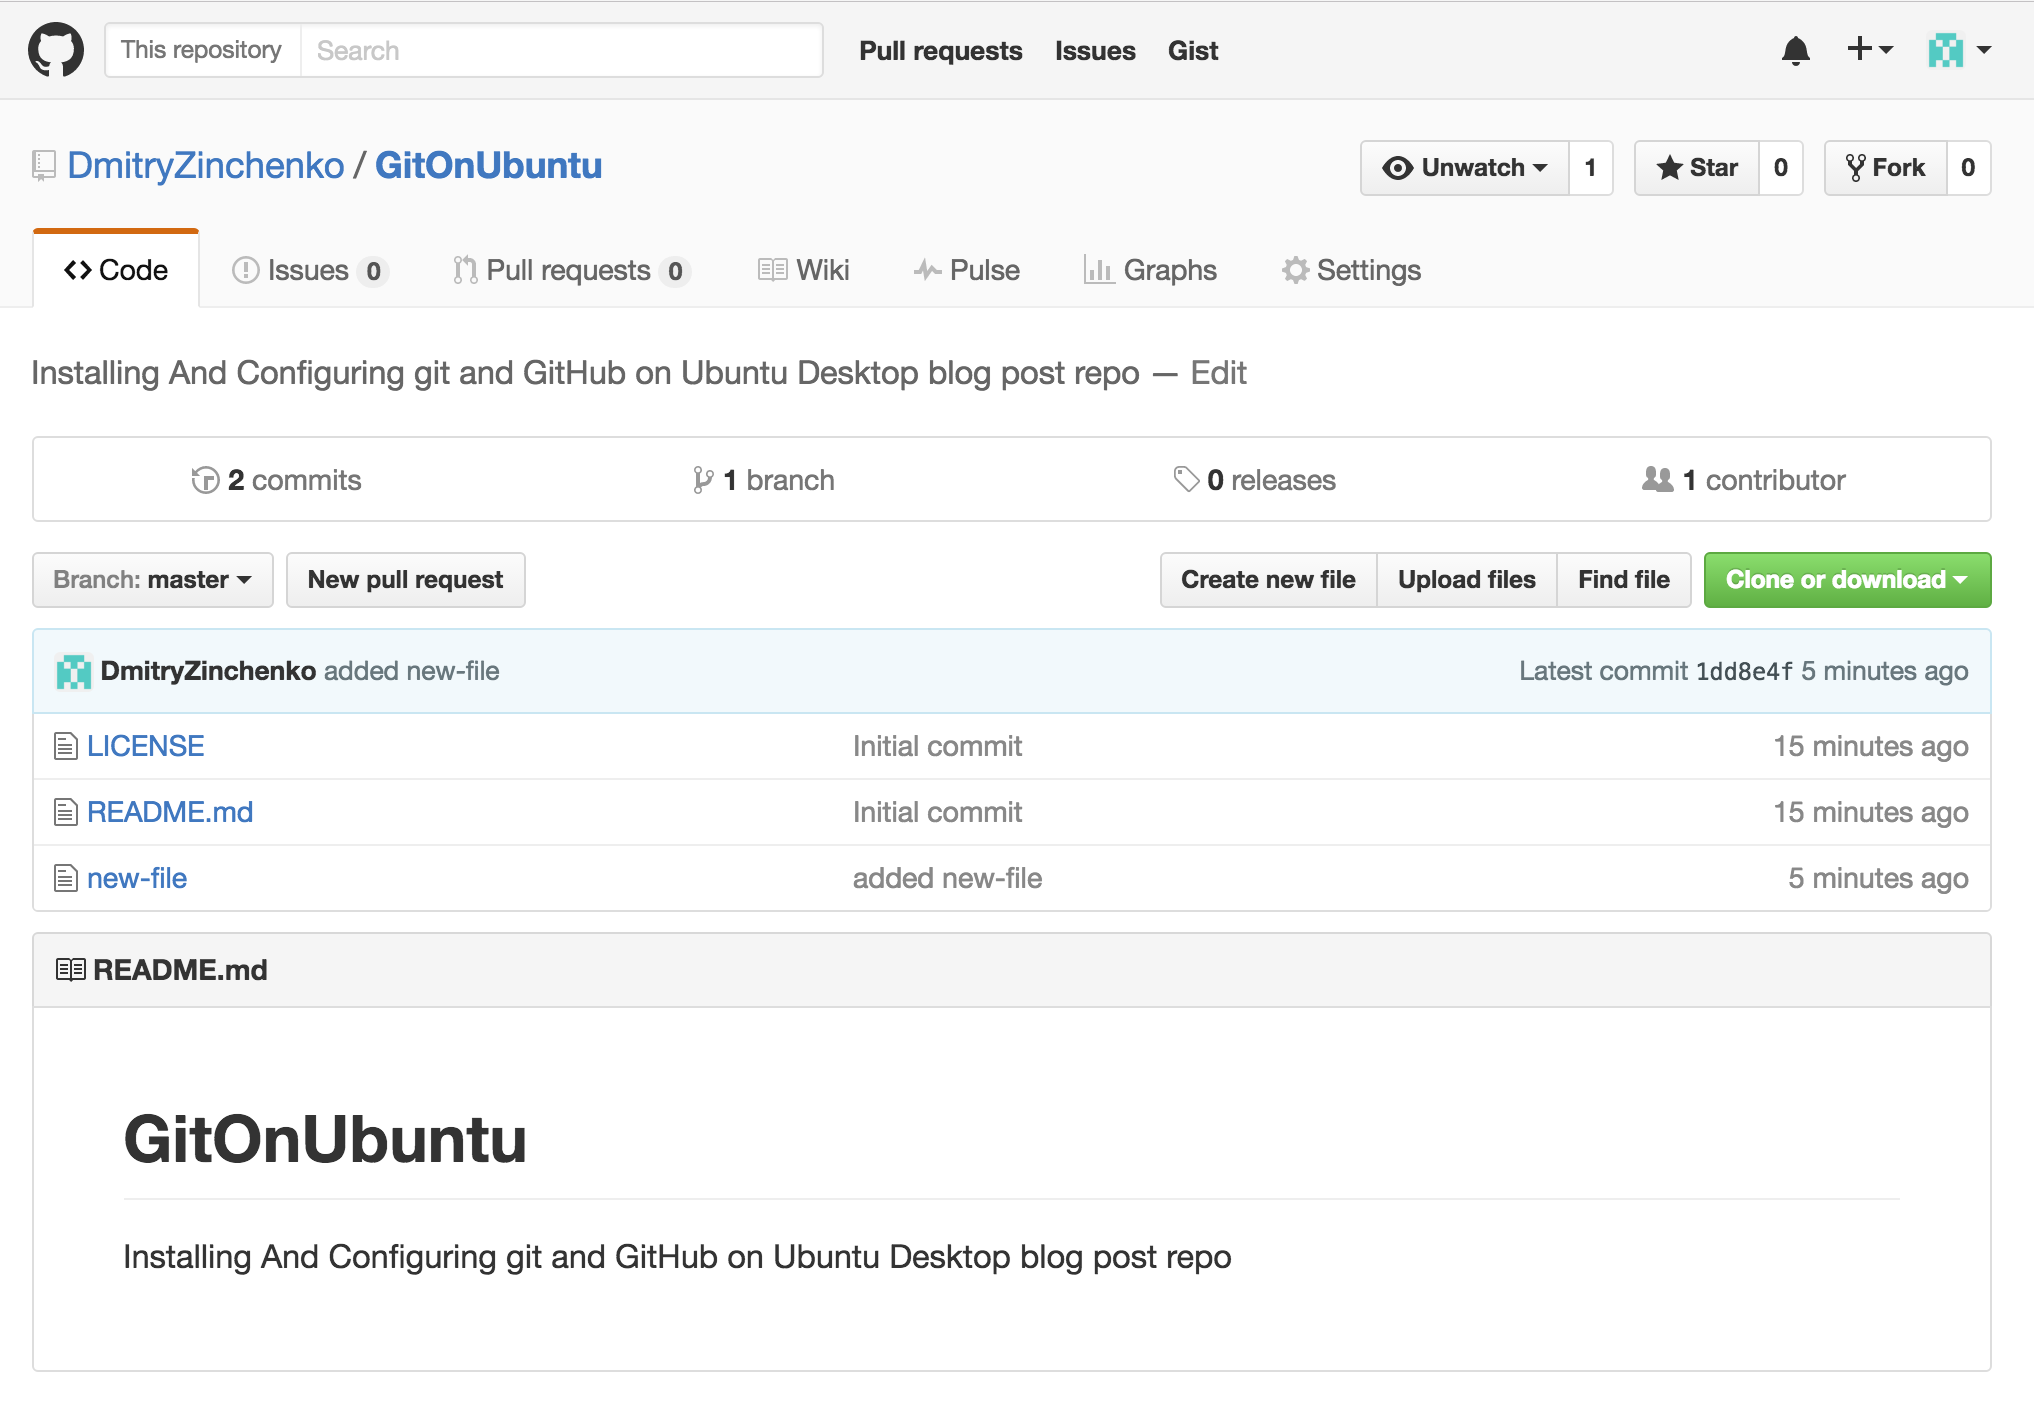
Let’s clone it, add a new file and push the changeset:
$ git clone https://github.com/DmitryZinchenko/GitOnUbuntu.git
$ cd GitOnUbuntu
$ git status
$ touch new-file
$ git add new-file
$ git commit -m "added new-file"
$ git push
$ git status
When you are asked to provide Username and Password – use your GitHub username and for password – the personal access token you created earlier. After you’ve done that – you won’t be asked to provide your credentials for the whole hour (as per earlier settings).

Now, let’s refresh GitHub page and we what we’ve got
That’s it! You’ve installed, configured Git and GitHub and ready to code!

[…] Installing And Configuring git and GitHub on Ubuntu Desktop […]
[…] Installing And Configuring Git and GitHub on Ubuntu Desktop […]