In this post I will share how to install AWS CLI (Amazon Web Service Command Line Interface tool) using pip package manager and then configure it.
Note: this post is a part of the series of posts about my experience using Ubuntu Desktop for software development.
Check for Python Version
To avoid security warning during installation of AWS CLI make sure that you have Python version 2.7.11+, which comes preinstalled with Ubuntu Desktop 16.04. To check the version of Python and the actual name of the executable – type in Terminal window:
$ python --version
Python 2.7.11+
$ which python
/usr/bin/python
$ ls -l /usr/bin/python
/usr/bin/python -> python2.7

Check if pip Is Installed And Install If Not
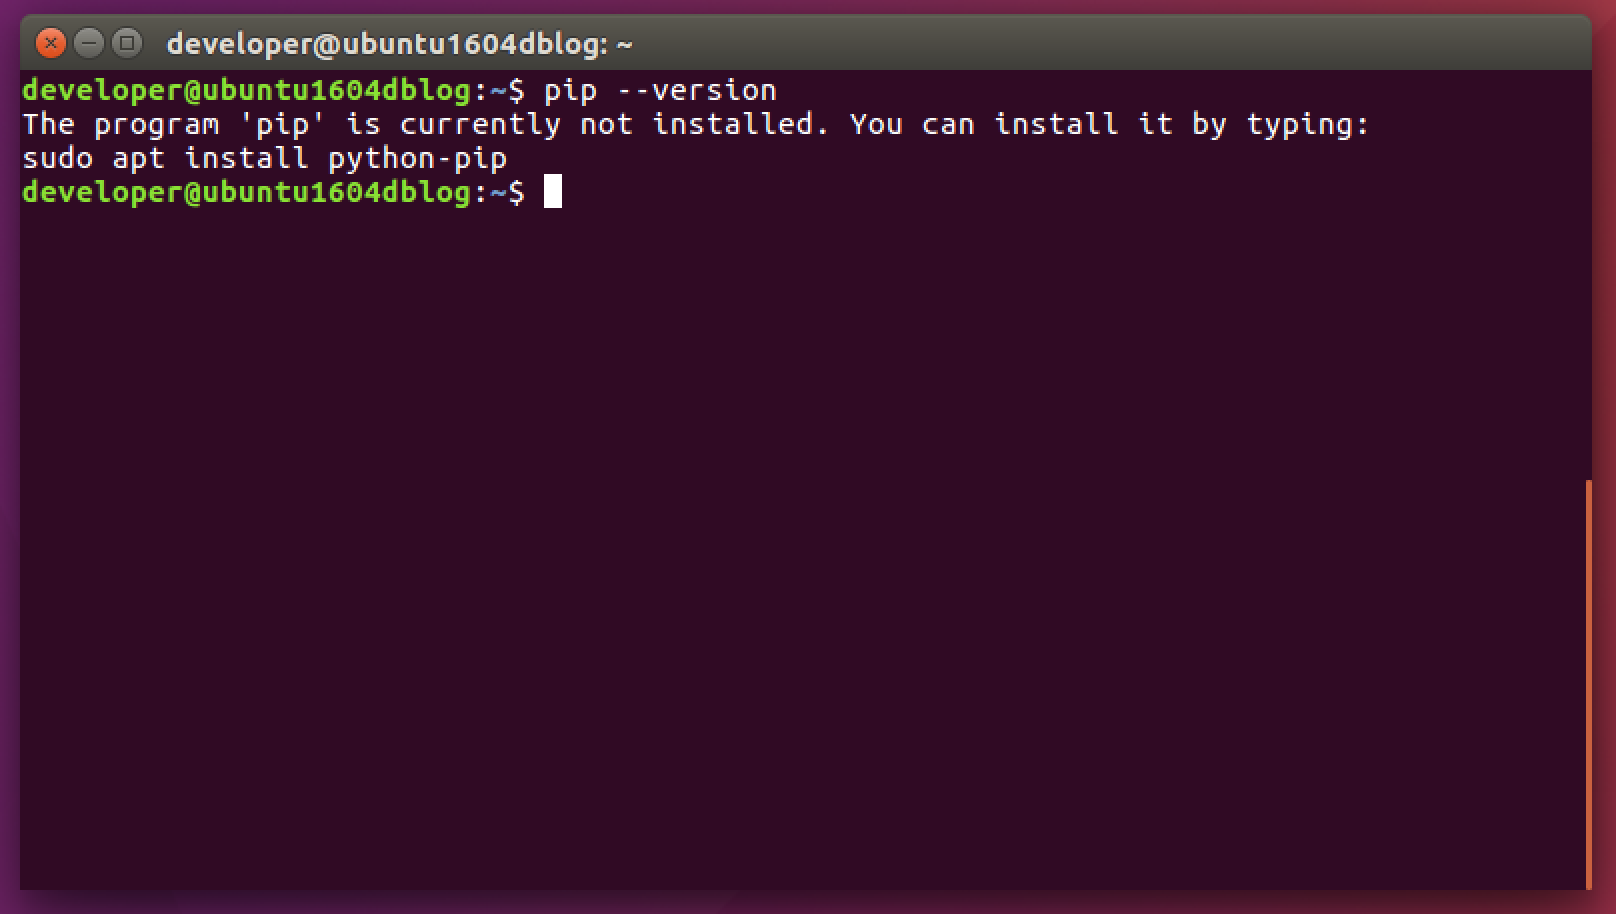
To check if pip is installed – type in Terminal window:
$ pip --version
The program 'pip' is currently not installed. You can install it by typing:
sudo apt install python-pip
Instead of installing pip using apt package manager, AWS recommends to download it from Python Packaging Authority (pypa.io)
Type in the Terminal window:
$ cd Downloads
$ curl -O https://bootstrap.pypa.io/get-pip.py
$ sudo python2.7 get-pip.py
$ pip --version

Install AWS CLI using pip
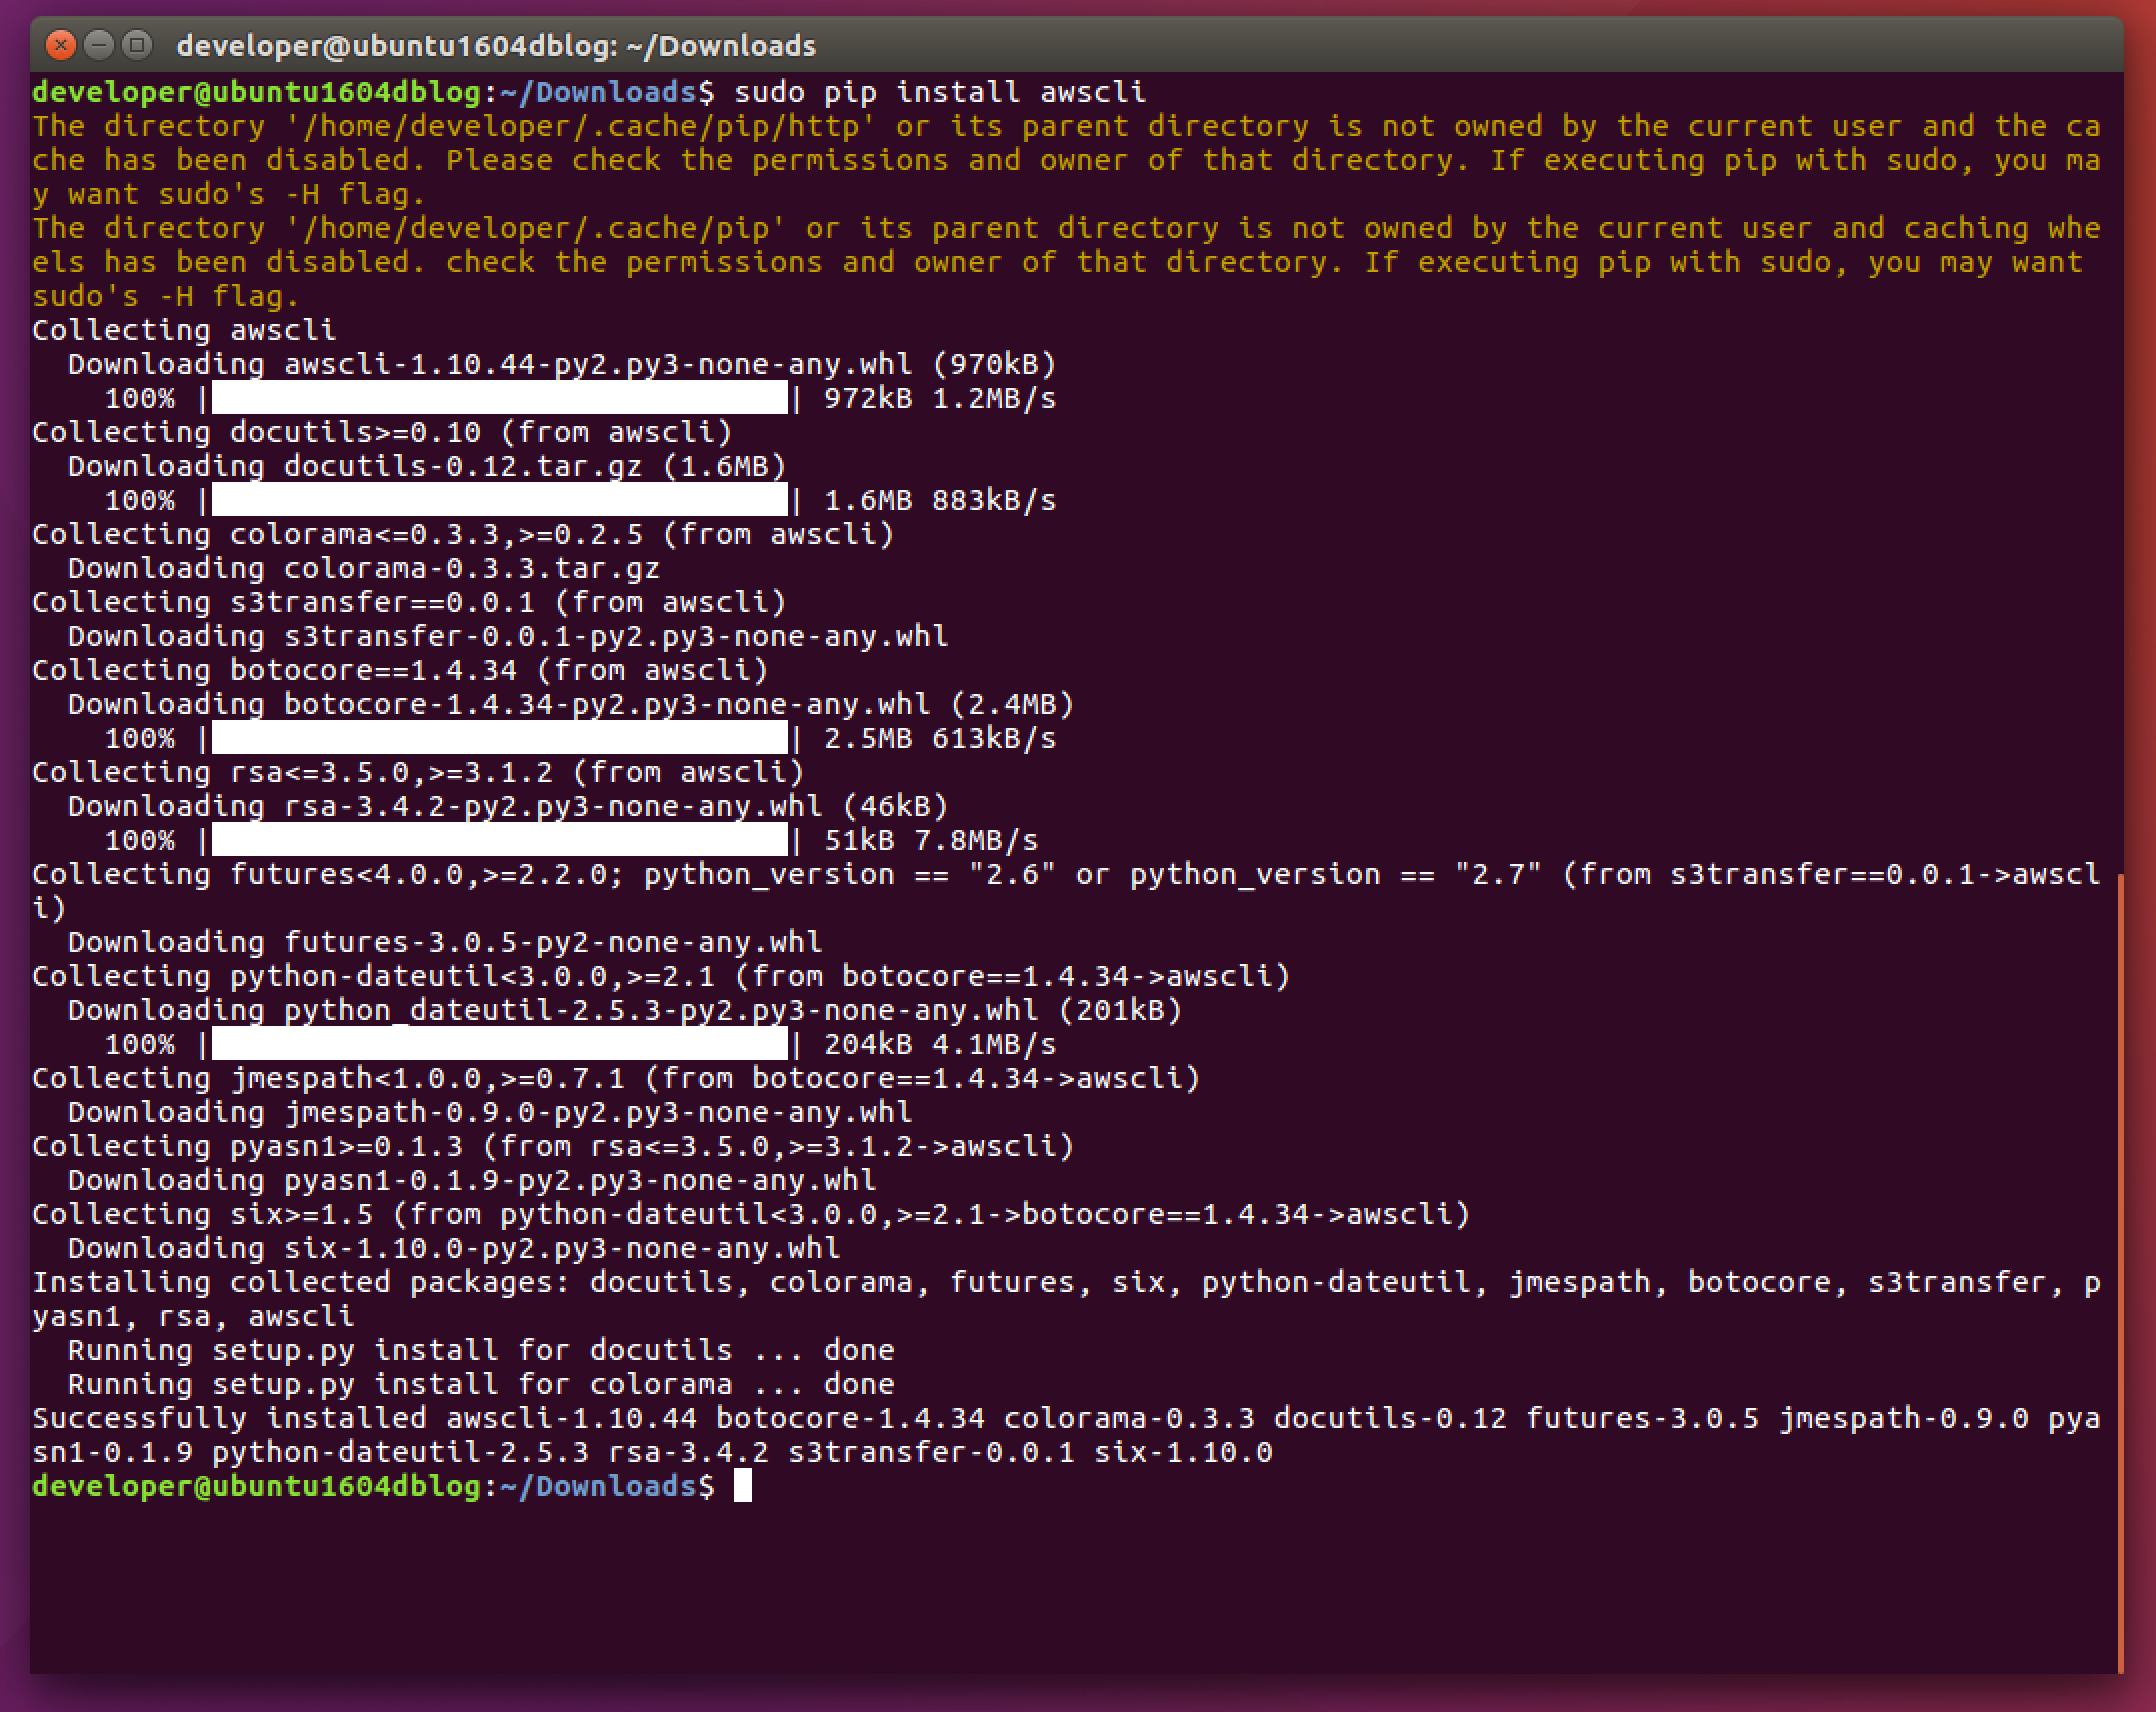
Type in the Terminal window:
$ sudo pip install awscli
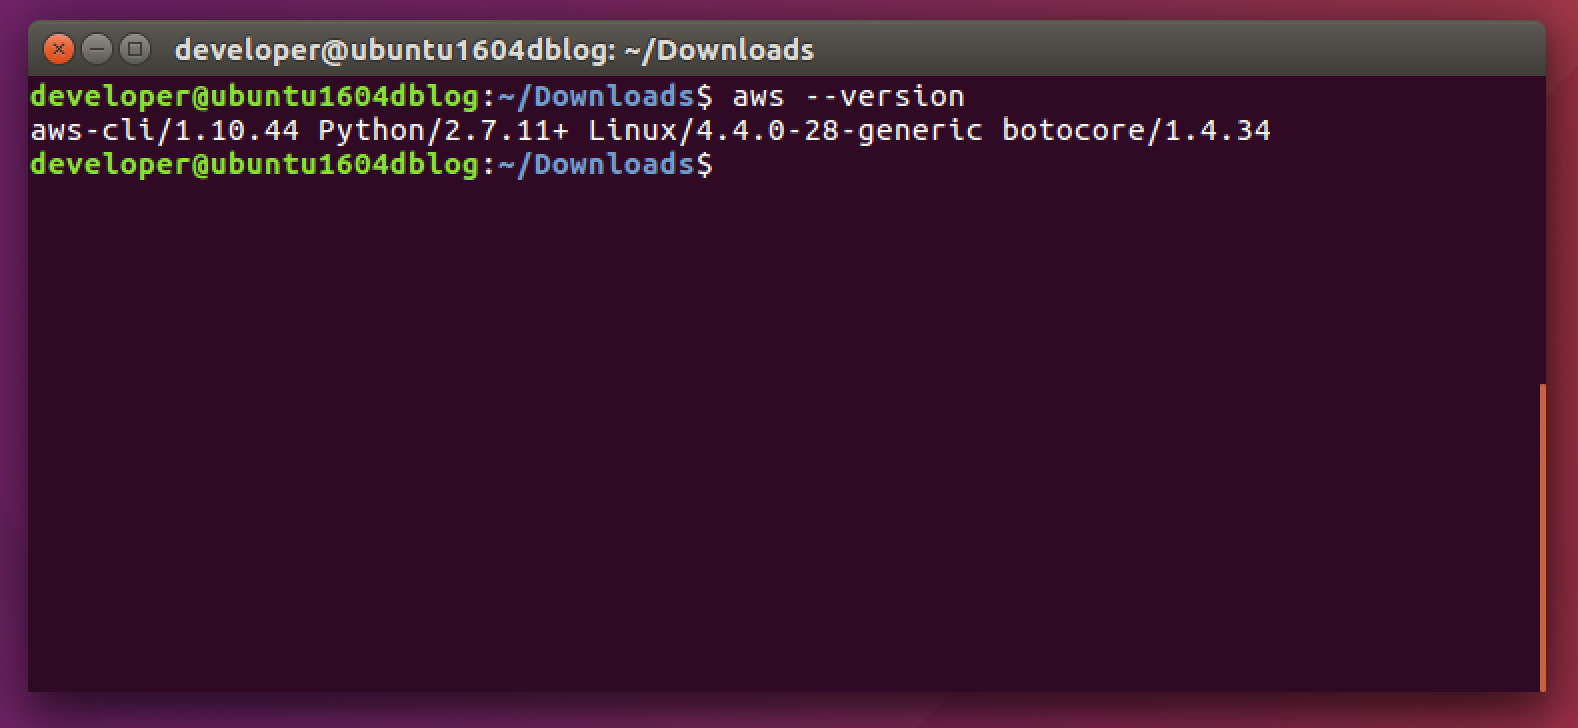
To check what version of AWS CLI was installed type in Terminal window:
$ aws --version
Configure AWS CLI
To cofiggure AWS CLI we need IAM User’s Access Key ID and Secret Key ID.
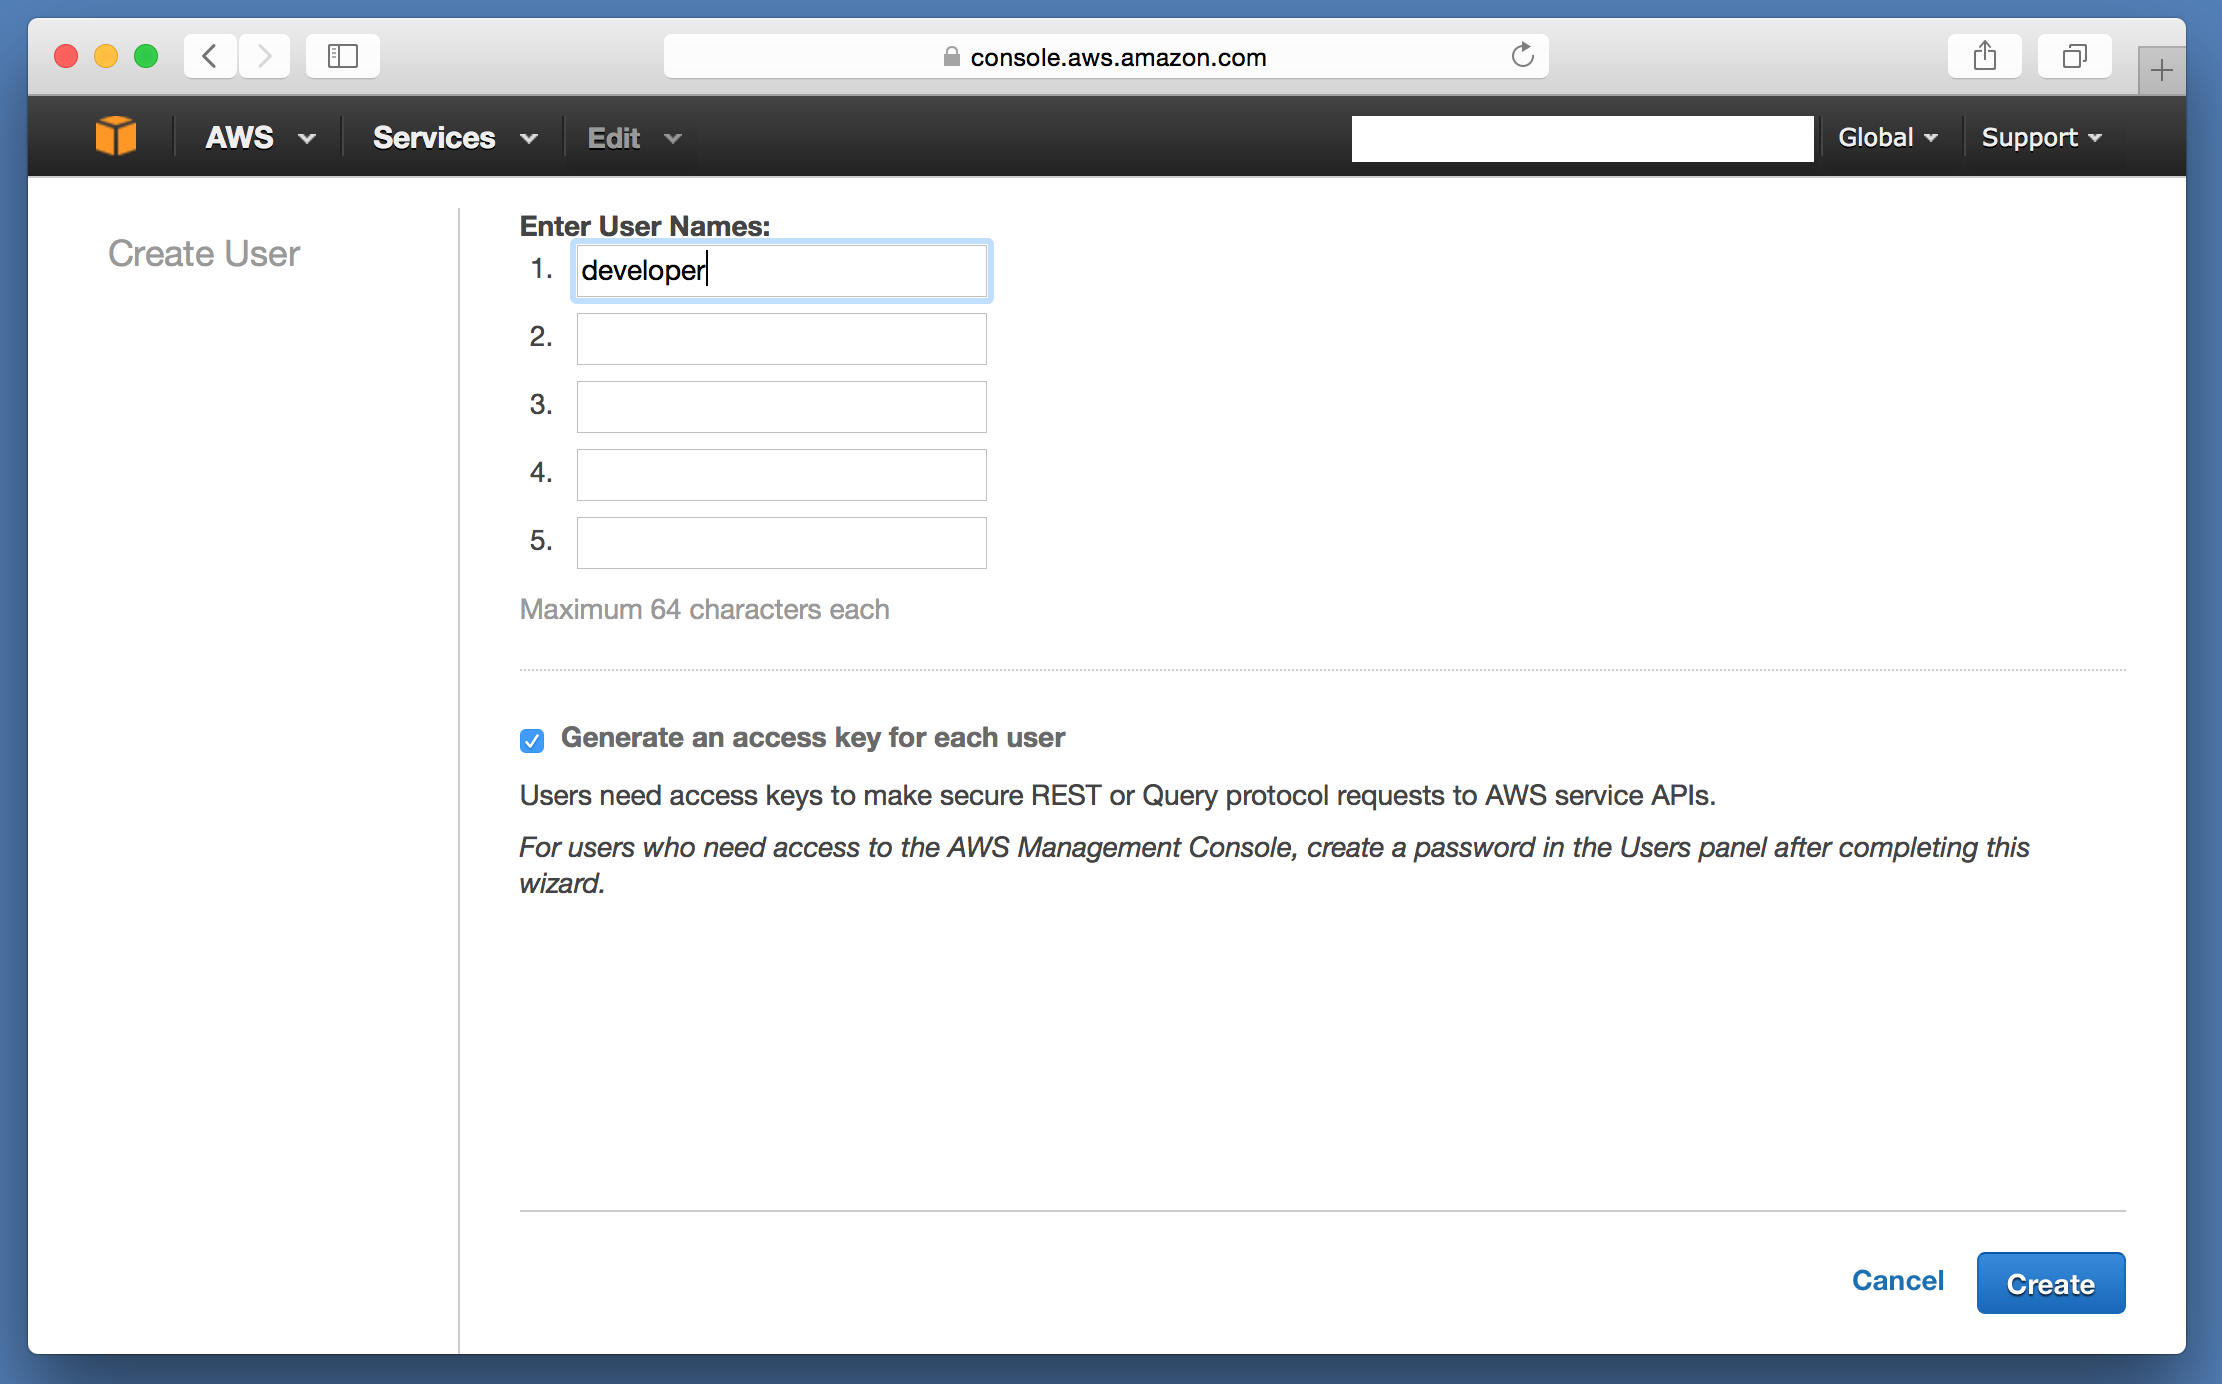
Login to AWS Console using your AWS IAM Admin User, Select Identity & Access Management and then select Users on the left pane
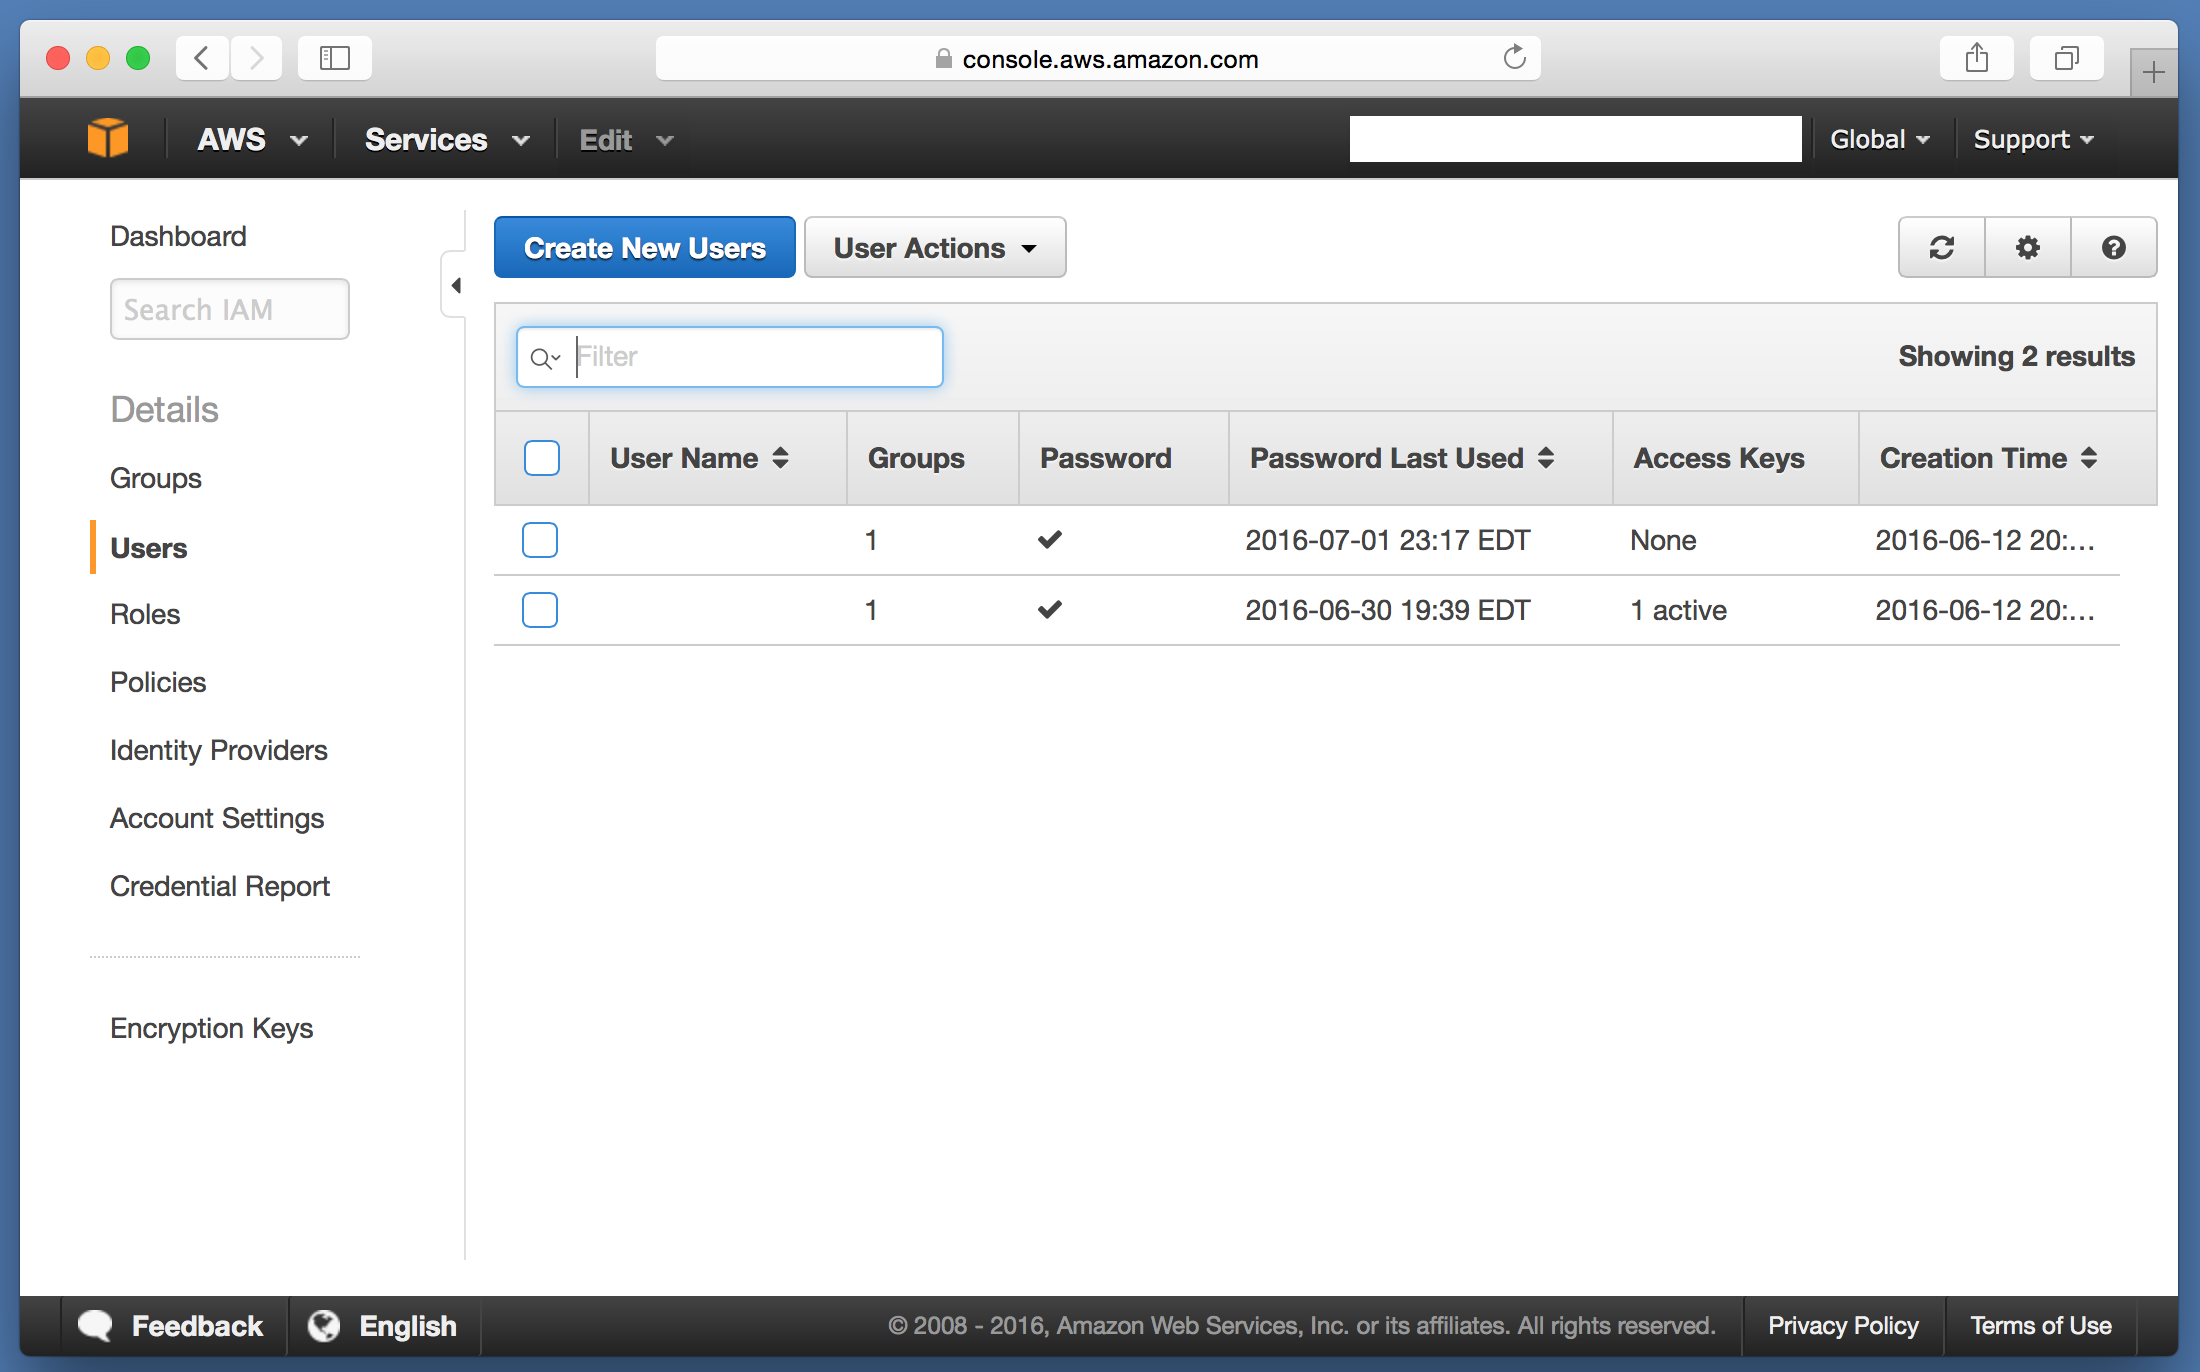
Hit Create New Users button, provide new user’s name and keep Generate an access key for each user checked.
Hit Create button, then on Show User Security Credentials. Copy Access Key ID and Secret Access Key to clipboard or alternatively hit Download Credentials button and save the file with credentials in the folder that is shared with VM that Ubuntu is running on.
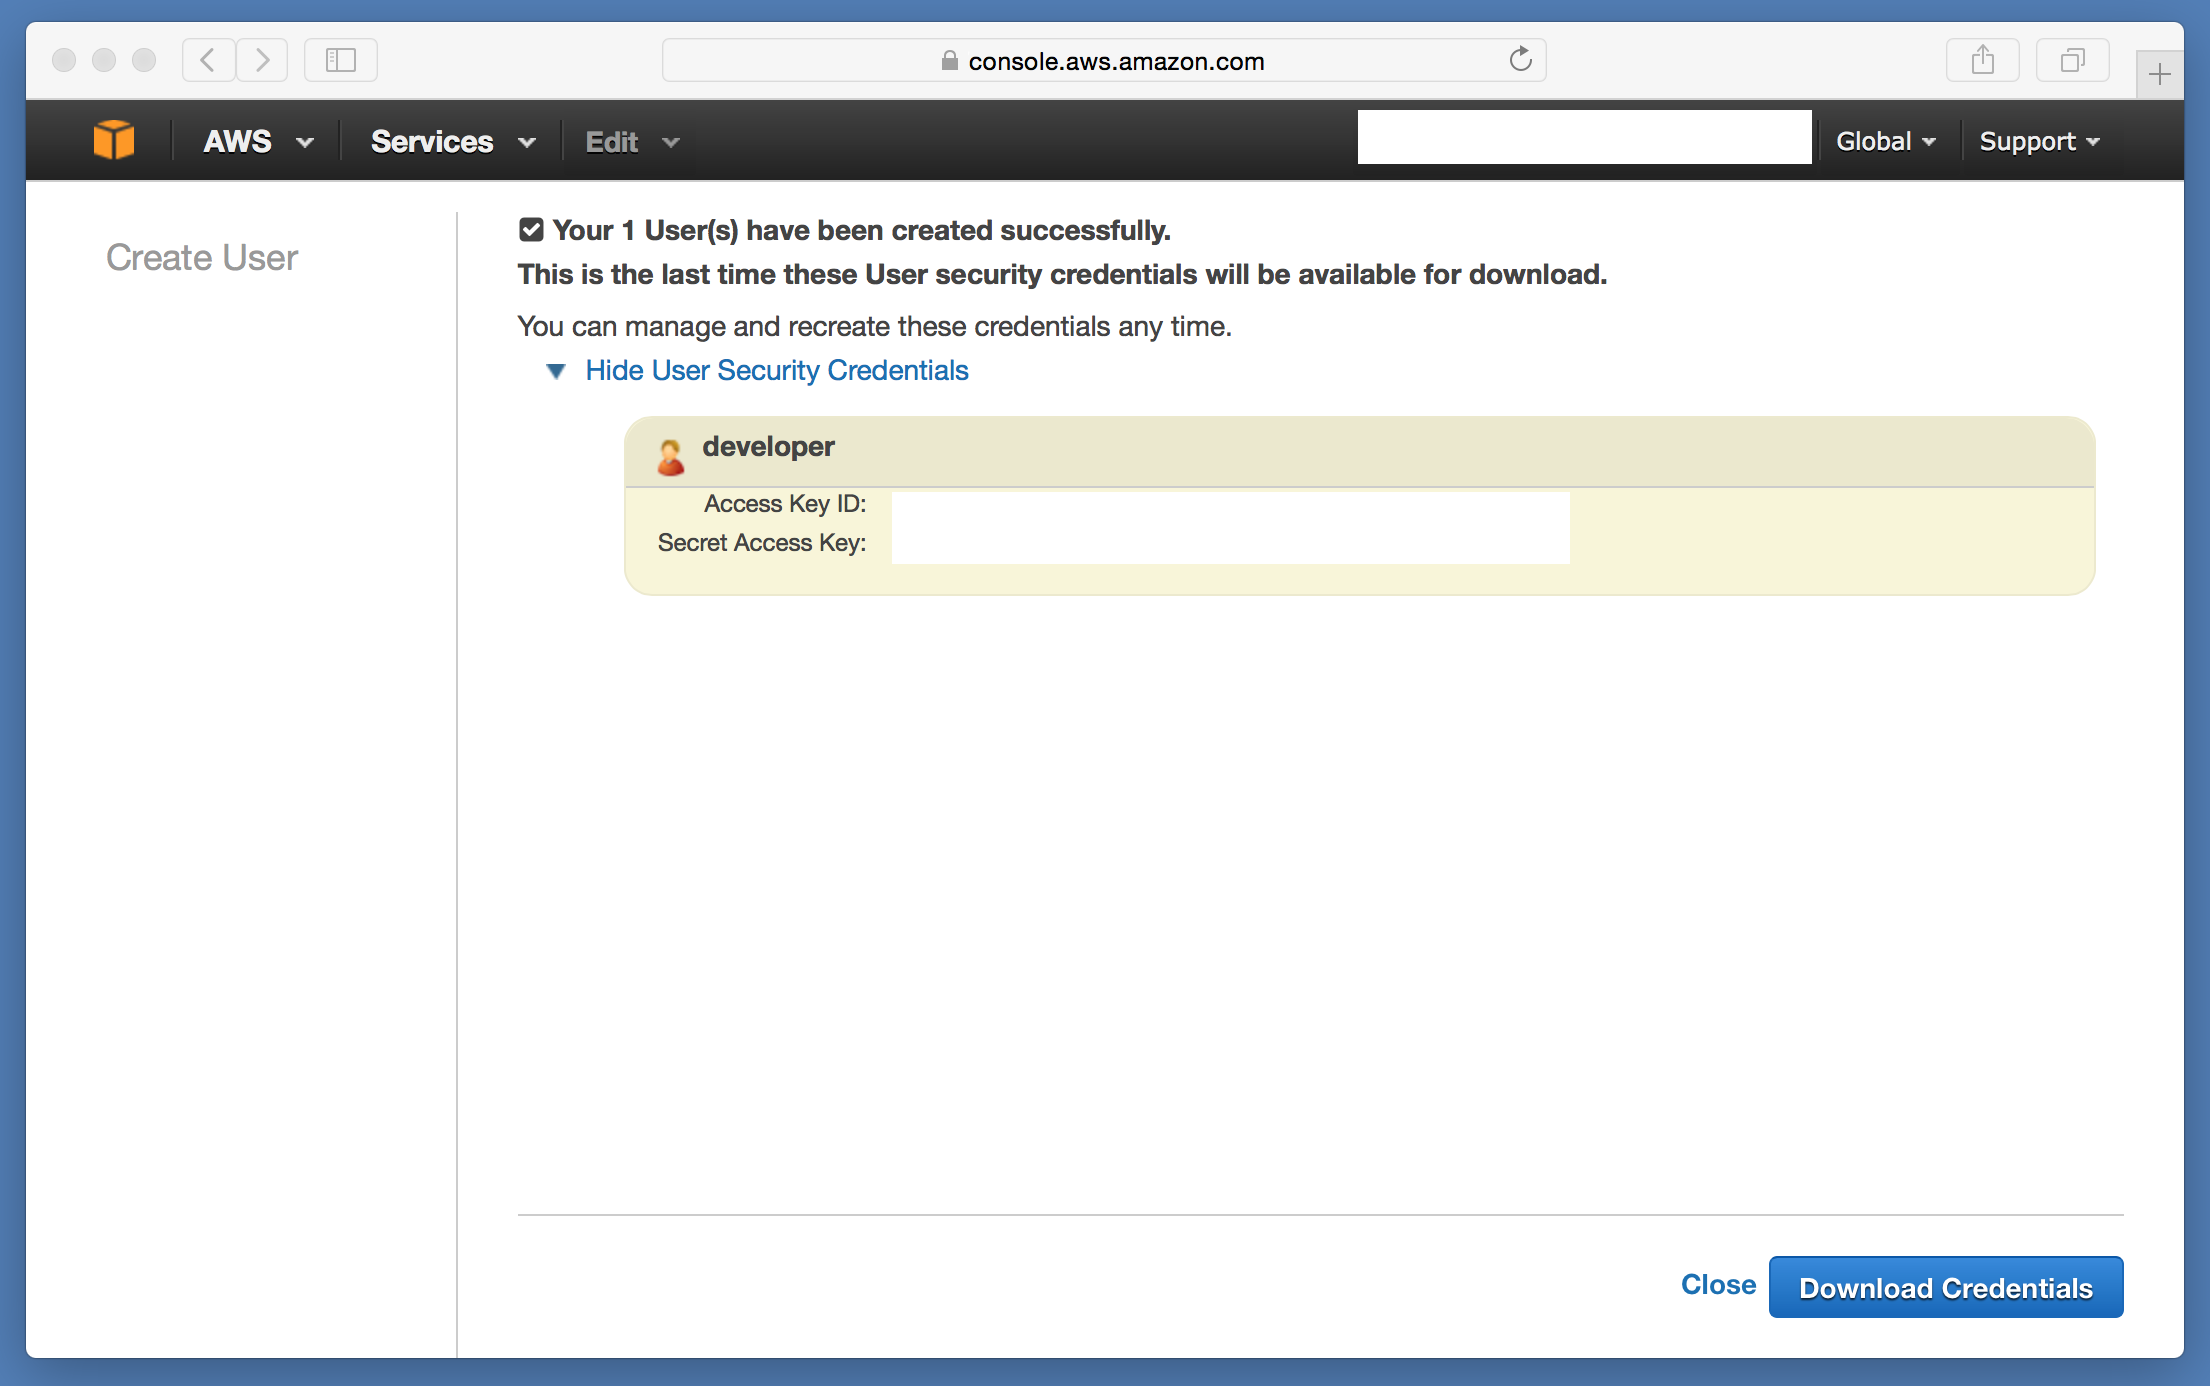
Hit Close button.
By default, IAM users have no permissions, so allow the user to do anything you need to explicitly grant permissions by either attaching a policy to the IAM user, or adding it to a group (which already has policy attached to it).
Click Policies link on the left pane, in Filter type “PowerUser” and check PowerUserAccess policy

Hit Policy Actions button and select Attach.
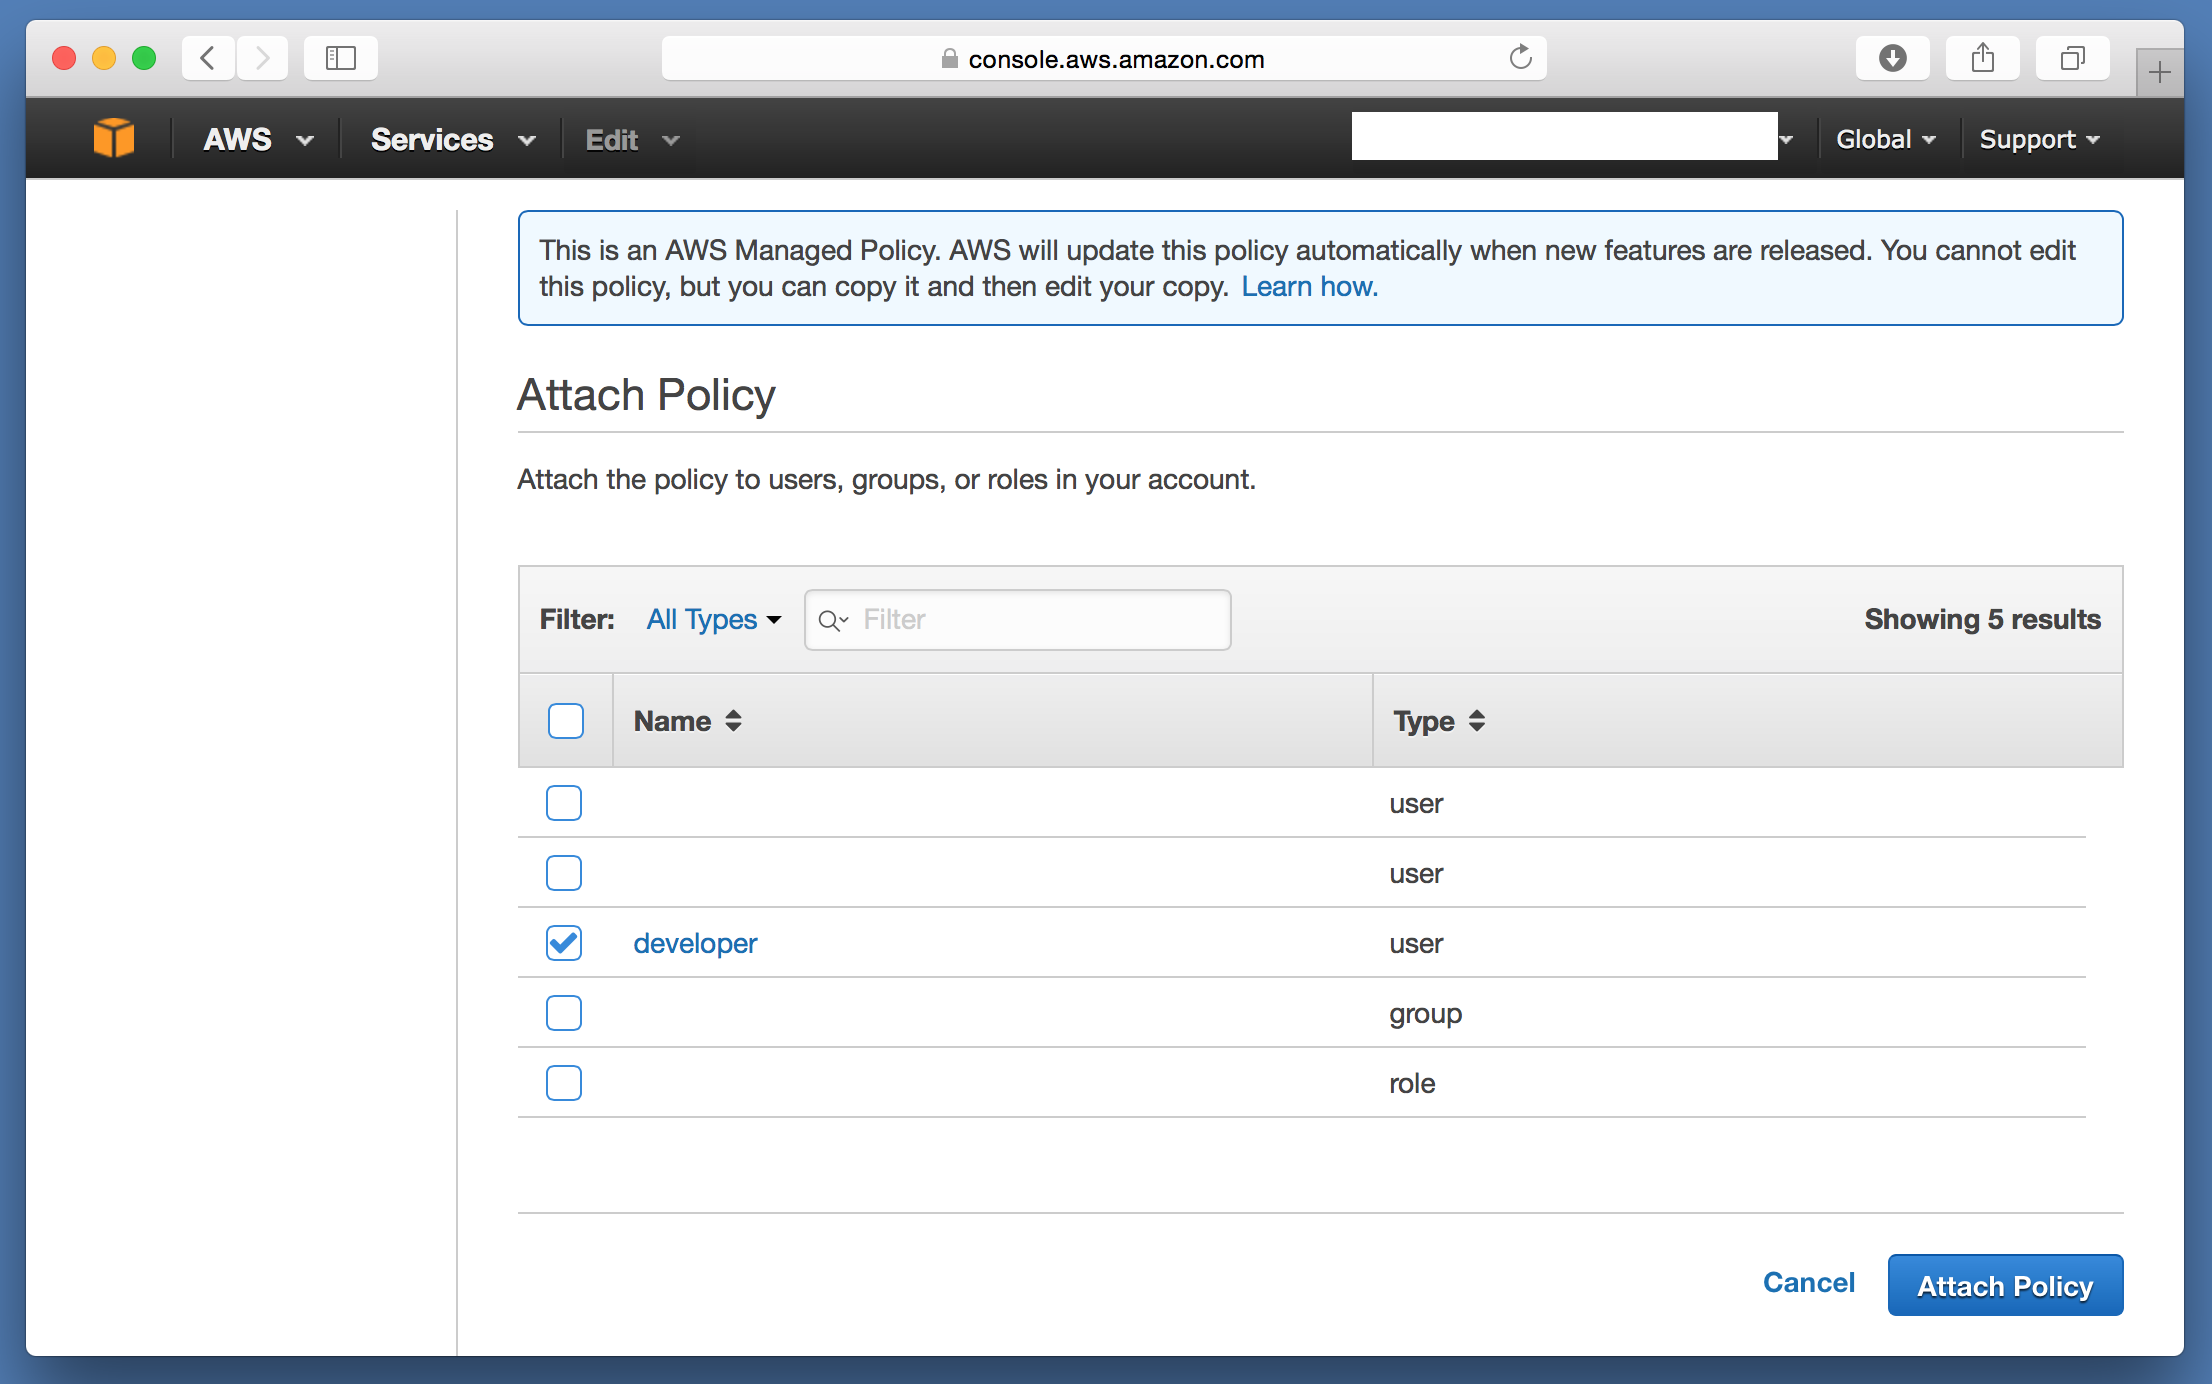
Check developer and hit Attach Policy button.
Now, we can use developer IAM User’s to configure AWS CLI to connect to AWS services.
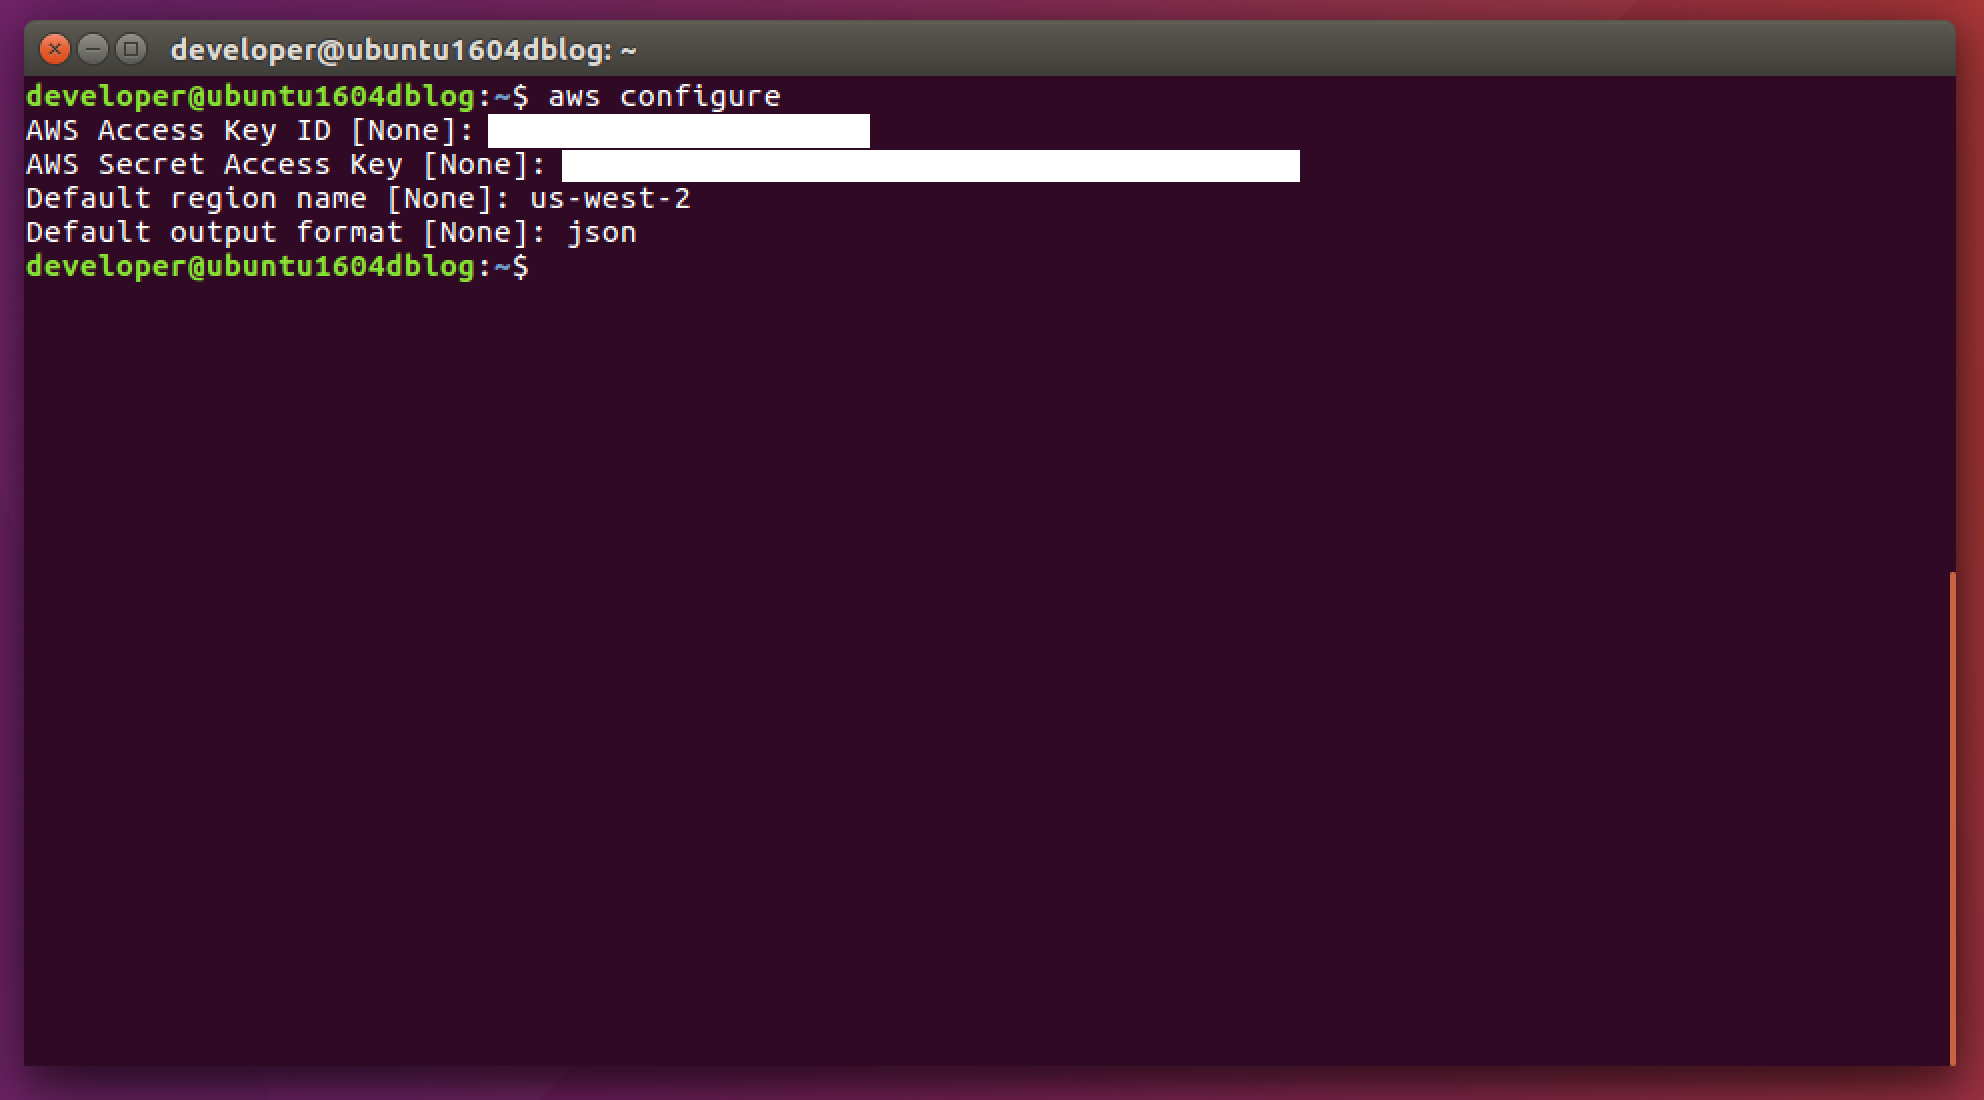
Go back to Ubuntu Desktop and type in the Terminal window:
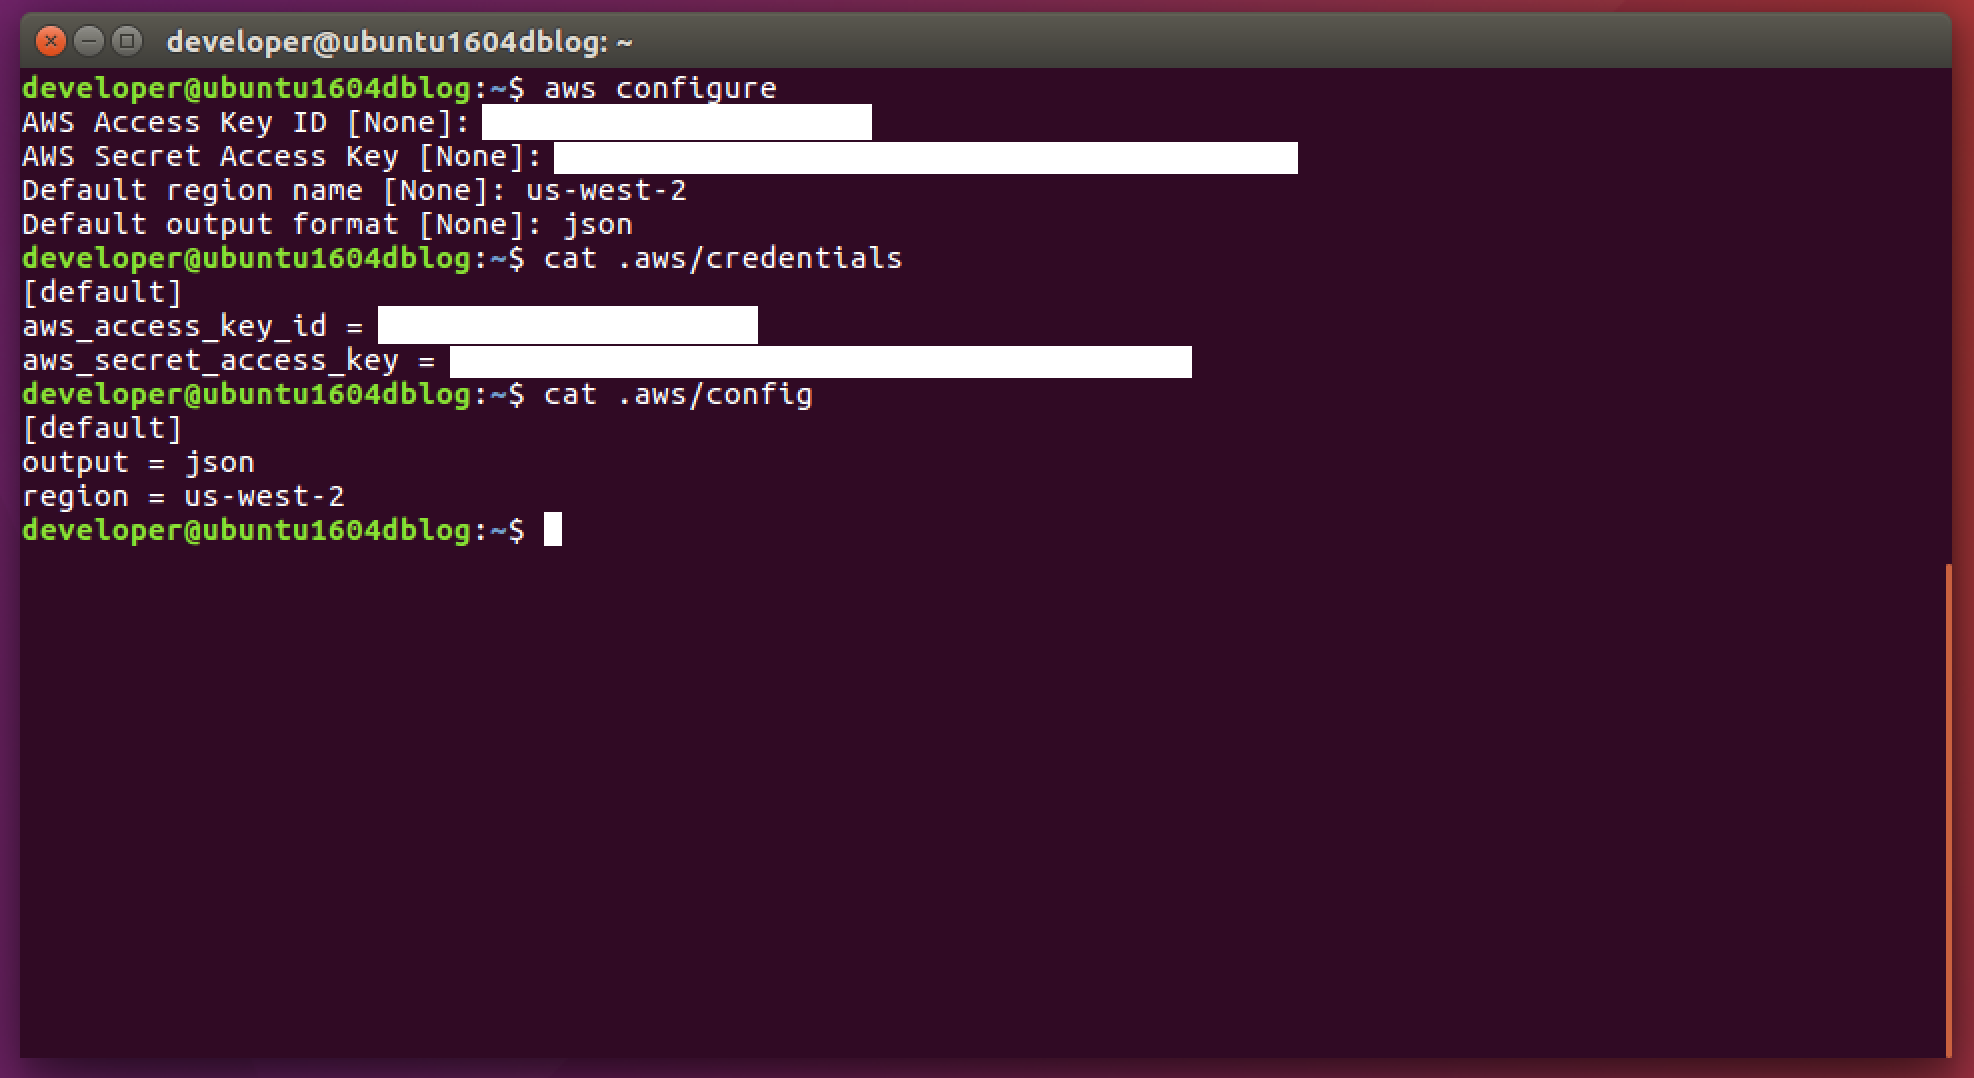
$ aws configure
AWS Access Key ID [None]: XXXXXXXXXXXXXXXXXXXX
AWS Secret Access Key [None]: XXXXXXXXXXXXXXXXXXXXXXXXXXXXXXXXXXXXXXXX
Default region name [None]: us-west-2
Default output format [None]: json
If you are curious where is this configuration is stored, it is in two files – credentials and config that are located in .aws directory
$ cat .aws/credentials
$ cat .aws/config
At this point you have successfully installed and configured AWS CLI and is ready to start issuing commands to AWS. For instance, to see what EC2 instances are running in us-west-2 region, type
$ aws ec2 describe-instances
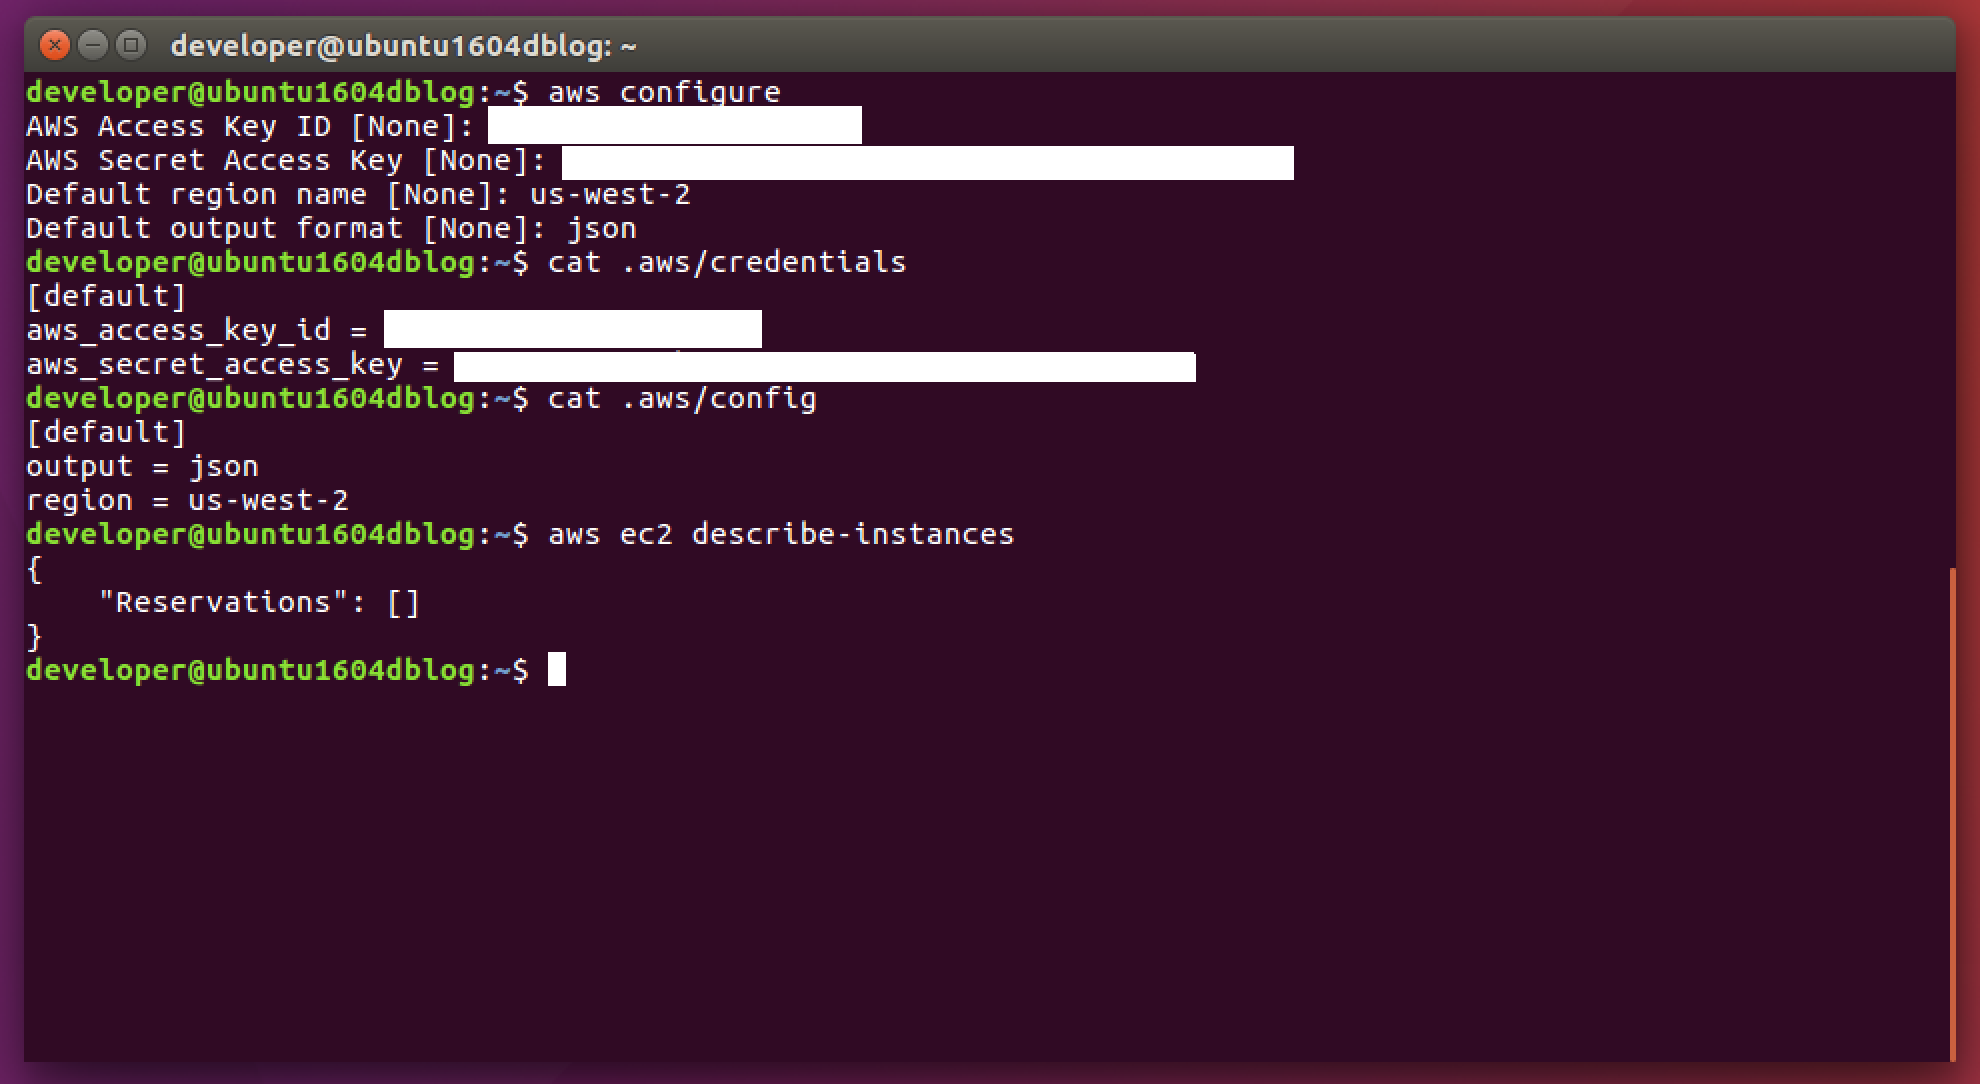
And, because we did not start any – no instances are running.
See Also:

[…] Installing And Configuring AWS CLI on Ubuntu Desktop […]