In this post I will share how to install VS Code (Microsoft Visual Studio Code) and work with GitHub repository.
Note: this post is a part of the series of posts about my experience using Ubuntu Desktop for software development.
Prerequisites
For VS Code to work with GitHub repositories it requires Git installed on your machine. Follow these steps to Install and Configure Git and GitHub on Ubuntu Desktop.
Installing VS Code
To install VS Code (current version 1.4) visit VS Code for Linux Docs page and you will be prompted to download the package and open it in Software Install.
 Hit OK and install the package. After that you will be presented with Getting Started page. And that’s all you need to do to install VS Code on Ubuntu Desktop.
Working with GitHub repositories from VS Code (Git Workflow)
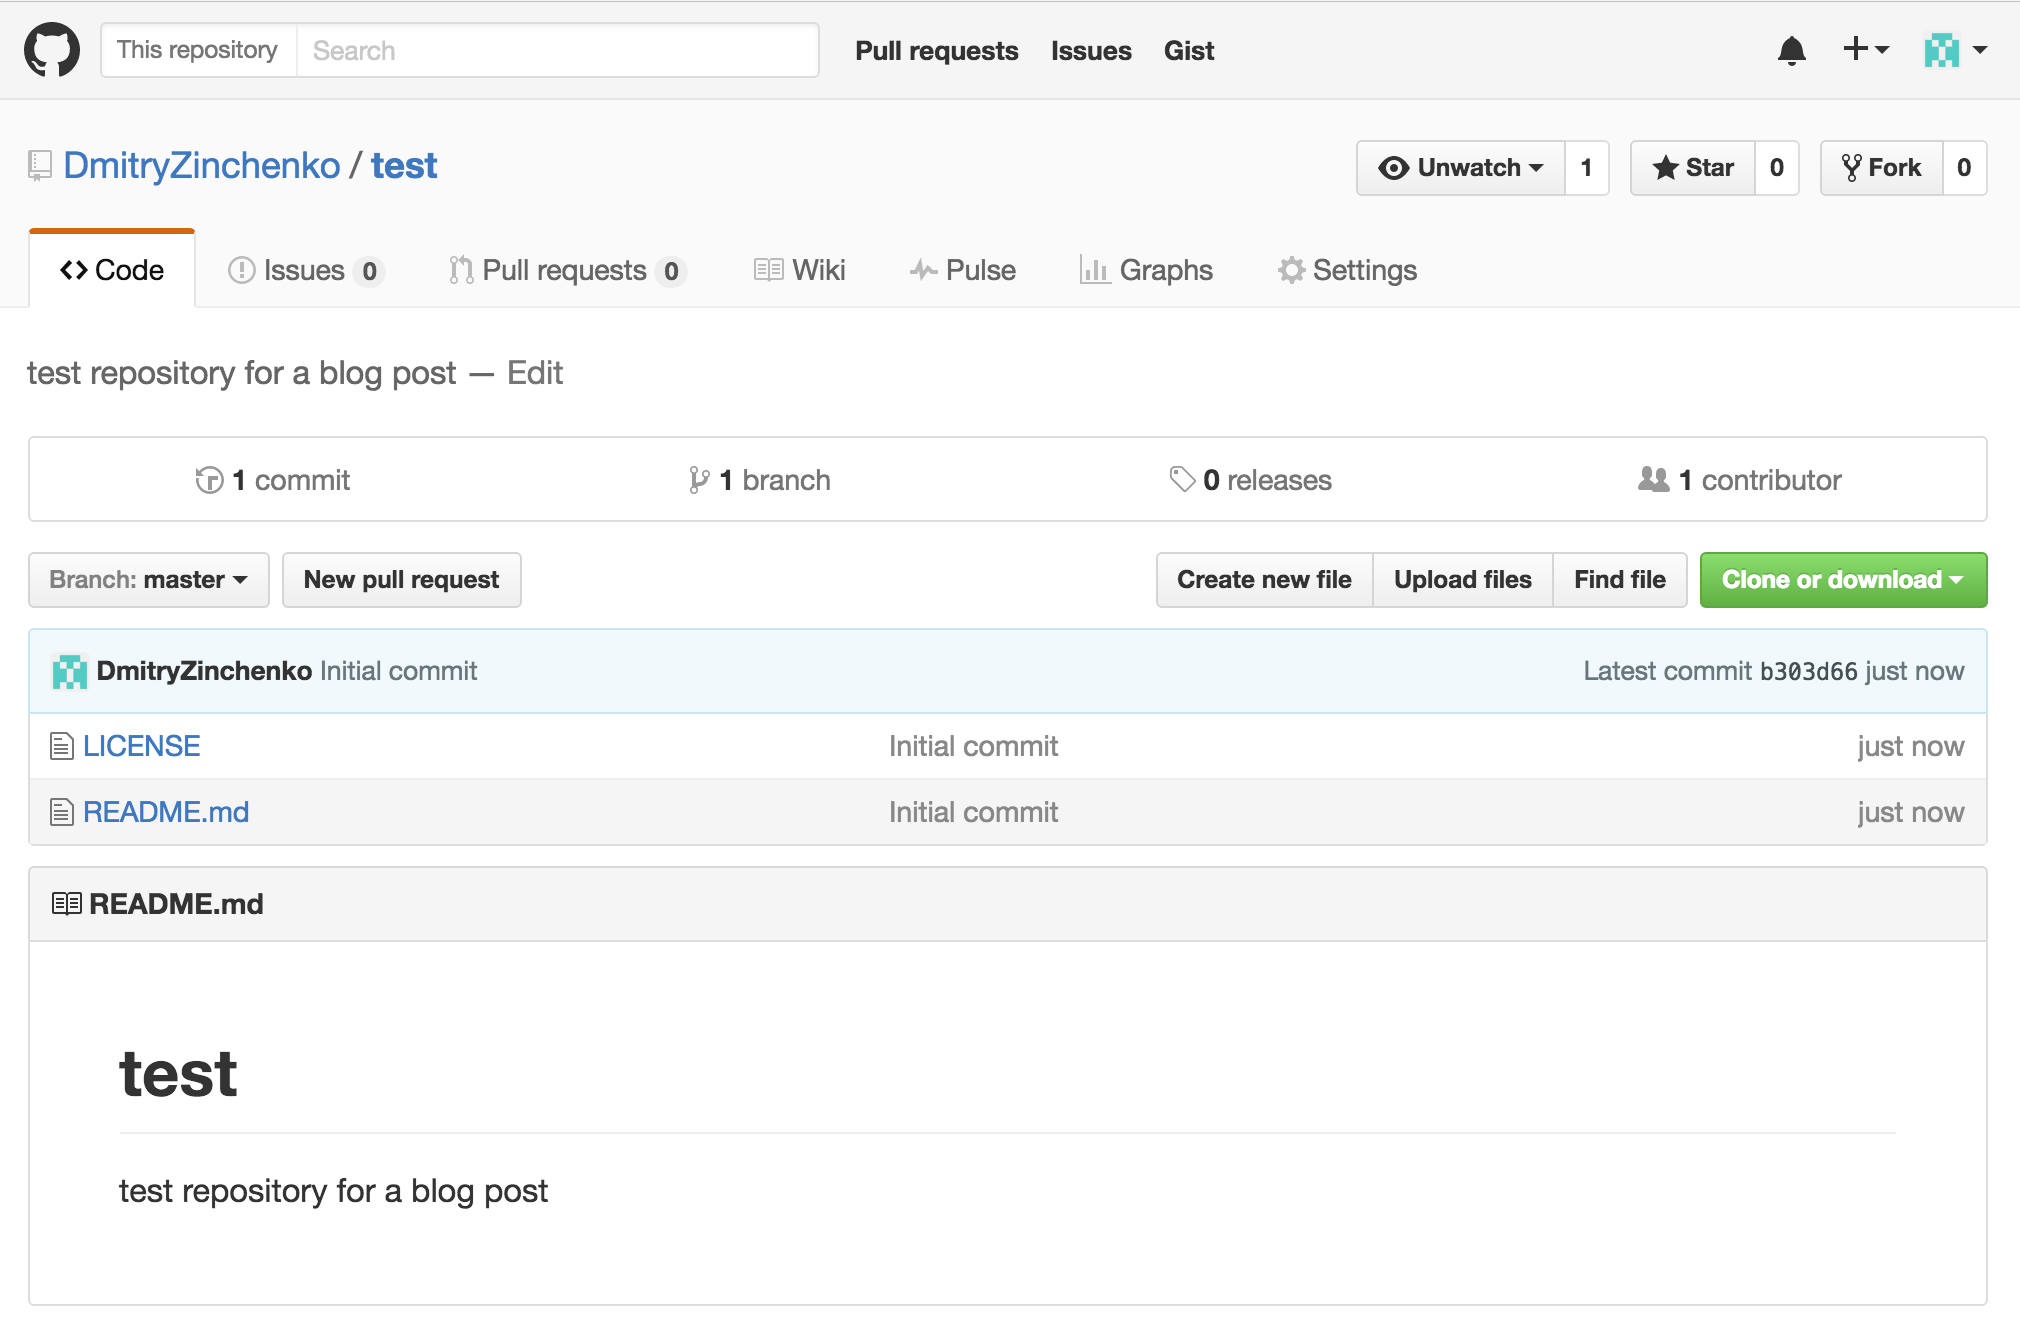
Create a new repository on GitHub and then clone it in src directory.
$ mkdir src
$ cd src
$ git clone https://github.com/DmitryZinchenko/test.git
$ cd test
$ cat .git/config
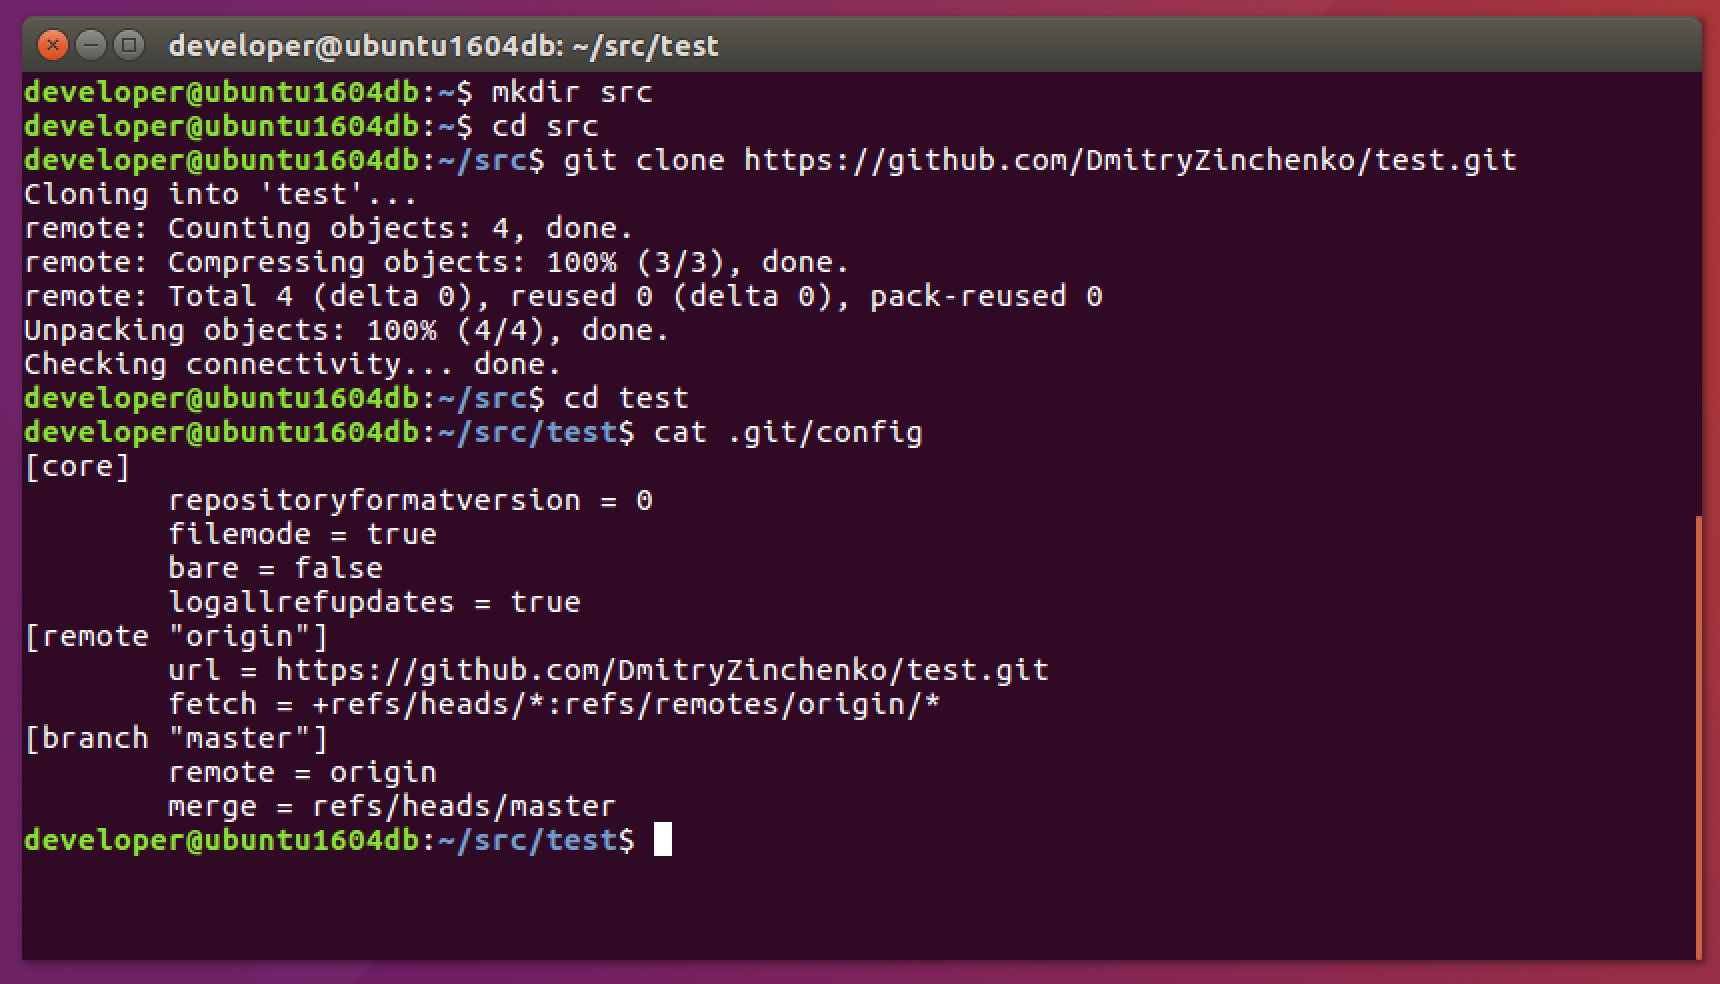
As you can see, we’ve got fully configured local repository. Let’s start VS Code. In Terminal type “code .“. The “.” (dot) represents the current directory, which is ~/src/test.
$ code .
VS Code starts in EXPLORER pane in View Bar and you can see that in TEST directory there are two files – LICENSE and README.md.

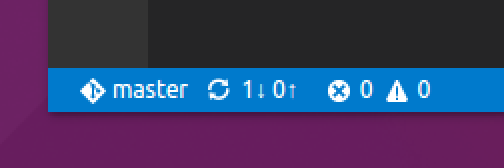
The Side Bar in lower left corner lets us know that we are in a master branch.
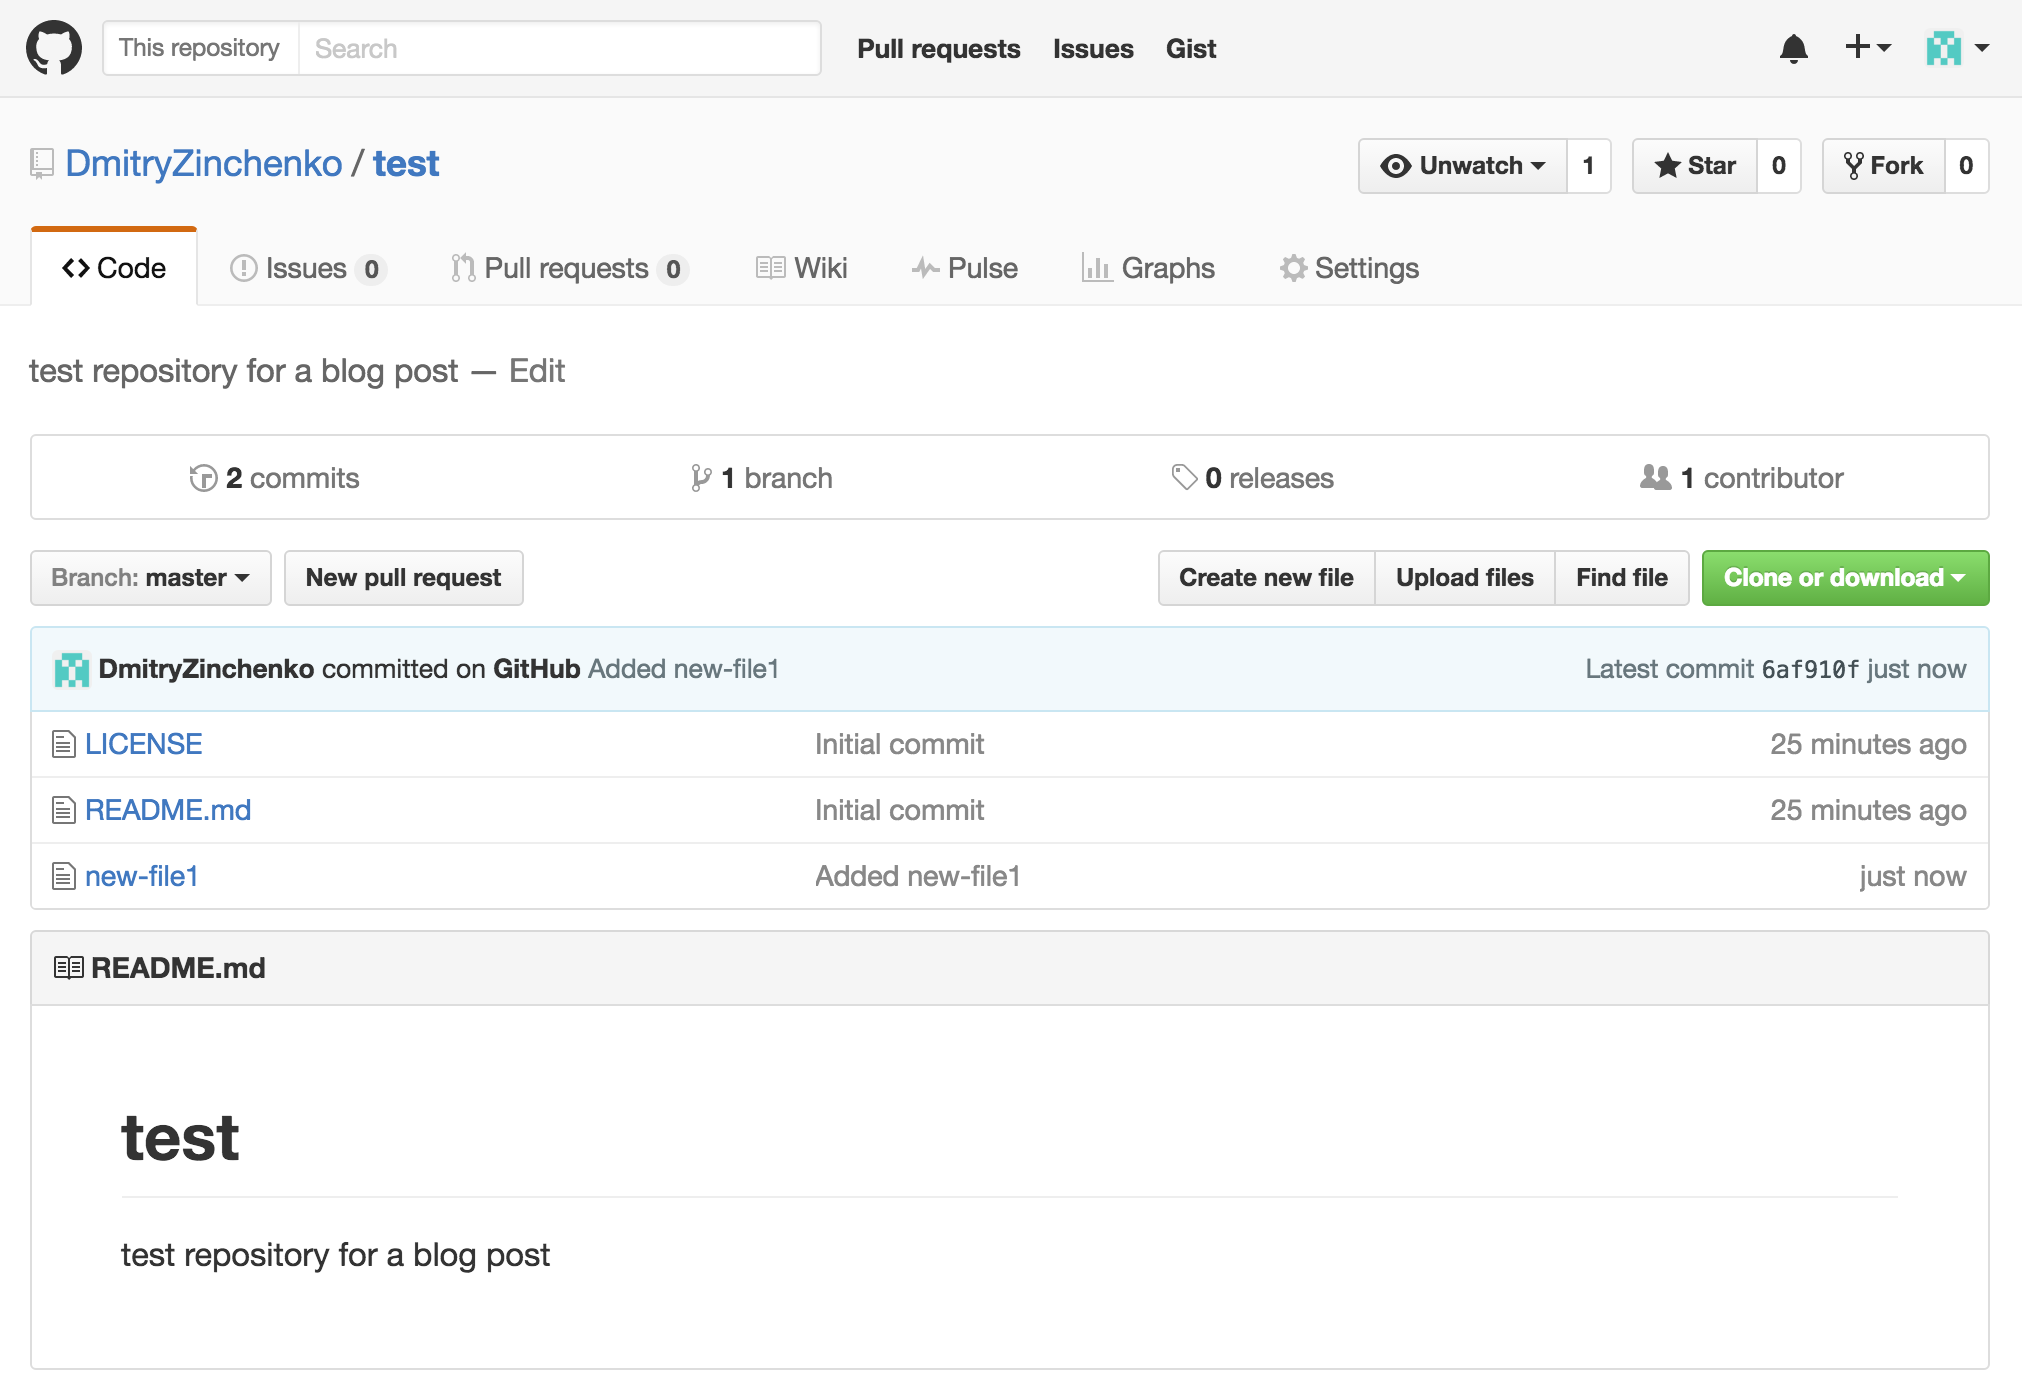
Let’s simulate changes to the remote repo by adding a new file directly on GitHub site.
In a few seconds VS Code will let us know that there’s one downstream changeset.
If you want to see output from Git hit Ctrl+H, Ctrl+K to view OUTPUT window and select Git


If you prefer to work with Git in command line, you can hit Ctrl+` to view TERMINAL window and then type “git status”

Hit Synchronize Changes button to synchronize local and remote repositories. After that we’ll see new-file1 in TEST directory.

Now, let’s add a new file in VS Code and push it to the remote repository. After you add new-file2 in Explorer, you’ll see dirty indicator in Side Bar as well as one change notification in Git.

Switch to GIT pane in View Bar

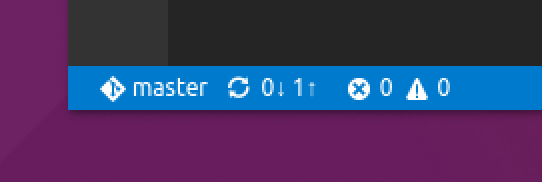
Type in a commit message in Message input box and hit Ctrl+Enter to commit. Now the Side Bar tells us that there’s one upstream changeset.
Hit Synchronize Changes button to synchronize local and remote repositories. This time you will be asked to provide username and password (or rather personal access token you created previously).


And after synchronization, if you go back to your GitHub page and refresh it – you’ll see a new file in your GitHub repository.

That’s the very basic Git Workflow using VS Code. Pretty easy!
References

[…] Installing And Configuring VS Code on Ubuntu Desktop and Git Workflow […]