Note: this post is a part of the series of posts about my experience using Ubuntu Desktop for software development.
Configuring Guest Operating System – Ubuntu Desktop 16.04
The first thing after you logon – you want to update Ubuntu. Click on the gear icon on the top right and select About This Computer

Hit Install Updates button and follow the instructions. Then restart.


Next step – installing Guest Additions into VM. In VirtualBox VM select Devices | Insert Guest Additions CD Image… menu item.


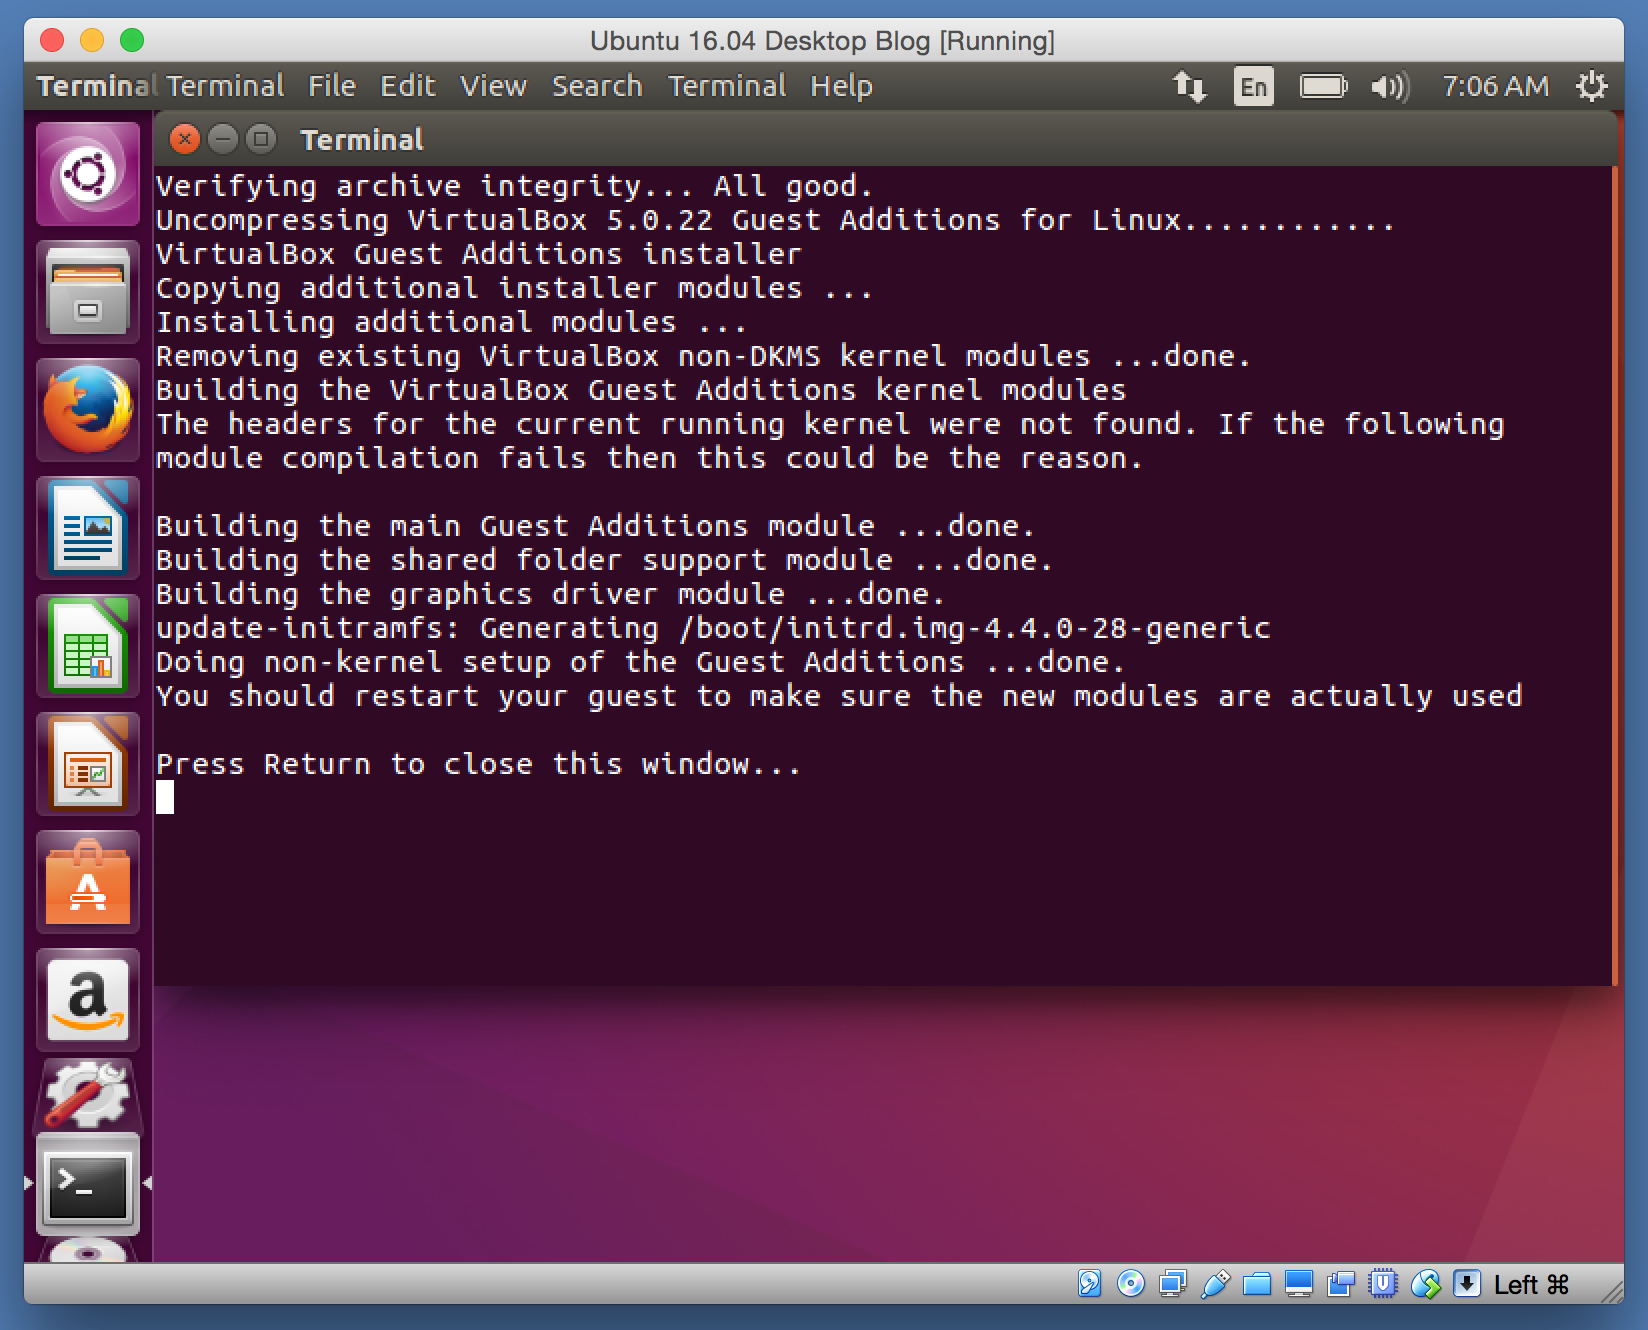
Restart Ubuntu by selecting gear menu, Shut Down… Restart.
Next – create a directory in Ubuntu (guest OS) and mount it to the shared folder in Mac OS X (host OS). If you have not done yet – make sure you set up Shared Folder in VirtualBox.
Click the top left button in the dock, called Dash, and type “terminal”, then select Terminal application.

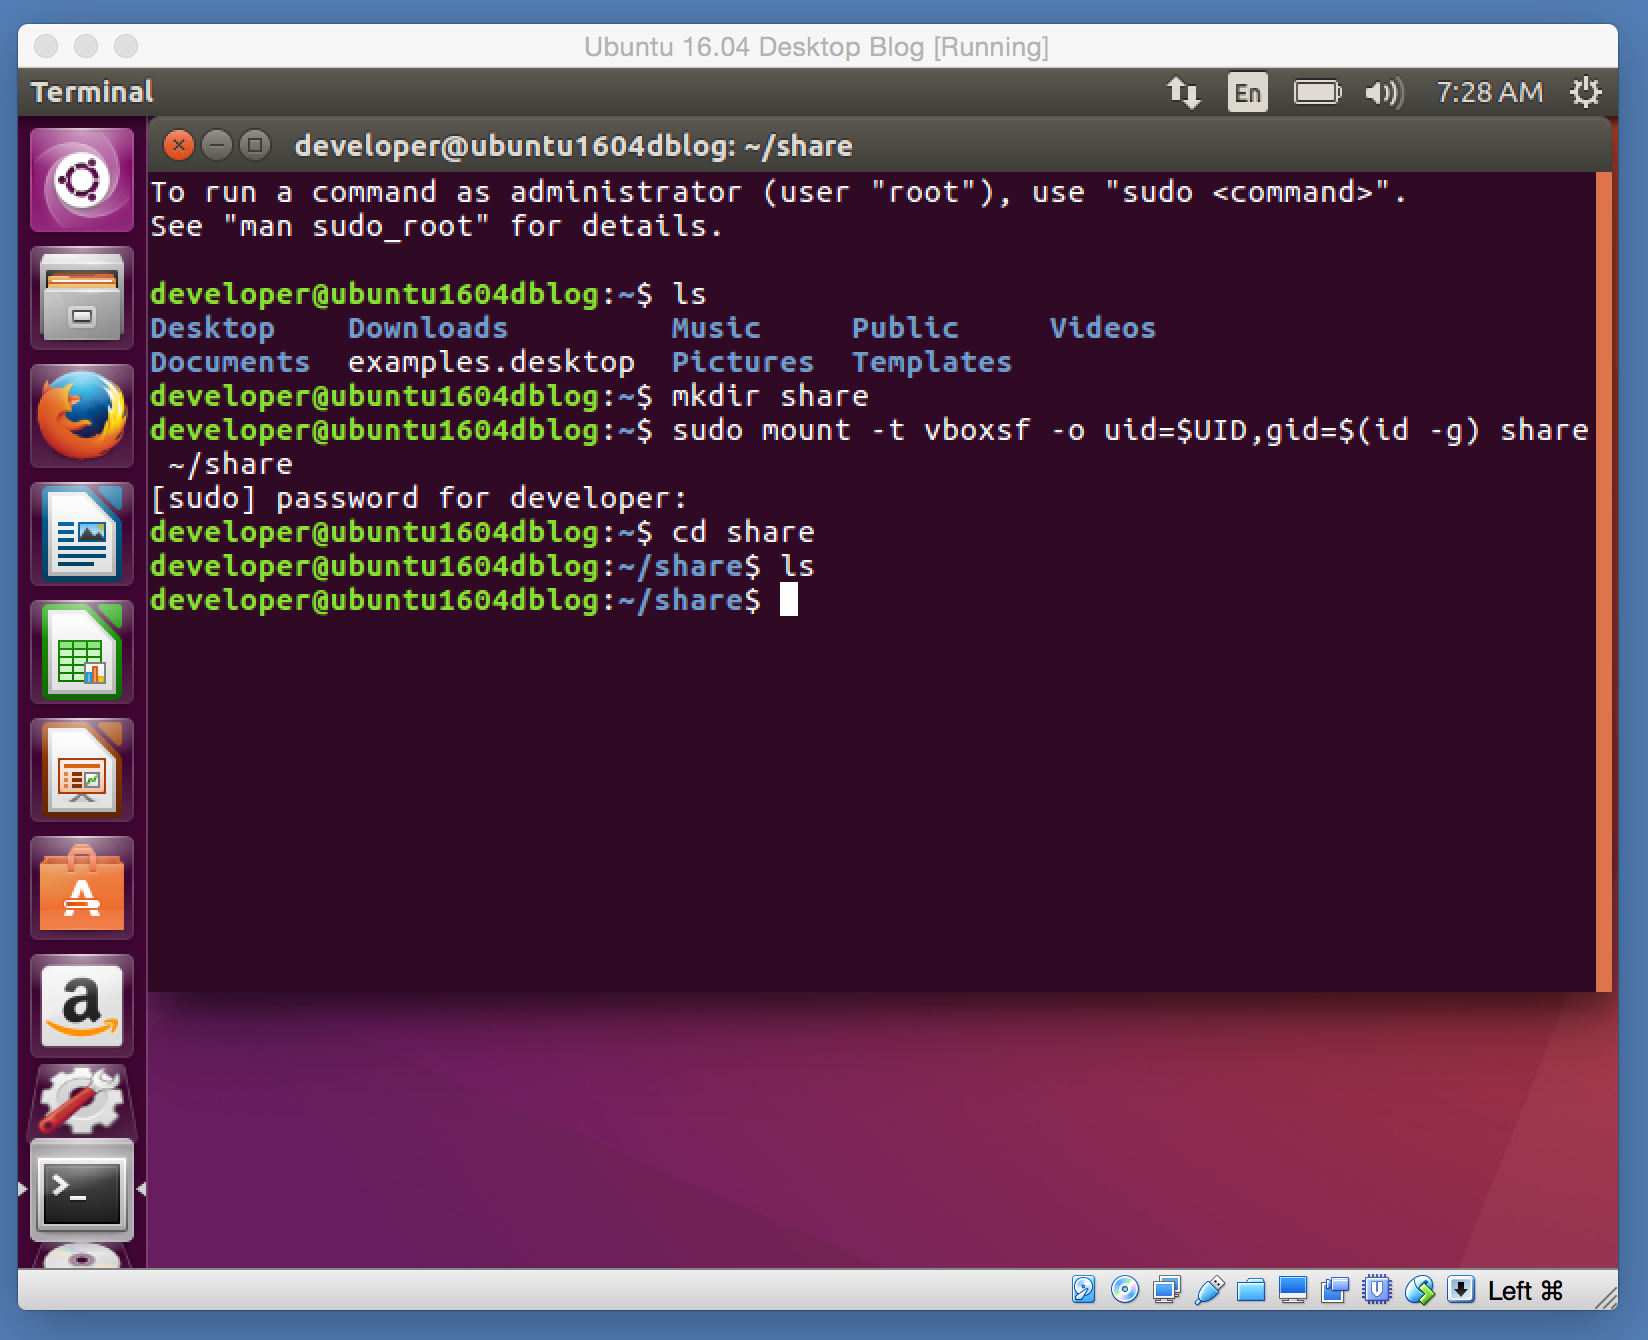
In Terminal window type the following commands:
$ ls
$ mkdir share
$ sudo mount -t vboxsf -o uid=$UID,gid=$(id -g) share ~/share
$ cd share
$ ls share
First, we check what directories we already have, then we create a directory named share, then we mount a folder named share on Mac OS X to the directory named share on Ubuntu. You might choose different names. Then we make sure that the directory share is empty.
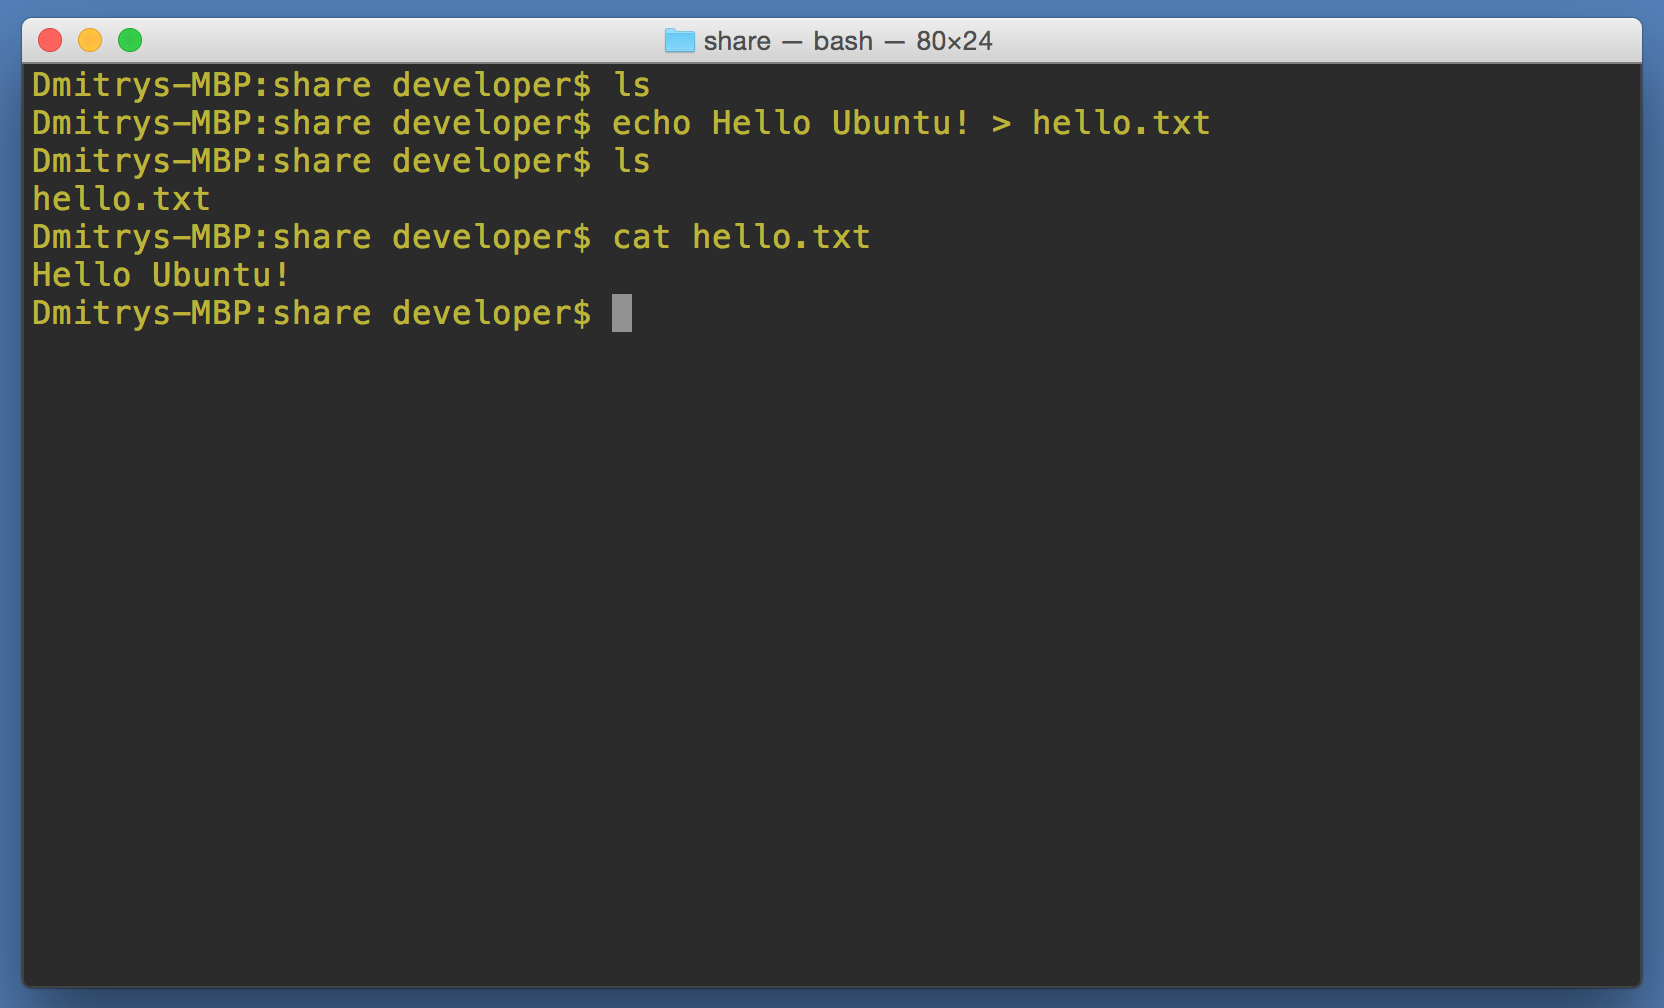
Now, switch back to your host OS (Mac OS X in my case) and type the following commands in Terminal:
$ ls
$ echo Hello Ubuntu! > hello.txt
$ ls
$ cat hello.txt
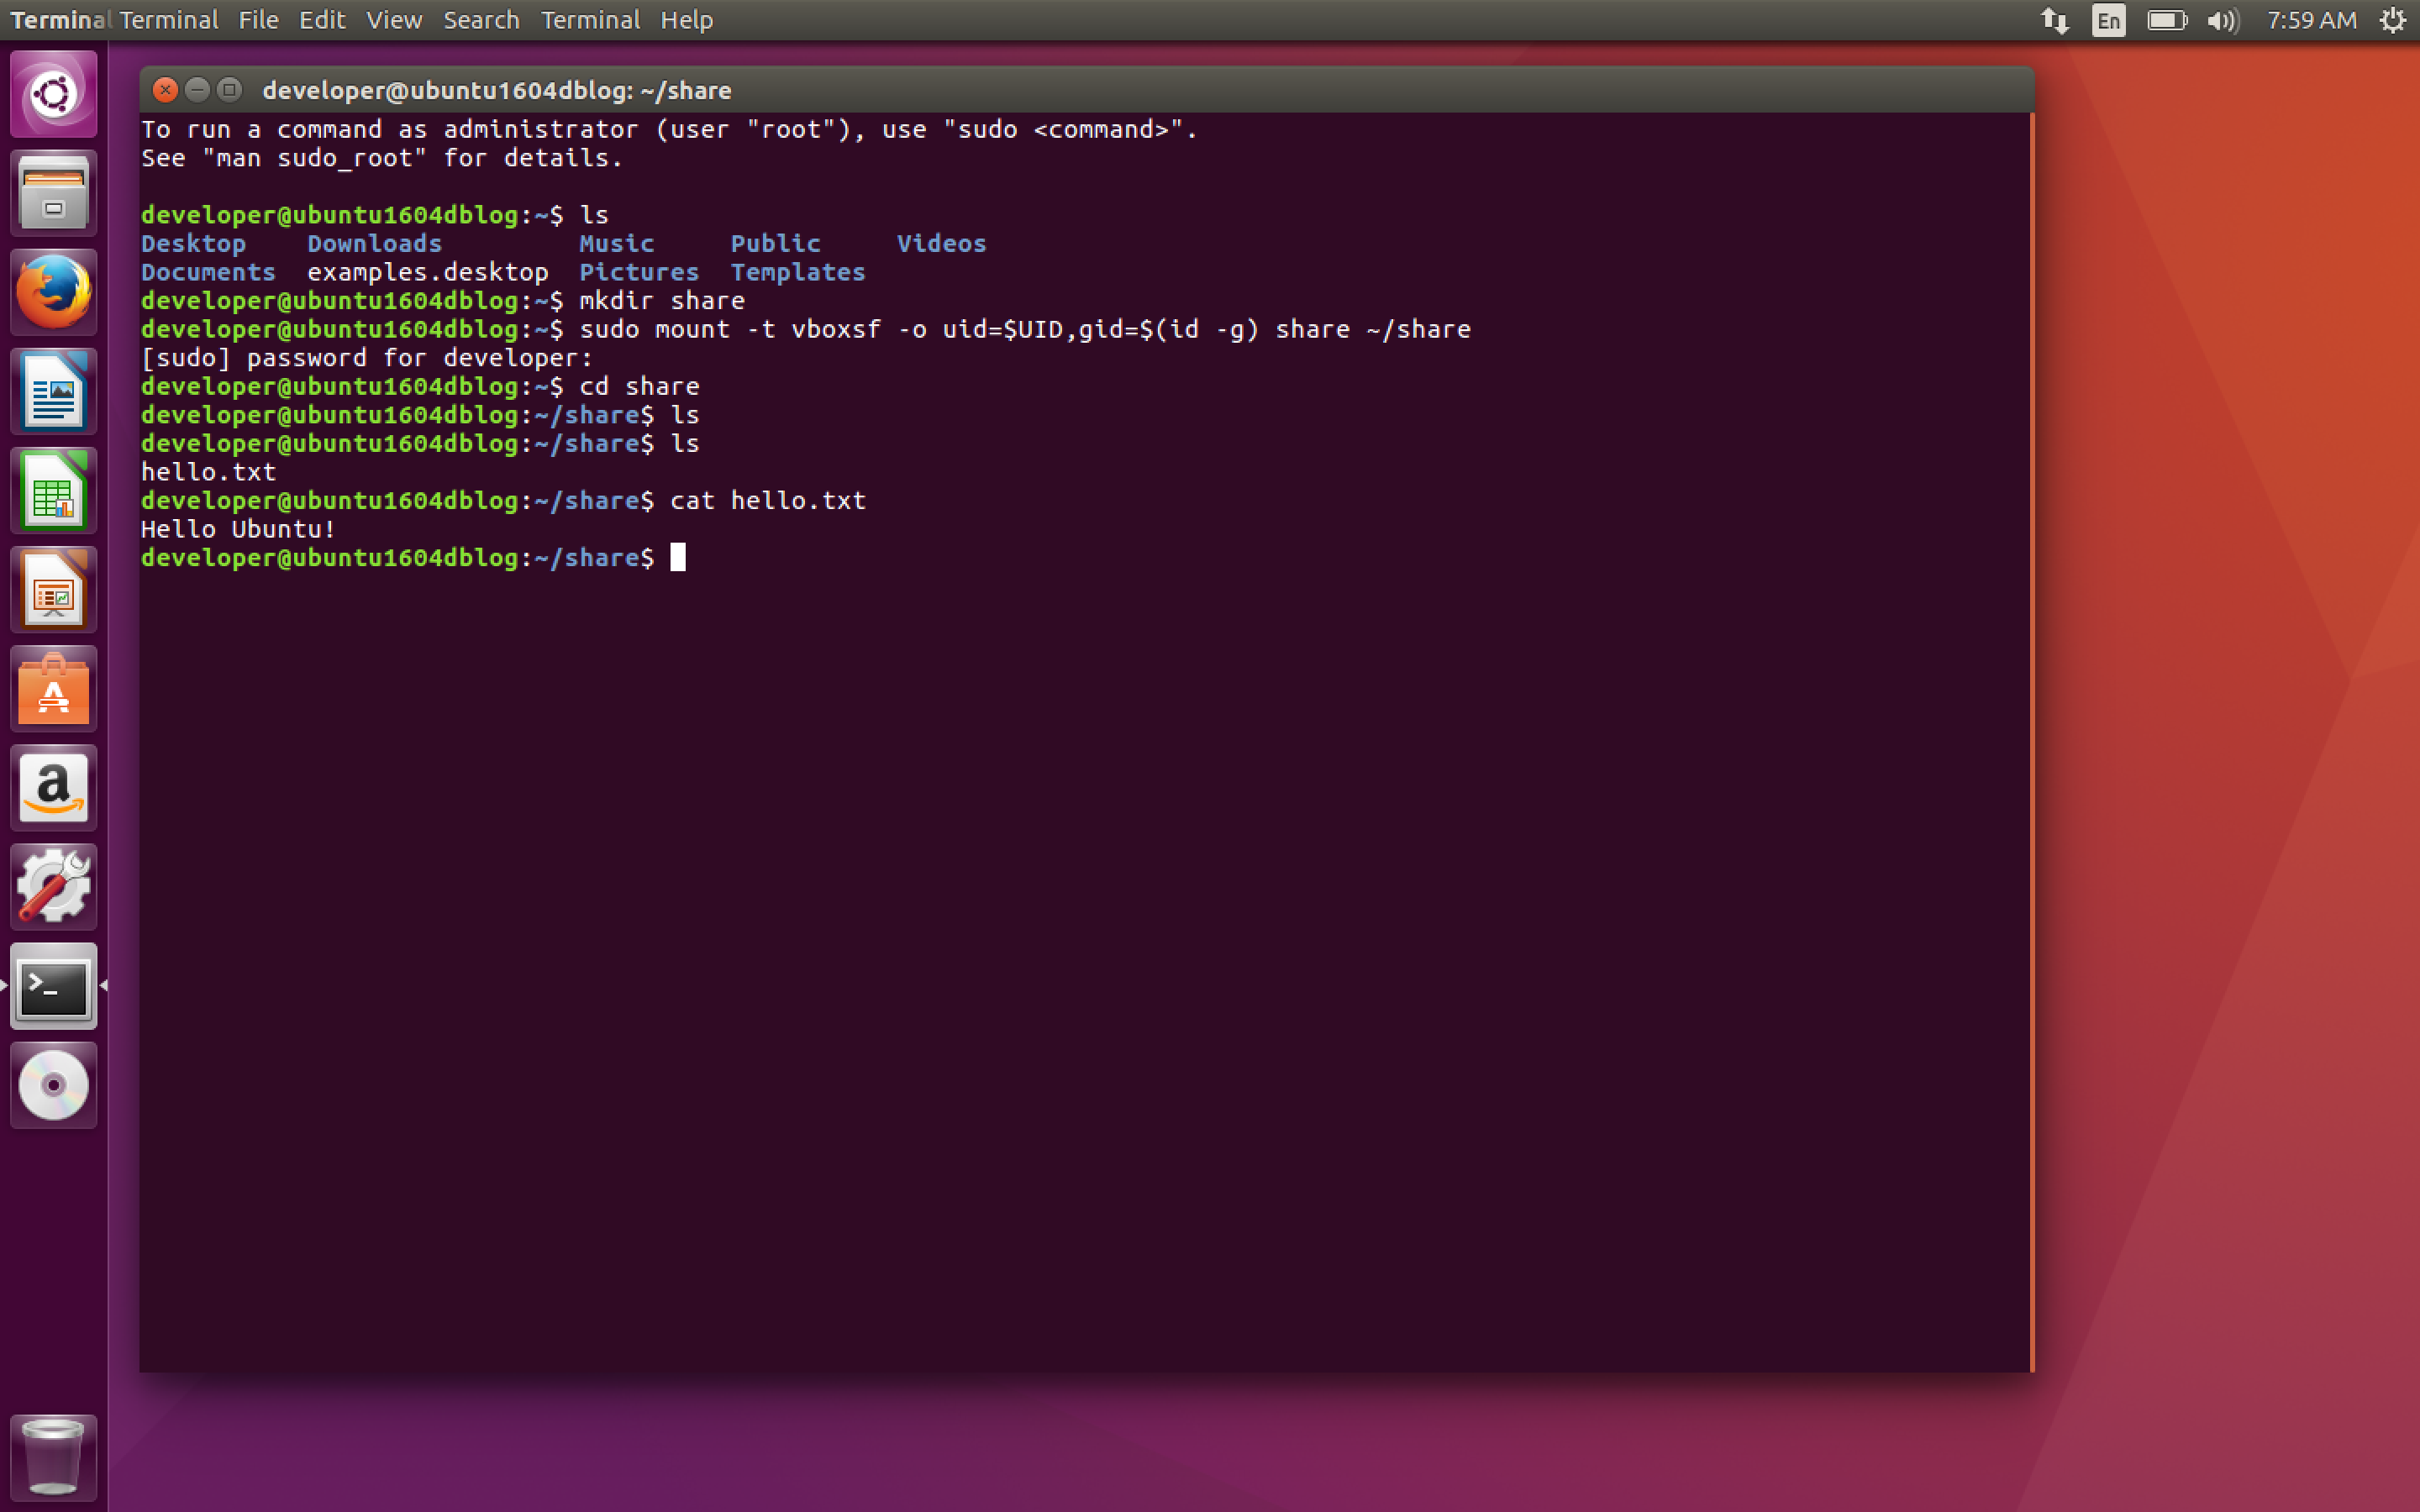
Now, switch to Ubuntu VM and continue typing in Terminal:
$ ls
$ cat hello.txt

So, at this point you can share files between host and guest operating systems.
It’s time to view the Ubuntu desktop full screen. Hit left Command-F (or green dot in window title) and resize Terminal window.
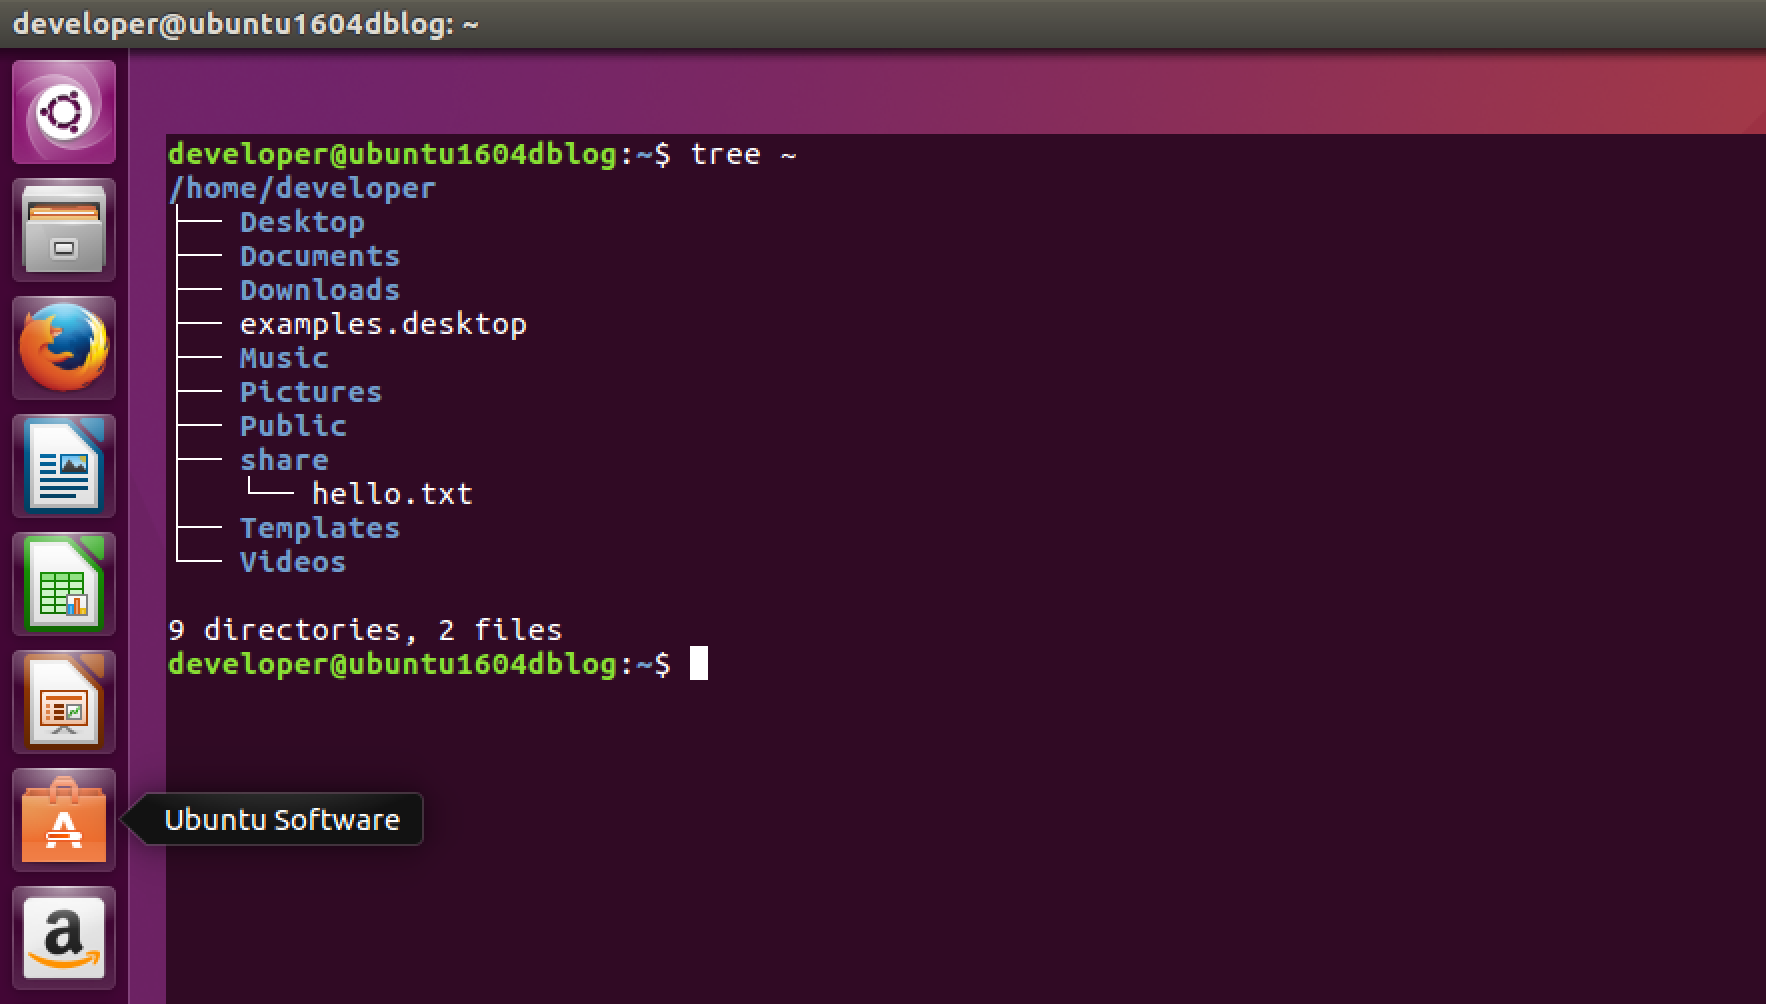
Next step – installing tree command. It produces tree-like output that can be pretty helpful sometimes. By default it is not installed, so you need to type
$ sudo apt install tree
After you install it, type something like
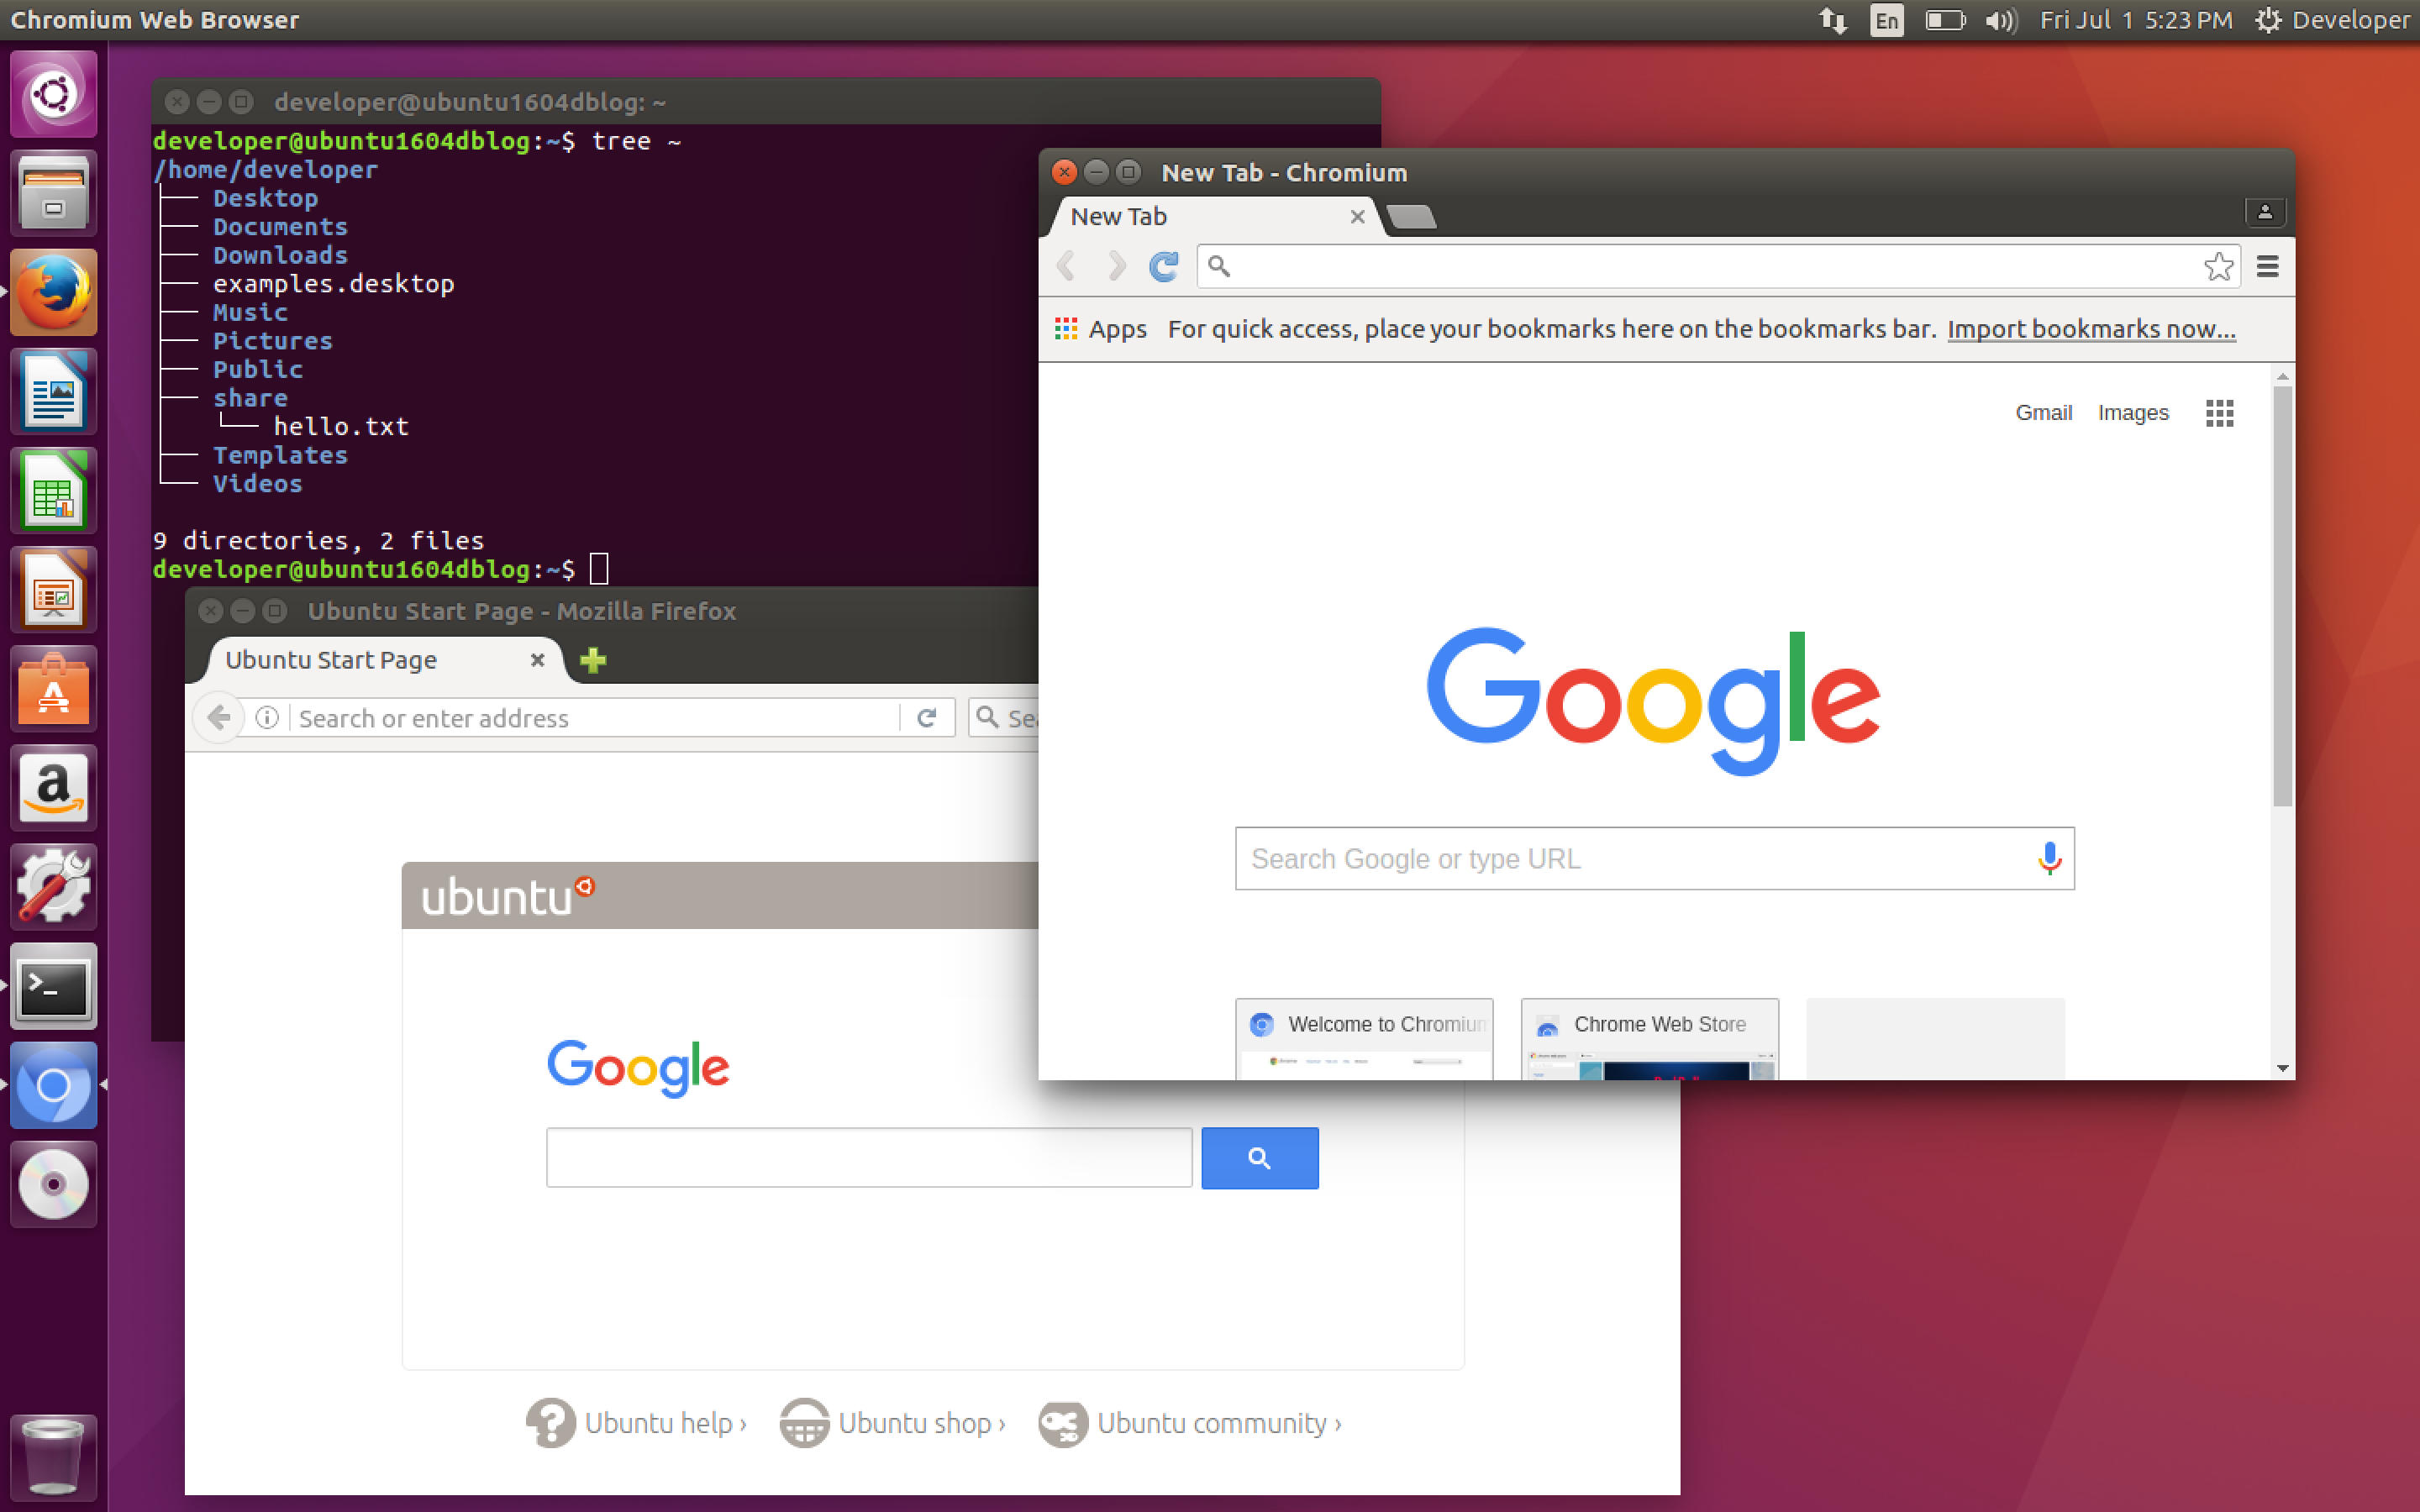
$ tree ~

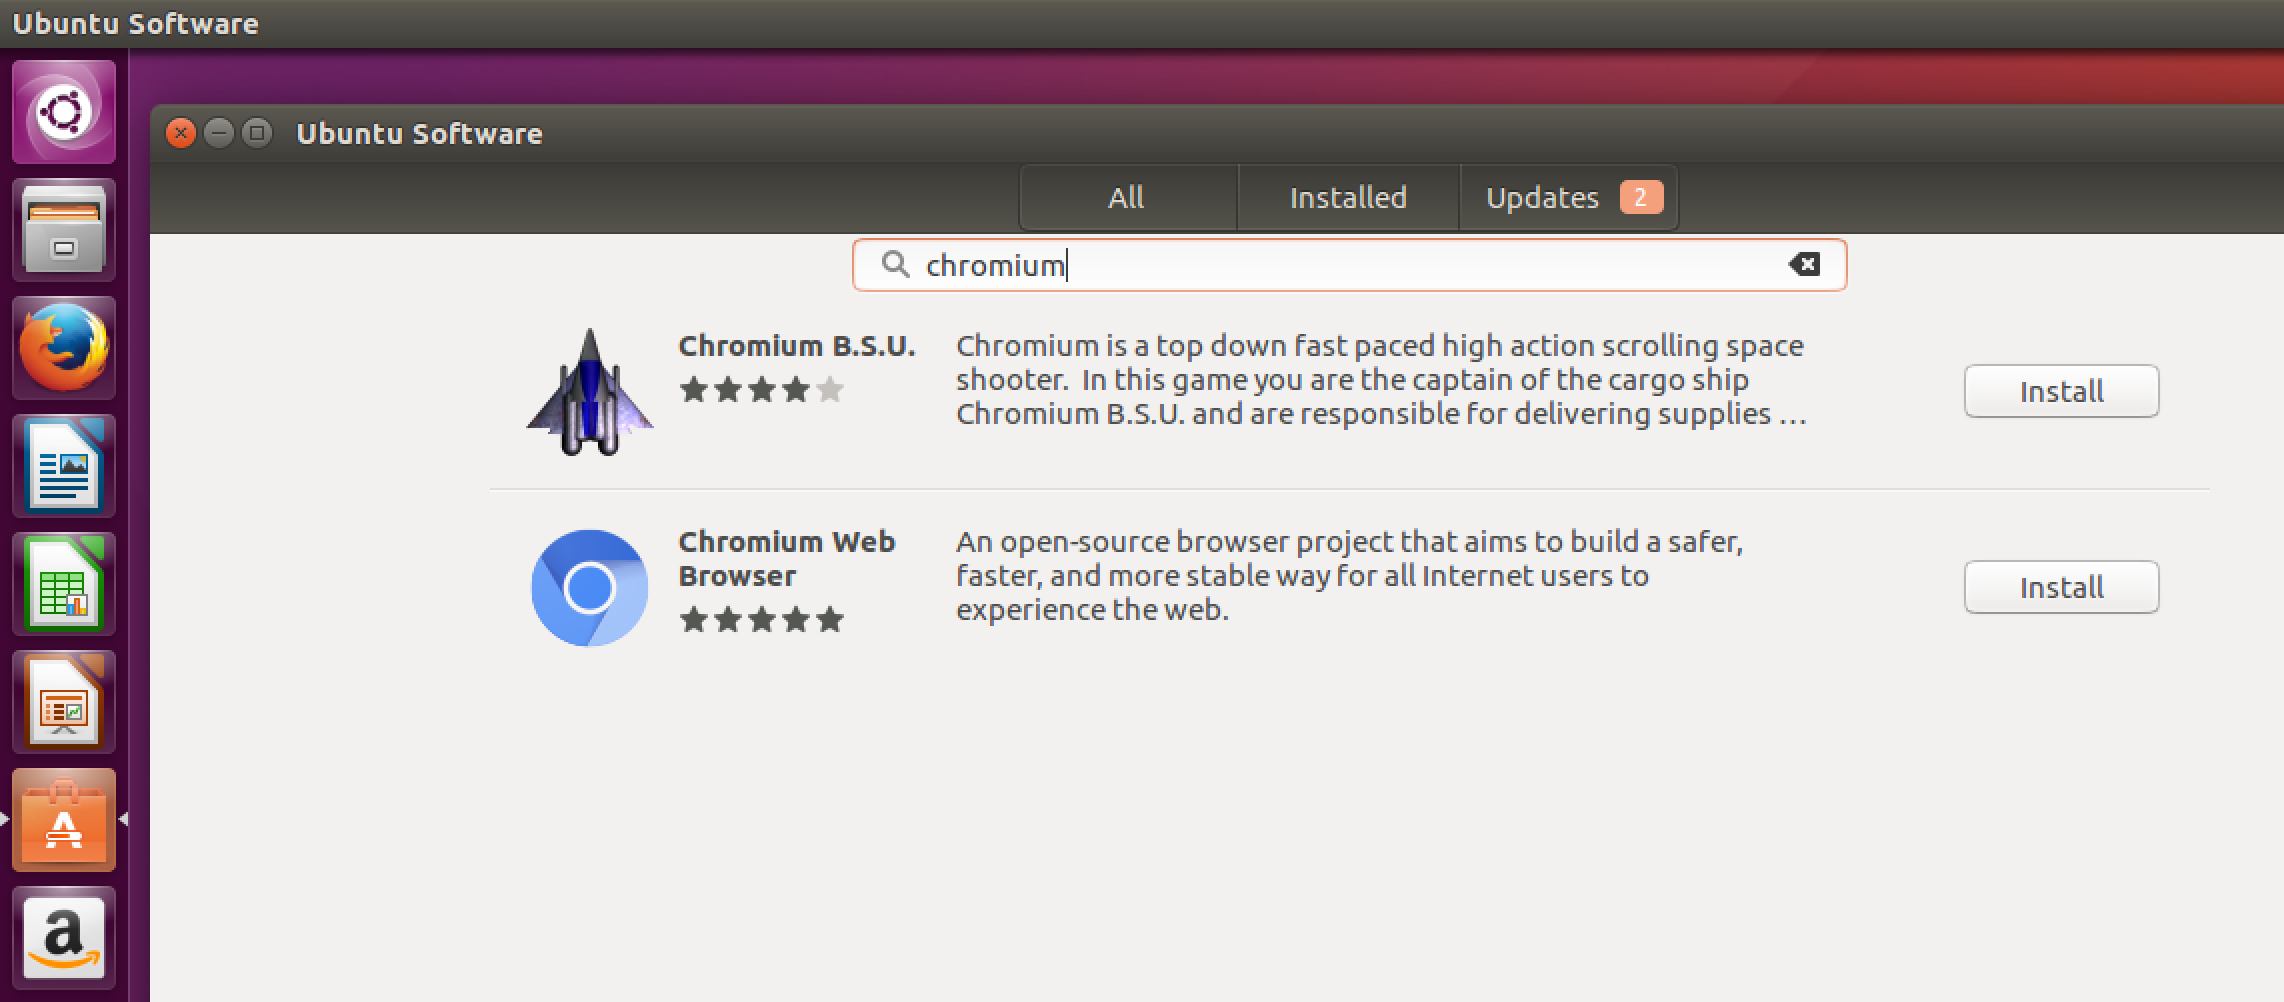
Next step – installing Chromium Web Browser. Hit Ubuntu Software button on the dock, type “chromium” in the search bar and hit Install button.
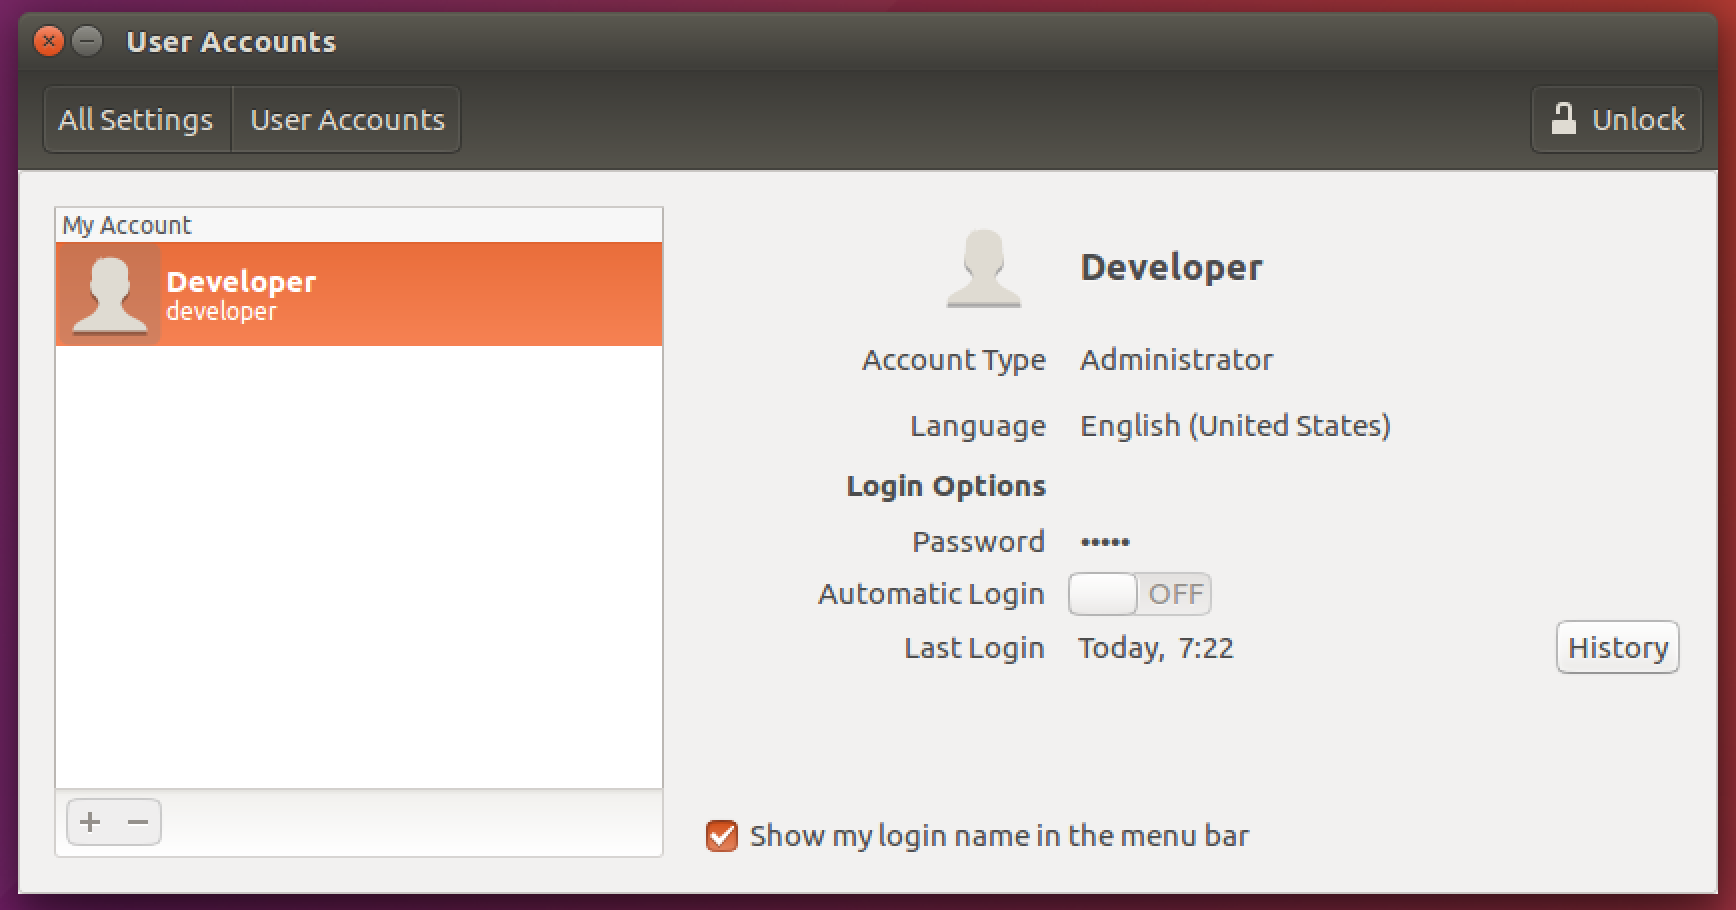
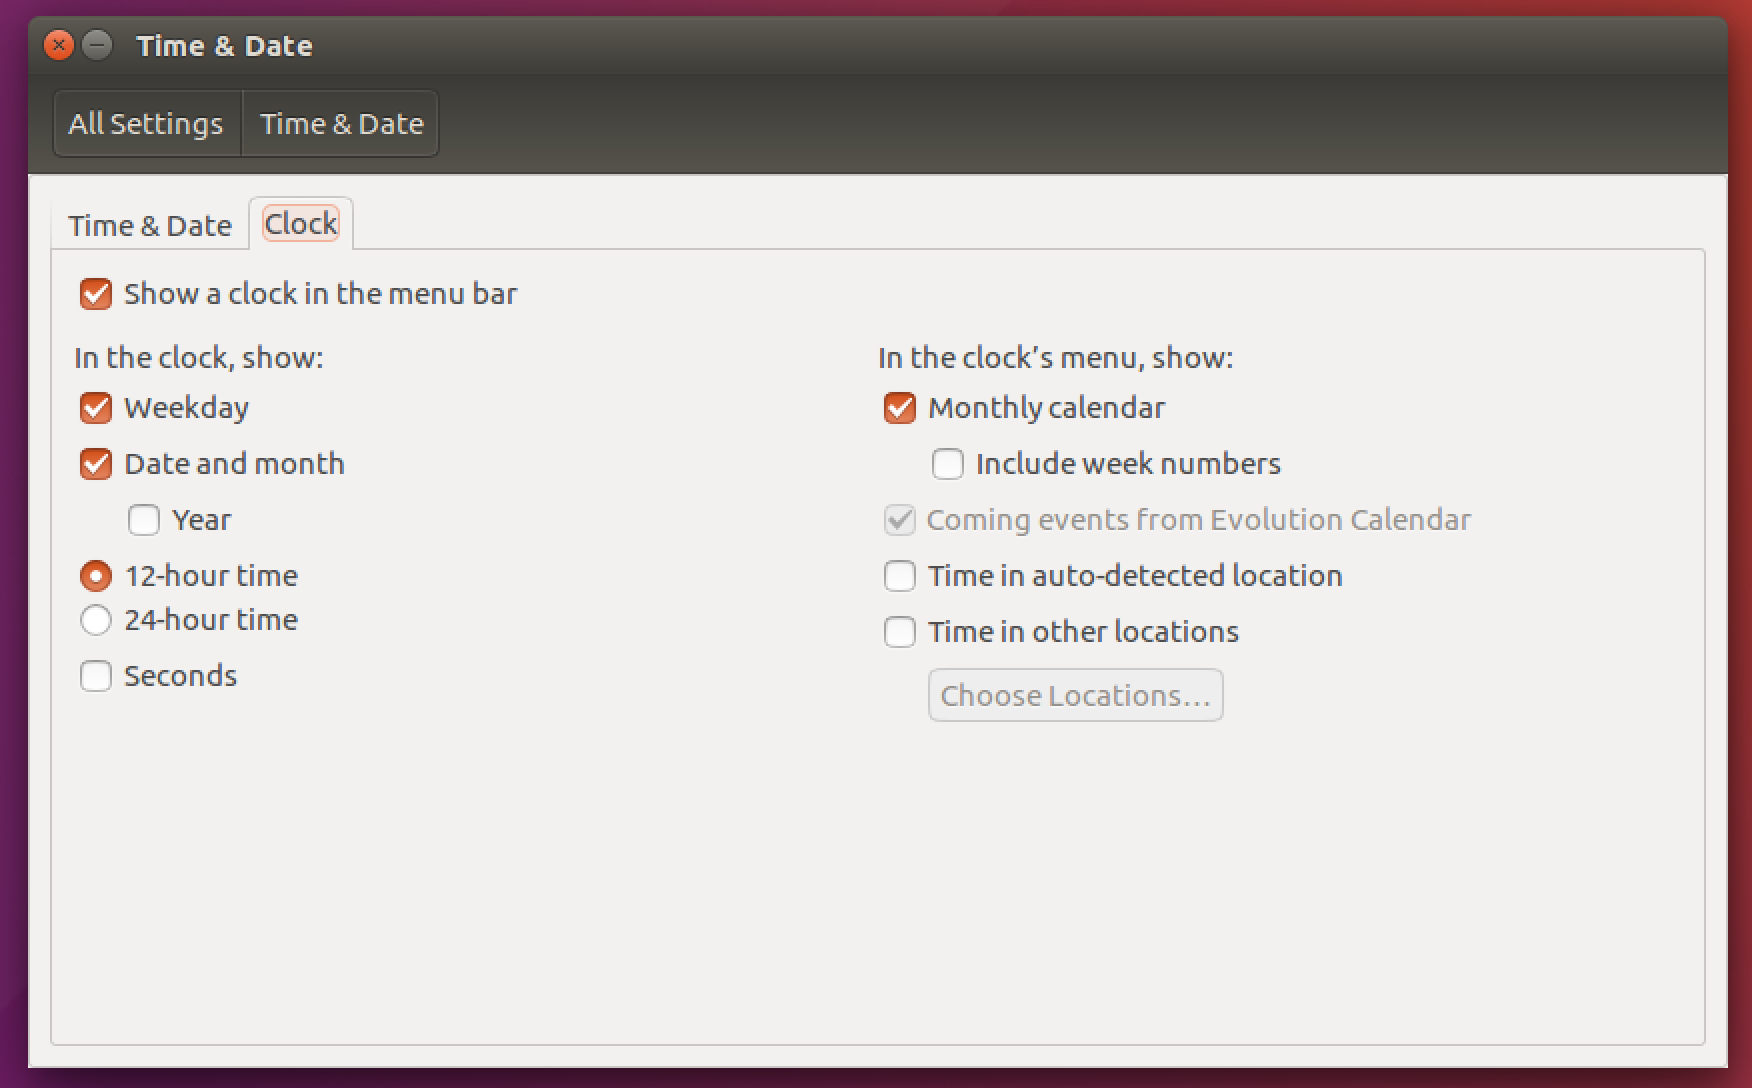
The last step – go to System Settings | User Accounts and check Show my login name in the menu bar, then in Time & Date check Weekday and Date and month.
That’s it! You’ve got yourself installed and minimally configured Ubuntu Desktop 16.04 LTS!

[…] Minimal Ubuntu Desktop Configuration […]